7 Professional Entryway Storage Projects You Can Build This Weekend (With PDF Plans)
Transform your chaotic foyer into an architectural focal point. Discover 7 professional-grade entryway storage woodworking projects with actionable plans, expert joinery tips, and material breakdowns.
Mar 17, 2026 - Written by: Linda Wise
If you walk into a house and immediately trip over a mountain of stray Vans, tangled dog leashes, and junk mail, the architectural beauty of the rest of the home instantly vanishes. The foyer sets the psychological baseline for your living space. I’ve personally found that controlling this chaotic bottleneck doesn’t require a massive remodeling budget or a team of contractors. What you actually need is targeted, intelligent storage that fits your exact spatial constraints.
Most commercially available entryway furniture suffers from a fatal flaw: it’s built from cheap particleboard that swells the second a wet winter boot touches it. When you build it yourself, you dictate the material quality, the joinery strength, and the exact dimensions required to make the piece look like a bespoke built-in rather than a wobbly afterthought.
In this comprehensive guide, I am breaking down seven professional-grade entryway storage projects you can realistically tackle this weekend. We aren’t just slapping pine boards together with drywall screws. I’m going to walk you through advanced techniques—from French cleats and grain matching to installing gas struts and scribing to uneven drywall—so your final product looks like it came from a high-end design studio.
Before we fire up the table saw, you’ll need the right gear to achieve a professional finish.
Quick Comparison: Top Picks for Entryway Builds
The Anatomy of a Professional Entryway Build
Before diving into the specific projects, we need to establish the baseline rules of architectural woodworking. The difference between a weekend hack job and a heritage-quality piece boils down to three factors: material selection, joinery execution, and finishing.
Material Selection: The Core of Longevity
If you build a boot bench out of standard MDF (Medium Density Fiberboard), it will absorb moisture from wet shoes, swell like a sponge, and crumble within a year. You need resilient materials.
For painted projects, cabinet-grade Baltic Birch plywood is the gold standard. It features void-free core layers that hold screws exceptionally well and provide a rigid backbone for heavy coats. If you plan to stain your piece or leave it natural, domestic hardwoods like White Oak, Walnut, or Hard Maple are non-negotiable for high-traffic zones. White Oak, in particular, has a closed cellular structure (tyloses) making it highly resistant to water—the exact reason coopers use it for whiskey barrels.
The Joinery Hierarchy
You’ll notice that professional carpenters rarely rely strictly on mechanical fasteners. Screws loosen over time as wood undergoes seasonal expansion and contraction.
- Pocket Holes: Excellent for hidden carcass construction, provided you use the correct coarse-thread screws for softwoods or fine-thread for hardwoods.
- Dowels and Dominos: These offer superior shear strength and alignment.
- Dadoes and Rabbets: If you are building cabinetry or shelving, routing a shallow trench (dado) for your shelves to sit inside transfers the weight load from the fastener directly into the wood fibers. This is how you build a shelf that can hold a 200-pound adult tying their shoes.

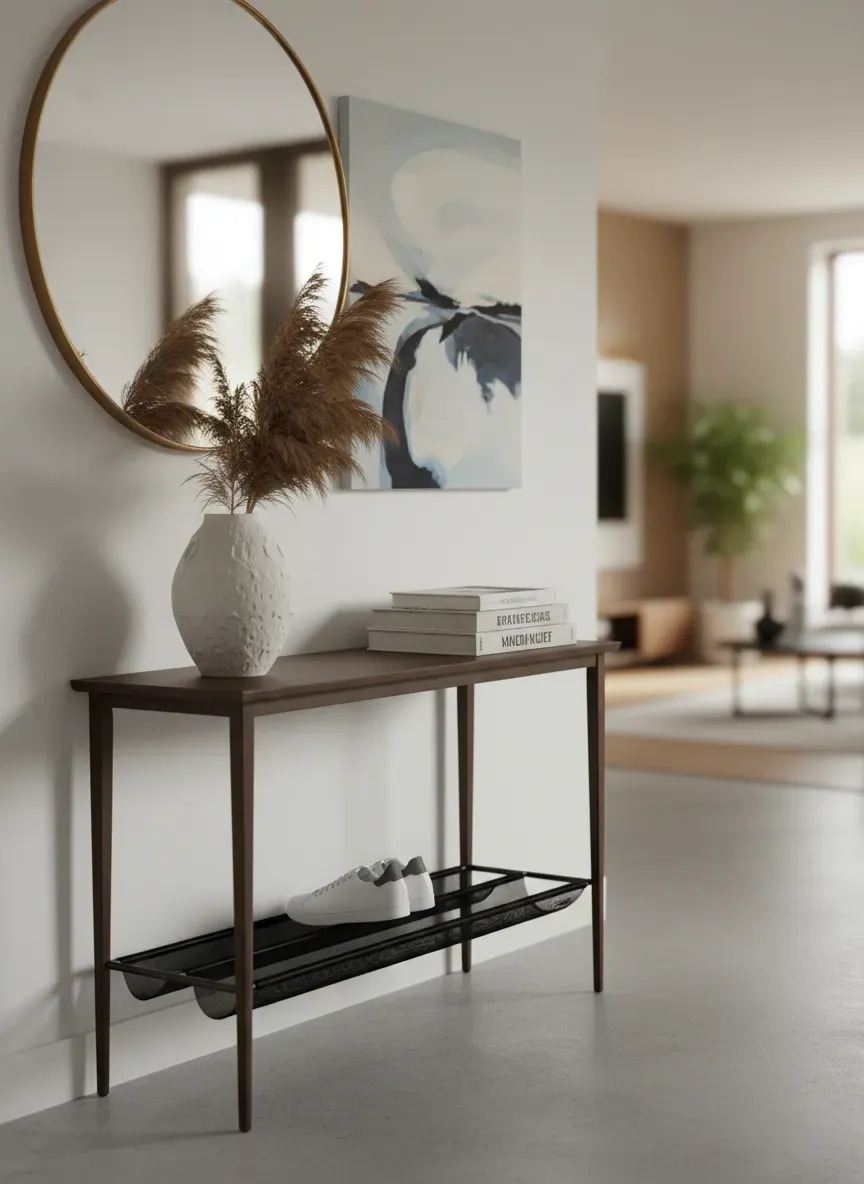
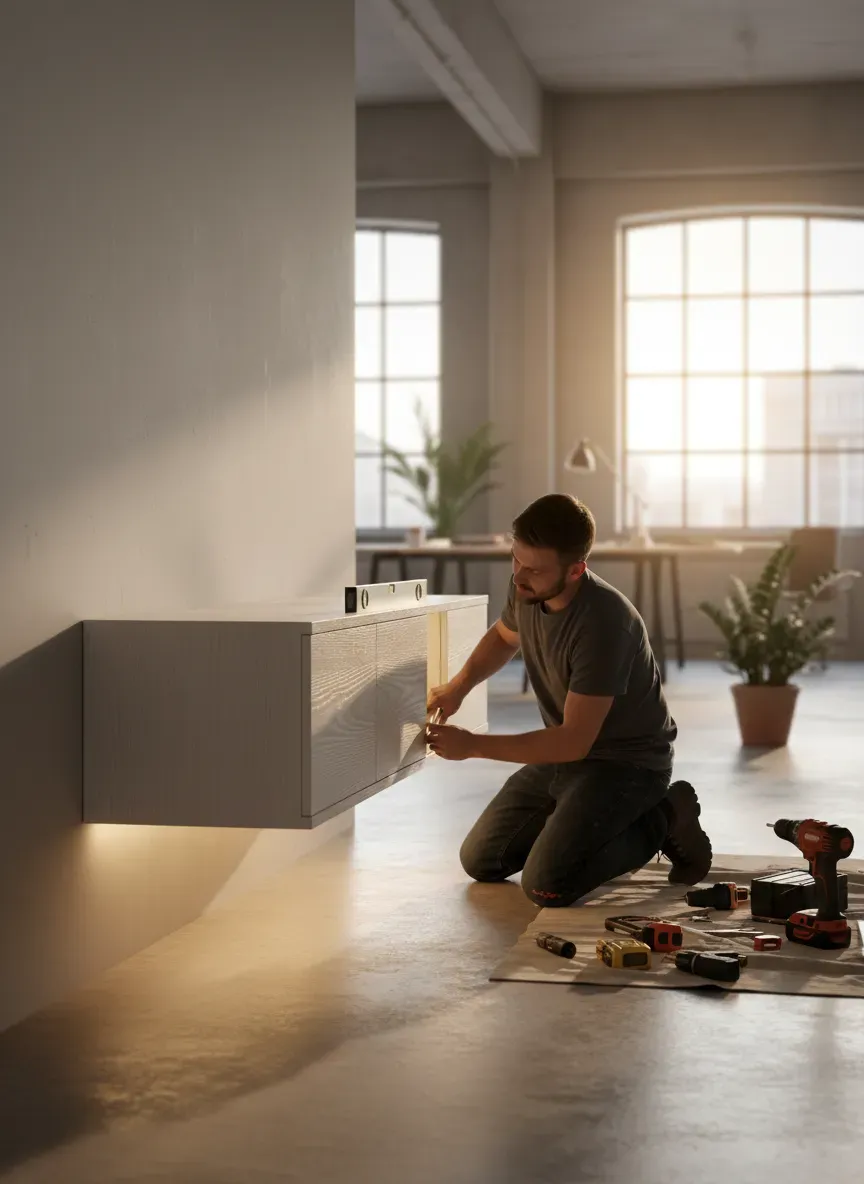
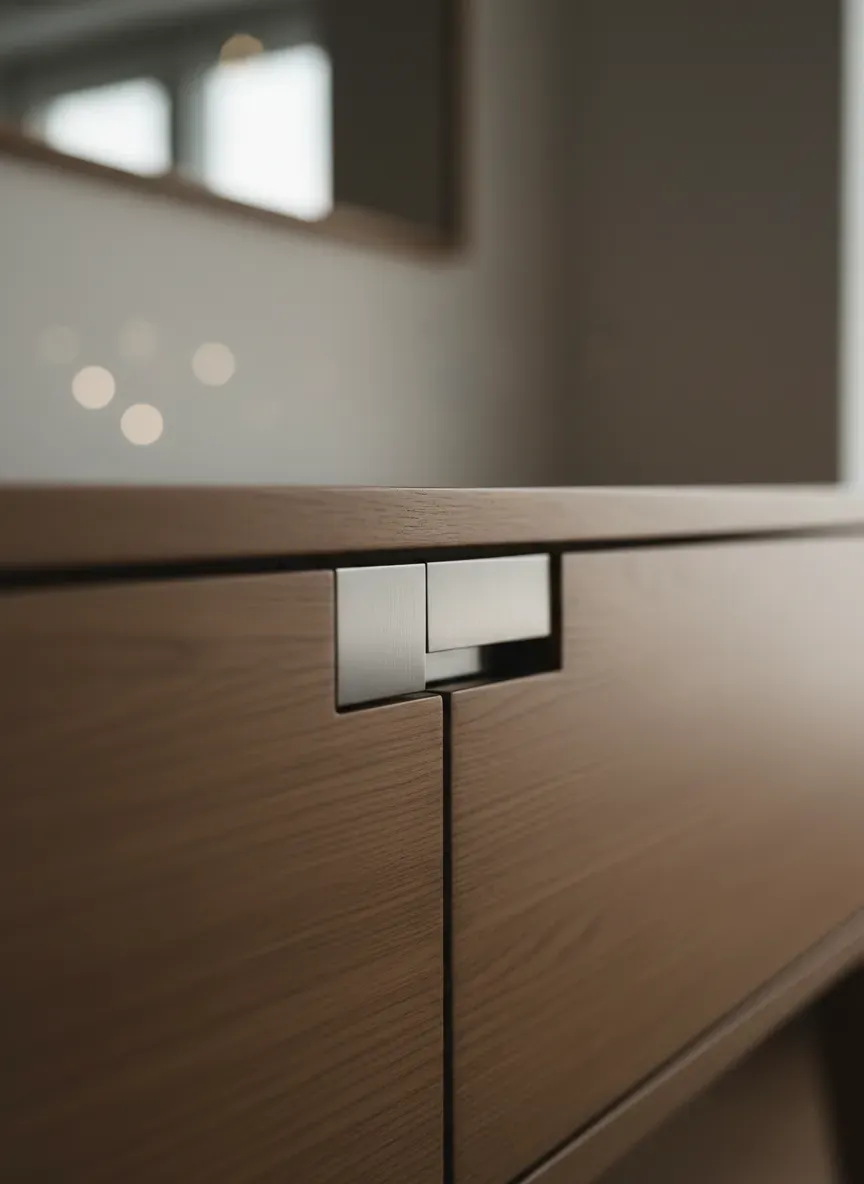
Project 1: The Modern Floating Walnut Console
There is something inherently striking about furniture that defies gravity. A floating console clears up floor space, giving the illusion of a larger foyer, while providing a dedicated drop zone for keys, sunglasses, and mail.
Design and Theory
This project utilizes a “waterfall edge” technique where the grain pattern of the top board cascades continuously down the sides. Achieving this requires precision 45-degree miter cuts. When you fold the wood, the grain matches perfectly, creating the illusion of a solid block of timber rather than assembled panels.
The Construction Process
- Milling the Stock: Start with a flat, surfaced piece of 6/4 (1.5 inches thick) Black Walnut. You’ll need to run this through a jointer and planer to ensure it is dead flat. Any warp or cup will ruin the miter joints.
- Cutting the Miters: Tilt your table saw blade to exactly 45 degrees. Use a digital angle gauge; relying on the factory stops on your saw will almost certainly result in a gap. Cut your top and two side panels.
- The Tape Glue-Up: Lay the pieces flat, end-to-end, with the sharp points of the miters touching. Stretch packing tape tightly across the joints. Carefully flip the assembly over, apply Titebond III into the V-grooves, and simply “fold” the box together. The tape acts as a perfect hinge and clamp.
- Reinforcing the Joint: Miter joints are notoriously weak because they are end-grain to end-grain glue-ups. Once folded, cut a slot across the corner and glue in a contrasting spline (like Maple) for mechanical strength and visual flair.
The Secret to Hanging: French Cleats
Do not use drywall anchors for a floating console. Eventually, someone will lean on it, and it will tear a massive hole in your wall.
Instead, construct a French cleat. Rip a piece of 3/4-inch plywood at a 45-degree angle. Anchor one half directly into your wall studs using 3-inch cabinet screws. Attach the mating half to the inside back of your console. The console will drop over the wall cleat, locking into place with immense shear strength.
Pro Tip: Cut your wall cleat an inch shorter than the internal width of the console. This gives you half an inch of lateral play left and right, allowing you to slide the console to center it perfectly on your wall even if your studs aren’t perfectly centered.
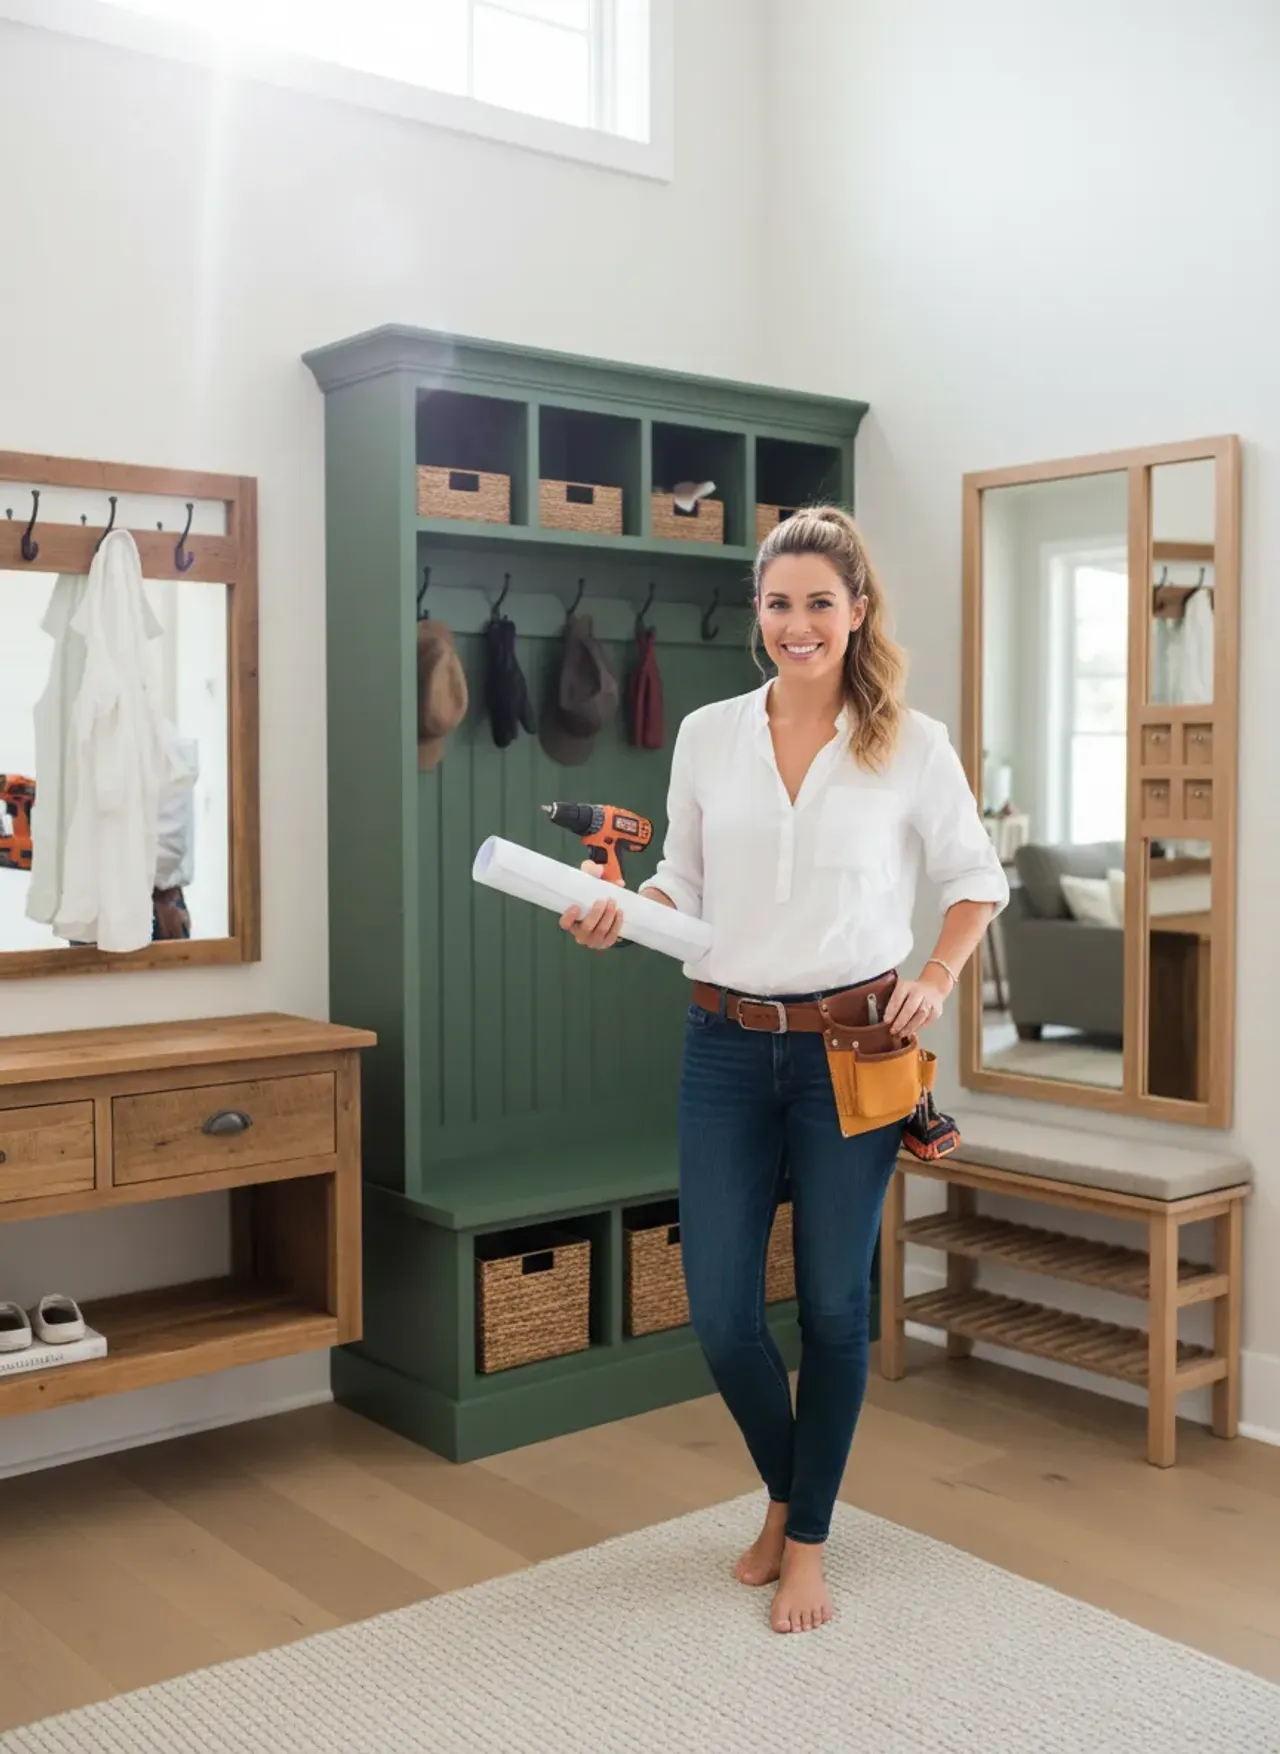
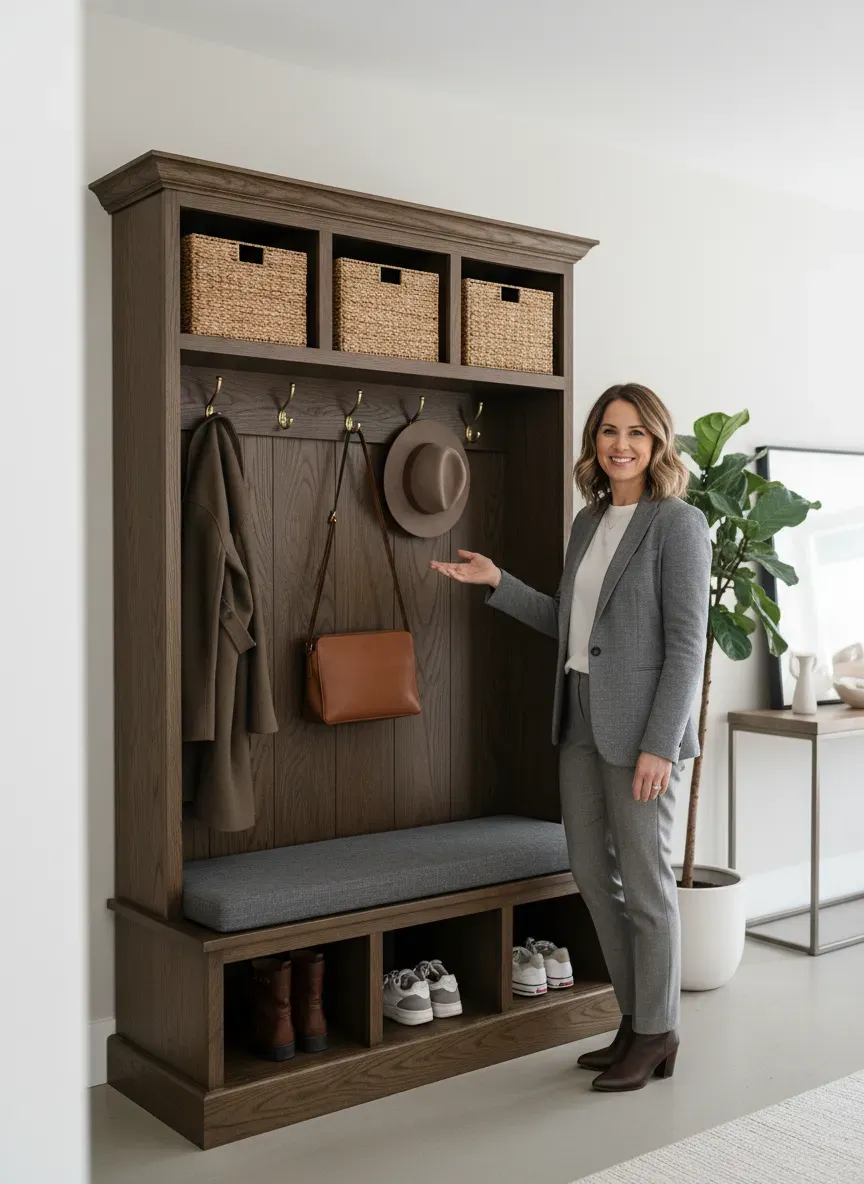
Project 2: The Classic Mudroom Hall Tree
If you have a large family, minimalism goes out the window. You need a bombproof infrastructure to handle winter coats, muddy boots, and sports equipment. The mudroom hall tree is the undisputed king of entryway storage.
Carcass Construction
This project is essentially three distinct boxes: a sturdy base plinth, a heavy-duty bench cabinet, and an upper shelving unit connected by a beadboard backer.
Start with the base. Build a ladder frame out of 2x4s. This elevates your plywood cabinet off the floor and gives you a solid structure to attach your baseboard trim, making the unit look like it was built with the house.
For the bench, use 3/4-inch plywood. Cut dadoes into the top and bottom panels to accept vertical dividers. These dividers aren’t just for creating shoe cubbies; they transfer the weight of whoever sits on the bench directly down to the floor plinth.
Integrating the Face Frame
Raw plywood edges are ugly. To hide them, you will build a face frame out of solid 1x2 poplar or maple. Use a pocket hole jig to assemble the face frame on your workbench, ensuring all joints are flush. Then, attach the entire frame to the front of your plywood carcass using wood glue and brad nails.
Scribing to the Wall
Here’s the real kicker that separates amateurs from pros: houses are never square, and drywall is never flat. If you just push your hall tree against the wall, you will have ugly, uneven gaps.
To fix this, make your face frame an inch wider than the cabinet carcass on the sides facing the walls (this is called a “stile”). Push the cabinet against the wall. Take a simple drawing compass, set the width to the largest gap, and drag the metal point along the drywall while the pencil traces the exact contour of the wall onto your wood stile. Use a jigsaw or block plane to cut to this line. Your cabinet will now sit flush against the wall seamlessly.

Key Takeaways for Hall Trees:
- Use heavy-duty cast iron coat hooks, anchored directly into a solid wood rail, not just the beadboard backing.
- Leave a 2-inch overhang on the bench seating for comfort and aesthetic balance.
- Use an enamel-based cabinet paint for high durability against scuffs and zippers.
Project 3: Hidden Compartment Shoe Bench with Slatted Airflow
Nobody wants to look at a pile of dirty sneakers, but locking sweaty shoes in a sealed wooden box is a recipe for terrible odors and eventual mold. This project solves both problems: it hides the clutter while maintaining rigorous ventilation.
Designing for Airflow
The base of this bench isn’t a solid piece of plywood. Instead, you’ll mill 1x2 hardwood strips and secure them across the bottom with a 1/2-inch gap between each slat. This allows ambient air to circulate up from the floor, drying out damp footwear overnight.
Hinge Geometry and Gas Struts
The lid of this bench serves as your seating area, meaning it will likely be constructed from heavy 6/4 hardwood. A solid oak lid of this size can weigh upwards of 30 pounds. If that falls on a child’s hand, it’s a trip to the emergency room.
You must install heavy-duty soft-close hinges and gas struts (like the ones holding up your car’s hatchback).
- Calculate the Weight: Weigh your finished lid before ordering struts. Struts are rated by Newton force (N). A 100N strut supports roughly 22 lbs.
- Mounting Position: The geometry here is unforgiving. If you mount the lower bracket too far forward, the lid won’t close flush. Follow the manufacturer’s spec sheet exactly, using a combination square to mark your pilot holes.
The Seat Cushion Integration
Rather than buying a loose cushion that slides around, create an upholstered drop-in seat. Cut a piece of 1/2-inch plywood slightly smaller than the recessed top of your bench lid. Adhere high-density upholstery foam, wrap it in a durable fabric (like waxed canvas or performance tweed), and staple it tight. Screw this assembly into the lid from underneath. It looks highly professional and will never shift out of place.
Project 4: Industrial Pipe & Live Edge Slab Wall Rack
If your aesthetic leans toward industrial chic or modern rustic, this weekend project packs a massive visual punch with relatively minimal woodworking. The magic here lies entirely in the finishing and material sourcing.
Sourcing and Prepping the Live Edge
A “live edge” slab retains the natural exterior contour of the tree. When buying a slab from a local sawmill, your first question must be: “What is the moisture content?” Do not buy green wood. If the moisture content is above 10%, the wood will warp, twist, and crack as it dries in the climate-controlled environment of your home. Ensure it has been kiln-dried.
Bark: To Keep or Remove? While bark looks fantastic, it almost always falls off over time as the cambium layer shrinks. I strongly advise using a drawknife to strip the bark completely. Once removed, use a nylon wire wheel on a drill to clean out the soft, punky wood in the crevices without destroying the natural undulating shape of the edge.
Managing Checks and Cracks
Wood slabs naturally split at the ends (called “checks”). To prevent these cracks from running the entire length of the board, you can route out a small bowtie-shaped mortise across the crack and glue in a matching hardwood bowtie (also known as a Dutchman). This physically locks the wood fibers together and adds a high-end craftsman detail.
Prepping the Black Iron Pipe
Hardware store black iron pipe is coated in thick, greasy cosmoline to prevent rust during shipping. You cannot paint or seal over this grease. Wipe all pipes and flanges down heavily with mineral spirits or acetone until the rags come away clean. Once degreased, assemble your brackets, and spray them with a matte black rust-inhibiting enamel.
Anchor the iron flanges directly into your wall studs using heavy-duty lag bolts. A solid hardwood slab resting on iron pipes is incredibly heavy; drywall anchors are entirely insufficient here.


Project 5: Minimalist Slat-Wood Umbrella & Coat Stand
Mid-century modern design relies heavily on vertical lines, negative space, and warmth. A slat-wood wall panel integrated with a floating shelf and hidden coat pegs provides massive utility while acting as a piece of architectural art.
The Acoustic Felt Backing
Instead of mounting your wood slats directly to the drywall, mount them to a sheet of rigid, black acoustic PET felt. This serves three purposes:
- It hides any imperfections or weird paint colors on your existing wall.
- It creates a deep, shadowy contrast that makes the wood grain pop.
- It significantly dampens sound, reducing the echoes commonly found in hard-surfaced entryways.
Precision Ripping and Spacing
You will need dozens of identical wooden slats. Buy 4/4 rough lumber and rip it down on your table saw to 1.5-inch wide strips.
The Danger of Ripping Thin Stock: When cutting thin strips, the wood can easily get trapped between the saw blade and the fence, resulting in a dangerous kickback. Use a thin-rip jig on the left side of the blade. This allows you to lock your fence, make a cut, slide the fence over to meet the jig, and repeat. Every single strip will be identical without trapping the offcut.
Assembly and Hidden Pegs
Instead of screwing metal hooks onto the beautiful wood slats, drill angled 3/4-inch holes directly into the faces of the slats before mounting them. Cut 4-inch lengths of 3/4-inch hardwood dowels, round over the edges, and glue them into the angled holes. You now have beautifully integrated, hidden coat pegs that seamlessly emerge from the slat wall.
To mount the slats to the felt, lay the felt flat on your workbench. Use a scrap piece of 1/2-inch MDF as a spacer block. Lay your first slat, nail it from the back of the felt, place your spacer block, and lay the next slat. This guarantees mathematically perfect spacing across the entire project.


Project 6: The “Drop Zone” Key & Mail Organizer
Not every entryway has the square footage for a massive bench. If you live in a tight apartment or a narrow townhome, wall real estate is your most valuable asset. The “Drop Zone” is a compact, high-precision wall organizer designed to hold mail, hide keys, and display small succulents.
Precision Joinery on a Small Scale
Because this piece is small (usually around 24x12 inches) and hangs right at eye level, any sloppy joinery will be immediately obvious. Butt joints and screws won’t cut it.
I recommend using box joints (finger joints) for the outer carcass.
- Set up a dado stack on your table saw.
- Build a simple box joint jig for your miter gauge.
- Cut interlocking “fingers” on the ends of your boards. When glued together, the immense surface area of the interlocking long-grain creates a joint that will never break, and the contrasting end-grain pattern looks brilliantly complex.
The Hidden Magnetic Key Catch
Hooks look cluttered. For a truly magical, minimalist touch, embed rare earth (neodymium) magnets into the bottom shelf of your organizer.
Using a Forstner bit in a drill press, bore a hole from the underside of the shelf, stopping just 1/16th of an inch before breaking through the top surface. Glue a high-strength neodymium magnet into this hole. When you come home, simply hold your keyring under the shelf, and it will snap magnetically to the wood, appearing to float.
Routing the Mail Slots
For the mail organization, route shallow 1/4-inch grooves into the top and bottom interior boards before assembling the box. Cut thin panels of 1/4-inch plywood or acrylic and slide them into these grooves. This creates rigid, perfectly spaced dividers for incoming and outgoing mail without needing tiny, frustrating brad nails.

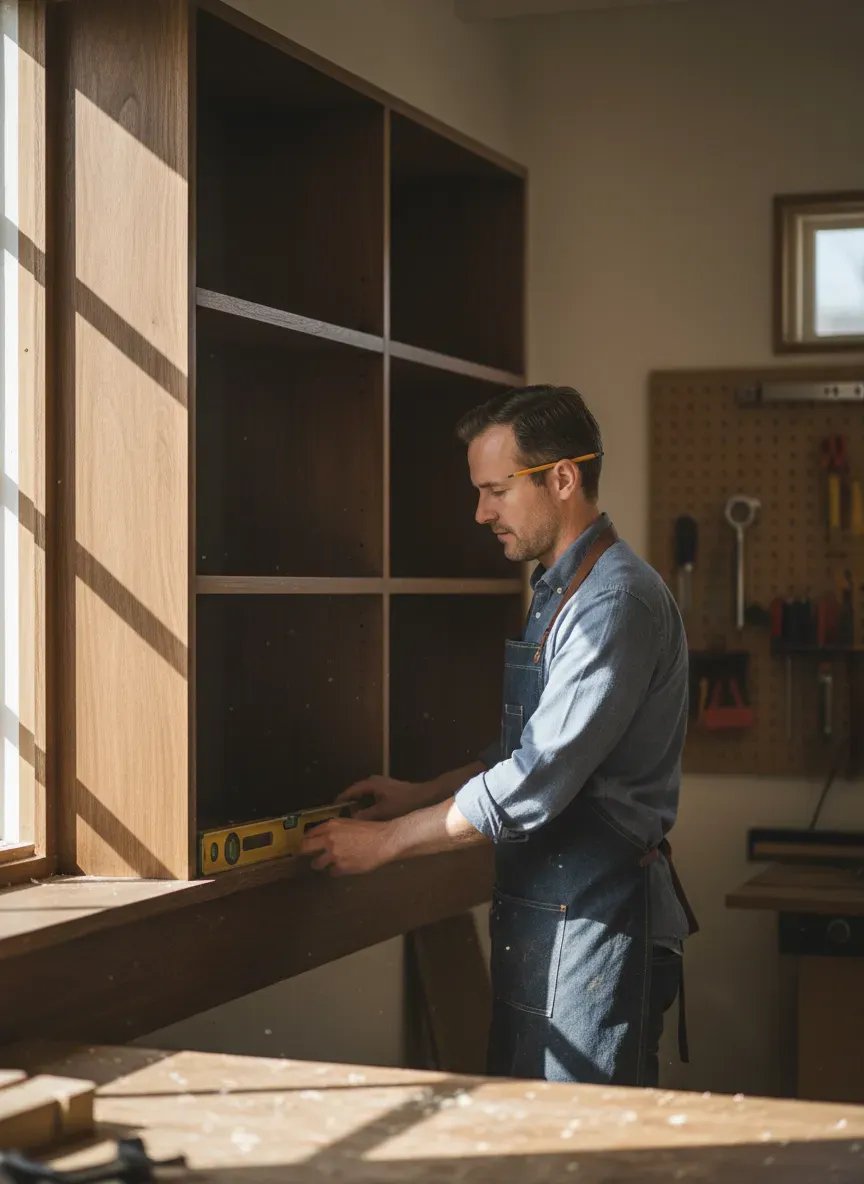
Project 7: Built-in Look Alcove Shelving
If your entryway features a recessed alcove or a weird, unusable corner, you have the perfect canvas for a custom built-in. Transforming an awkward architectural anomaly into intentional storage instantly raises the perceived value of your home.
The Cleat and Skin Method
Building full cabinet boxes to slide into a wonky drywall alcove is an exercise in frustration. The walls are never parallel. Instead, build the structure into the wall using the cleat and skin method.
- Level Lines: Use a laser level to shoot a perfectly horizontal line around the three interior walls of the alcove.
- Wall Cleats: Screw 1x2 pine cleats directly into the wall studs along this laser line. You now have a U-shaped ledge.
- The Substrate: Cut a piece of 1/2-inch plywood or MDF to roughly fit the space (it doesn’t have to be perfect; leave a 1/4-inch gap all around). Drop it onto the cleats and nail it down.
- The Skin: Measure the exact front edge. Cut a piece of 1x3 hardwood and nail it across the front face, covering the rough edge of the plywood and the front of the cleats.
Coping the Baseboards
To make the unit look entirely original to the house, you must integrate it with the room’s existing baseboards. Do not just butt your new wood up against the old trim.
Remove a section of your room’s baseboard. Wrap your new bench’s base plinth with matching baseboard trim. Where the new trim meets the existing wall trim at an inside corner, you need to “cope” the joint. Cut the end of the new trim at a 45-degree inside bevel. This exposes the exact profile of the molding. Use a manual coping saw to cut away the backer wood, following the profile line exactly. The new trim will now overlap the old trim perfectly, accounting for any out-of-square corners in the drywall.
The Caulking Polish
The final step of any built-in project is caulking. Wood expands and contracts, and houses settle. If you skip caulking, hairline cracks will appear at every seam where wood meets drywall. Use a high-quality, paintable acrylic latex caulk. Run a thin bead along the seams, wet your finger, and smooth it out. Once painted, the transition from wall to wood will be completely seamless.
Advanced Woodworking Tips for Weekend Warriors
Successfully pulling off these entryway projects requires more than just following dimensions on a PDF plan. Wood is a dynamic, living material. Understanding how it behaves will save you from devastating weekend mistakes.
Managing Wood Movement
Wood is hygroscopic; it absorbs and releases moisture from the air, expanding and contracting primarily across its width. If you firmly screw a solid wood tabletop to a rigid plywood cabinet base in the humid summer, the wood will shrink in the dry winter heating months. Because the screws won’t let it move, the tension will build until the solid wood top literally tears itself apart with a loud crack.
Always attach solid wood tops using “figure-eight” fasteners or Z-clips inserted into a biscuit slot. These hardware pieces allow the wood to slide a fraction of an inch horizontally while remaining tightly clamped downward.
Sanding Schedules: The Unsung Hero
A flawless finish is entirely dependent on your sanding schedule. Do not skip grits. If you start at 80-grit to remove milling marks, you must progress to 120, then 150, then 180, and finally 220.
If you jump from 80 directly to 220, the fine sandpaper will polish the surface, but it will not remove the deep microscopic trenches carved by the 80-grit paper. The moment you wipe on a dark stain, those deep scratches will absorb the pigment heavily, leaving your project covered in ugly, dark swirl marks.
The Water Pop Technique
If you are using water-based finishes, you must “raise the grain” before your final coat. When you sand wood, microscopic fibers get crushed flat. When water touches them, they swell and stand straight up, making your perfectly sanded wood feel like rough stubble.
To prevent this, after your final 220-grit sanding, wipe the entire project down with a damp cloth. Let it dry for 30 minutes. The fibers will stand up. Now, take a fresh piece of 220-grit paper and lightly hand-sand the piece just enough to knock those stiff fibers off. Now, when you apply your finish, the surface will remain as smooth as glass.
Mastering the Finish
Your entryway takes a beating. Keys are tossed, wet jackets are hung, and muddy boots are kicked around. A standard wipe-on oil finish will not survive.
For high-traffic surfaces, I highly recommend a two-part hardwax oil like Rubio Monocoat or Osmo Polyx. These finishes bond molecularly with the cellulose fibers of the wood. They don’t form a plastic film on top (like polyurethane) that can chip or peel. Instead, they harden the wood from the inside out while leaving a beautiful, matte, natural-feeling surface. Furthermore, if a section gets scratched, you can simply sand that tiny spot and rub in a little more finish; it blends perfectly without needing to strip the entire piece.
The Bottom Line: Building your own entryway storage isn’t just a weekend chore; it’s an opportunity to dictate the exact flow, aesthetic, and durability of your home’s most critical intersection. By utilizing proper joinery, understanding wood movement, and respecting the finishing process, you elevate your work from DIY craft to custom cabinetry.
You now have the structural theory, the material knowledge, and the exact project blueprints to transform your chaotic foyer into a highly functional, architectural masterpiece. But reading about it and actually making those precision cuts in your garage are two different things. If you are ready to stop buying disposable furniture and start building pieces that will outlast your mortgage, you need detailed, step-by-step schematics that leave zero room for error.
To eliminate the guesswork, get the exact cut lists, 3D diagrams, and material breakdowns for these projects and thousands more. Unlock the complete archive of 16,000 professional woodworking plans today and claim your 75% discount. It’s time to turn your weekend ambition into tangible, heritage-quality results.