How to Build Custom Workbench Drawers: A Step-by-Step Guide
Stop digging through chaotic tool piles. Master the exact geometry, joinery, and hardware installation techniques required to build bomb-proof custom workbench drawers.
Apr 14, 2026 - Written by: Linda Wise

Any veteran woodworker or seasoned mechanic will tell you the same hard truth: a workbench without drawers is just a table. When you’re deep into a complex project, the last thing you want is a scavenger hunt for your 10mm socket, a specific router bit, or your favorite marking gauge.
Upgrading your shop infrastructure changes how you operate. Building custom workbench drawers forces you to confront precise measurements, evaluate hardware load ratings, and practice joinery techniques that translate directly to high-end furniture making. I’ve personally found that the moment you install a bank of smooth-gliding, perfectly spaced drawers into your bench, your shop efficiency skyrockets.
You aren’t just building boxes. You are engineering a storage system designed to withstand the brutal weight of cast-iron tools, the constant vibration of heavy machinery, and the daily abuse of a working shop.
Quick Comparison: Top Picks for Drawer Construction
| Product | Rating | Check Price |
|---|---|---|
| Kreg K4 Pocket Hole Jig | ⭐⭐⭐⭐⭐ | View on Amazon |
| Promark Heavy Duty 22-Inch Drawer Slides | ⭐⭐⭐⭐½ | View on Amazon |
| Franklin Titebond III Ultimate Wood Glue | ⭐⭐⭐⭐⭐ | View on Amazon |
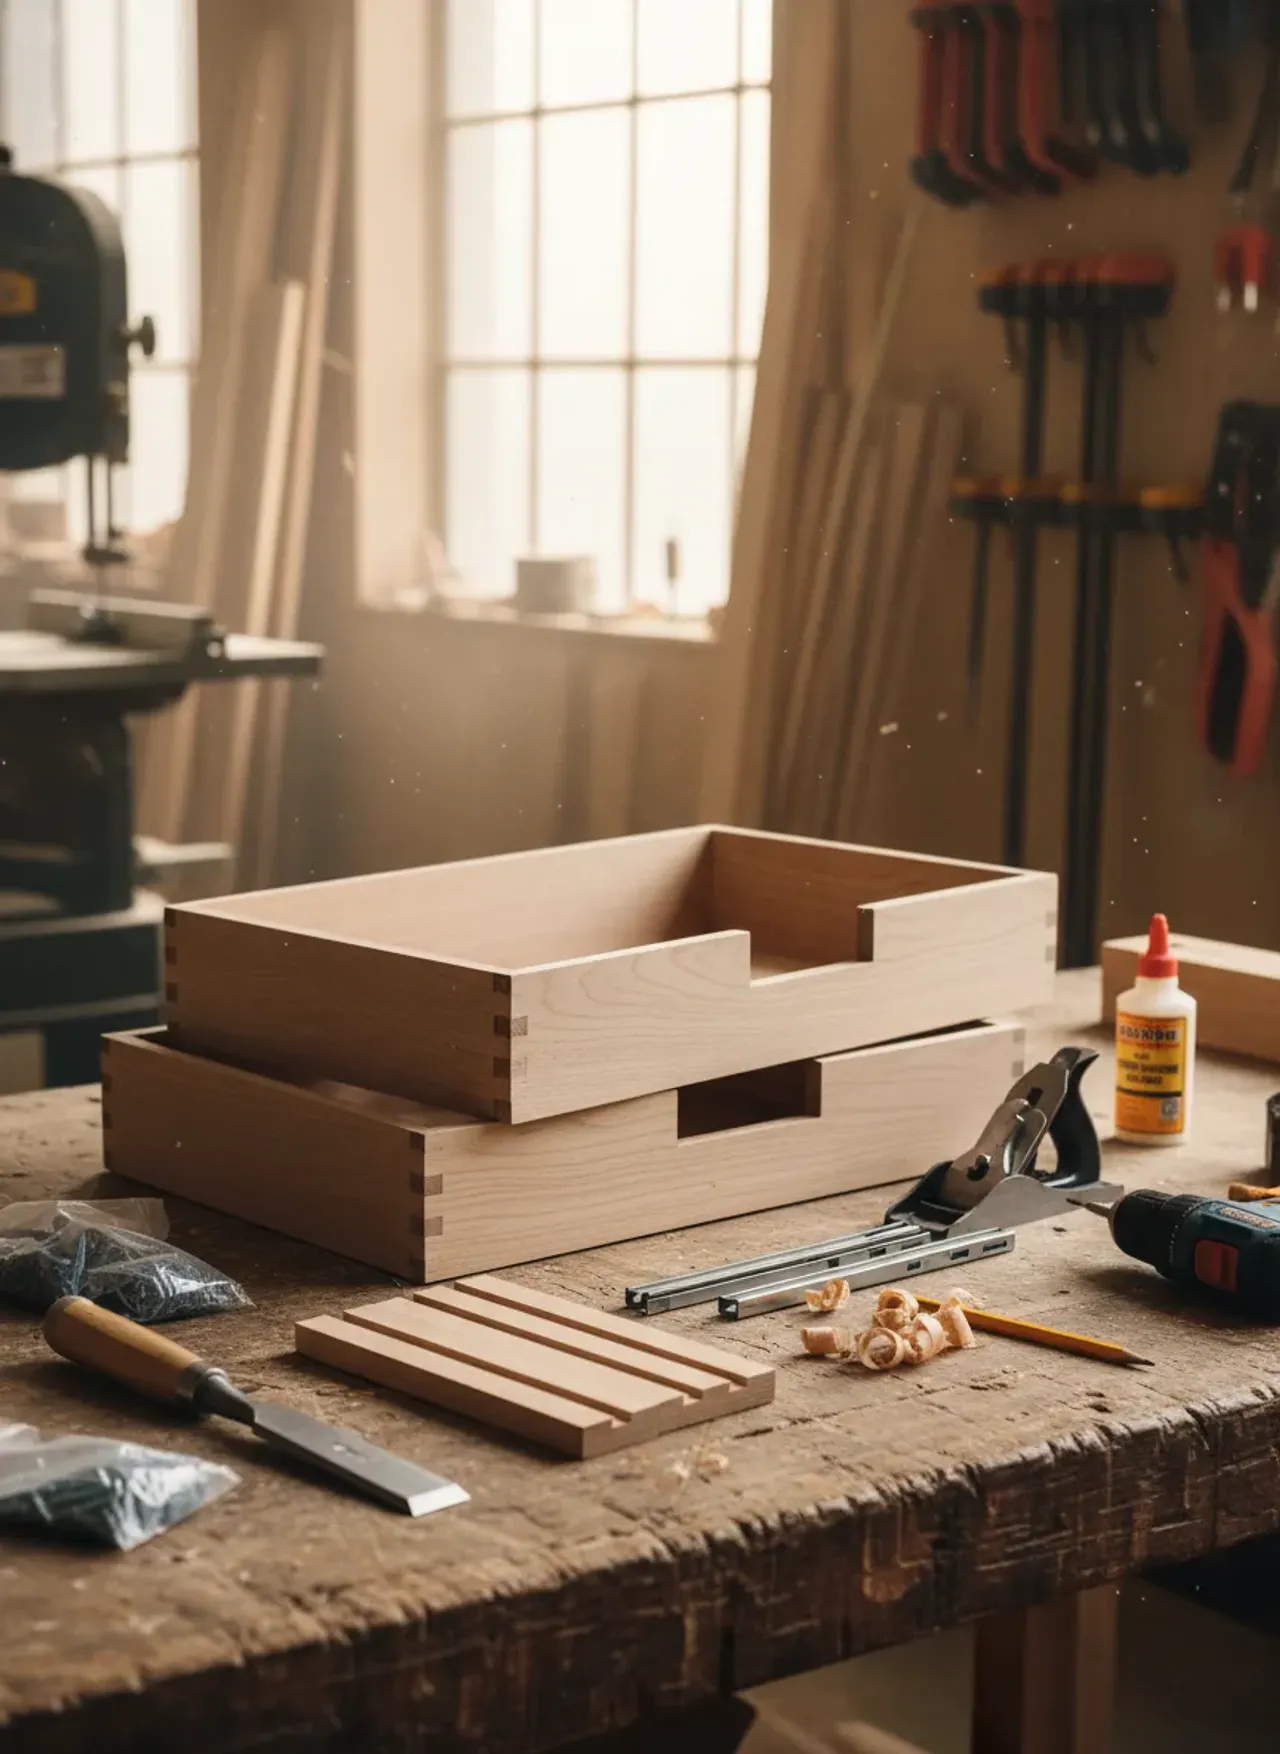
The Anatomy of a Bulletproof Workbench Drawer
Before we start firing up the table saw and ripping sheet goods, we need to understand what makes a shop drawer different from a kitchen drawer. The environment dictates the engineering. Shop drawers hold heavy, dense, irregularly shaped steel. They get slammed shut. They deal with sawdust infiltration and fluctuating humidity.
Material Selection: Don’t Skimp on the Carcass
Your choice of material dictates the lifespan of the project. Solid wood is beautiful, but it moves with seasonal humidity changes. Medium Density Fiberboard (MDF) is dead flat, but it’s heavy, hates moisture, and screw threads pull out of it under lateral stress.
The undisputed king of shop furniture is Baltic Birch plywood.
You’ll notice that premium plywood has significantly more plies (layers) than the cheap stuff you find at big-box home centers. A standard 1/2-inch or 5/8-inch Baltic Birch sheet offers incredible screw-holding power, supreme rigidity, and minimal voids in the core. If you use cheap pine plywood, you risk hitting a massive hidden void right where you need to sink an assembly screw, compromising the entire joint.
For the drawer bottoms, ditch the flimsy 1/4-inch hardboard. If you plan to load these drawers with hand planes, drill presses, or socket sets, upgrade to 1/2-inch plywood bottoms. The negligible loss in vertical storage space is a small price to pay for a drawer bottom that won’t sag and blow out onto your boots.
Understanding Drawer Slides and Load Ratings
Forget wooden runners or cheap epoxy-coated roller slides. For a workbench, you need full-extension, ball-bearing side-mount slides.
Pro Tip: Look for slides with a minimum load rating of 100 lbs. If you are building deep bottom drawers for heavy power tools (like circular saws or routers), step up to 150 lb or even 250 lb over-travel slides. They cost more upfront, but replacing a blown-out slide on a fully loaded drawer is an absolute nightmare.
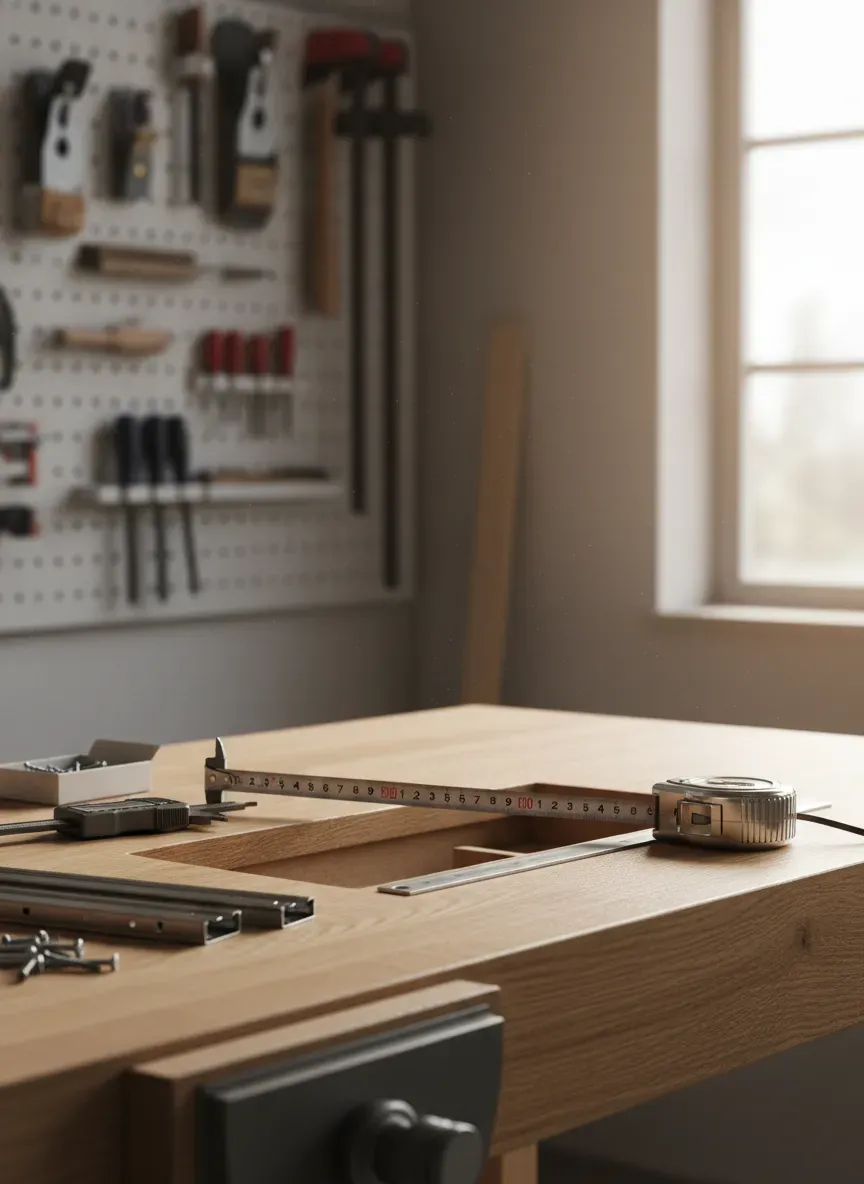
Step 1: The Geometry of Drawer Design
This is where projects succeed or fail. The math required for installing side-mount drawer slides is unforgiving.
Standard ball-bearing slides require exactly 1/2-inch of clearance on each side of the drawer box. This means your drawer box width must be exactly 1 inch narrower than the opening of your workbench bay.
Mapping the Cavity
Grab your tape measure. Don’t trust that your workbench legs are perfectly parallel. Measure the opening width at the top, the middle, and the bottom. Measure at the front edge and at the very back of the cavity. If your workbench is racked or out of square, you must use the smallest width measurement you find, or your drawer boxes will bind halfway through their travel.
Sizing the Depth and Height
Depth: Your drawer box should be 1 inch shorter than the maximum depth of your cabinet cavity to allow room for the slide mechanisms and a small buffer zone at the rear. If your bench is 24 inches deep, a 22-inch slide paired with a 22-inch deep box is your target.
Height: Give yourself at least 3/4-inch of vertical clearance between drawers. You don’t want the top of a slightly oversized tool catching on the structural rail above it.
Step 2: Cutting the Components
With your cut list generated, head to the table saw.
Batching your cuts is the secret to uniform drawers. Set your table saw fence to the height of your drawer boxes and rip all your long strips from the plywood sheets at once. Do not move the fence until every single front, back, and side piece for that specific drawer height is ripped. This guarantees perfectly flush upper and lower edges during assembly.
Next, head to the miter saw (or use a crosscut sled on the table saw). Cut all your side pieces to length. Then, cut all your front and back pieces.
Grooving for the Bottom Panel
We are not going to just nail a bottom panel to the underside of the box. That’s amateur hour. We are going to capture the bottom panel in a groove (a dado) for maximum structural integrity.
Set up a dado stack on your table saw, or use a standard blade and make multiple passes. You want a groove that is 1/2-inch deep, positioned 1/2-inch up from the bottom edge of your side, front, and back pieces. The width of this groove needs to perfectly match the thickness of your bottom plywood panel.
Test the fit on a scrap piece of wood. The plywood should slide into the groove with firm hand pressure—no hammering required, but no sloppy rattling either.
Step 3: Bomb-Proof Joinery Strategies
You have a stack of precisely cut plywood. Now, how do we stick it together so it survives a decade of abuse? You have three main options, ranging from fast-and-dirty to heirloom-quality.
Method 1: The Pocket Hole Approach
For shop furniture, pocket holes are a massive time-saver. Using a jig like the Kreg K4 Pocket Hole Jig, you can bore angled holes into the front and back pieces of your drawer box.
Apply a generous bead of high-quality adhesive, like Franklin Titebond III Ultimate Wood Glue, to the end grain of the front and back pieces. Clamp the joint dead square, and drive the pocket hole screws home. The mechanical fastener acts as an internal clamp while the glue dries. It’s incredibly fast and remarkably strong for shop applications.
Method 2: The Locking Rabbet Joint
If you want a step up in mechanical strength without jumping all the way to dovetails, the locking rabbet (or drawer lock joint) is brilliant. It requires a specialized router bit or careful table saw setup.
This joint creates an interlocking physical profile between the drawer side and the front/back. Even before the glue dries, the pieces lock together seamlessly. When lateral force is applied (like when yanking open a heavy drawer), the wood bears the stress, not just the fasteners.
Method 3: Half-Blind Dovetails
The undisputed heavyweight champion of drawer joinery. Using a dovetail jig and a router, you cut interlocking pins and tails. It’s overkill for a workbench? Maybe. But if you want to practice your fine woodworking skills on a low-stakes project before building a dining room credenza, your workbench is the perfect testing ground.
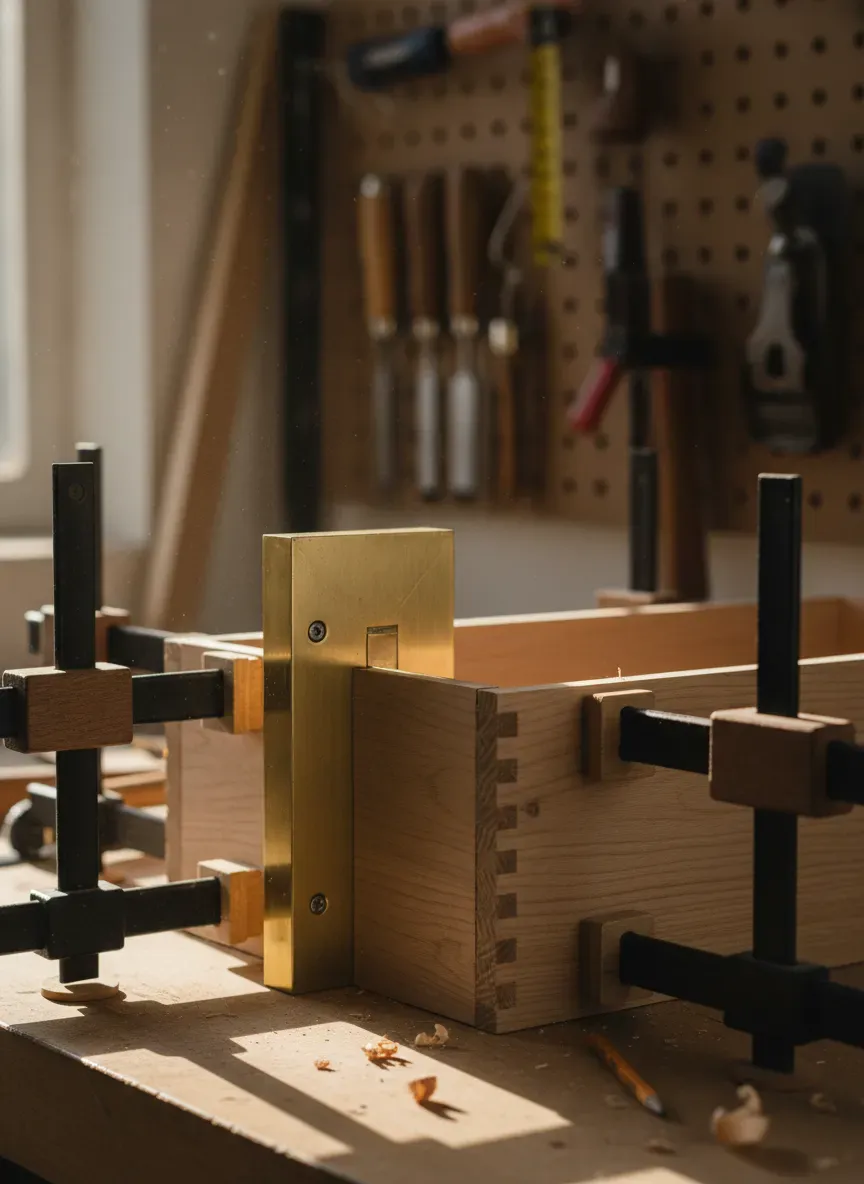
Step 4: Assembly and Squaring the Box
Dry fit everything first. Slide the front, back, and sides together, and slide the bottom panel into its groove. If everything fits, disassemble and prepare for the glue-up.
Wood glue has a surprisingly short “open time.” Once you apply it, the clock is ticking. Have your clamps staged and ready. Have a damp rag nearby for squeeze-out.
Apply glue to the joints (do NOT glue the bottom panel into the groove; it needs to float to allow for slight seasonal expansion, even with plywood). Assemble the box and apply your clamps.
Here’s the real kicker: a strong box is useless if it looks like a parallelogram.
Grab a reliable tape measure and check the internal diagonals of the box. Measure from the front-left corner to the back-right corner. Then measure from the front-right to the back-left. If those two numbers are identical down to the 1/16th of an inch, your box is dead square. If they differ, adjust your clamp pressure diagonally across the longer measurement to rack the box back into square before the glue tacks up.
Step 5: The Dreaded Slide Installation
This phase breaks a lot of beginners. Installing drawer slides can be an exercise in utter frustration if you don’t use reference blocks. Do not try to measure and mark pencil lines for the slide locations—you will introduce human error.
The Spacer Block Method
Instead of measuring, cut a piece of scrap plywood to the exact height you want your bottom drawer slide to sit off the floor of your workbench cavity.
- Place this spacer block inside the cabinet.
- Rest the cabinet-side member of your Promark Heavy Duty 22-Inch Drawer Slides right on top of the block.
- Drive your screws.
- Move the spacer block to the other side of the cavity and repeat.
Your slides are now perfectly parallel and identical in height.
To install the next slide up, cut a new spacer block that rests on top of the first installed slide. Repeat this process all the way up the bank. You’ll achieve factory-level precision without reading a single number on a tape measure.
Mounting the Drawer-Side Hardware
You need to mount the inner rails to your assembled drawer boxes. Find the vertical center of your drawer side. Draw a heavy pencil line from front to back. Align the screw holes of the slide rail exactly on this center line.
Pro Tip: Drive the screws into the elongated, horizontal oval holes first. This gives you about 1/8-inch of forward/backward adjustability when you test the fit. Once the drawer is closing flush, lock the hardware in place by driving screws into the perfectly round permanent mounting holes.
Slide the box into the cabinet. You should hear a satisfying click as the ball-bearing retainers engage. The drawer should glide silently with the push of a pinky finger. If it binds or scrapes, your cabinet cavity is narrower in the back than the front, and you’ll need to shim the slides accordingly.
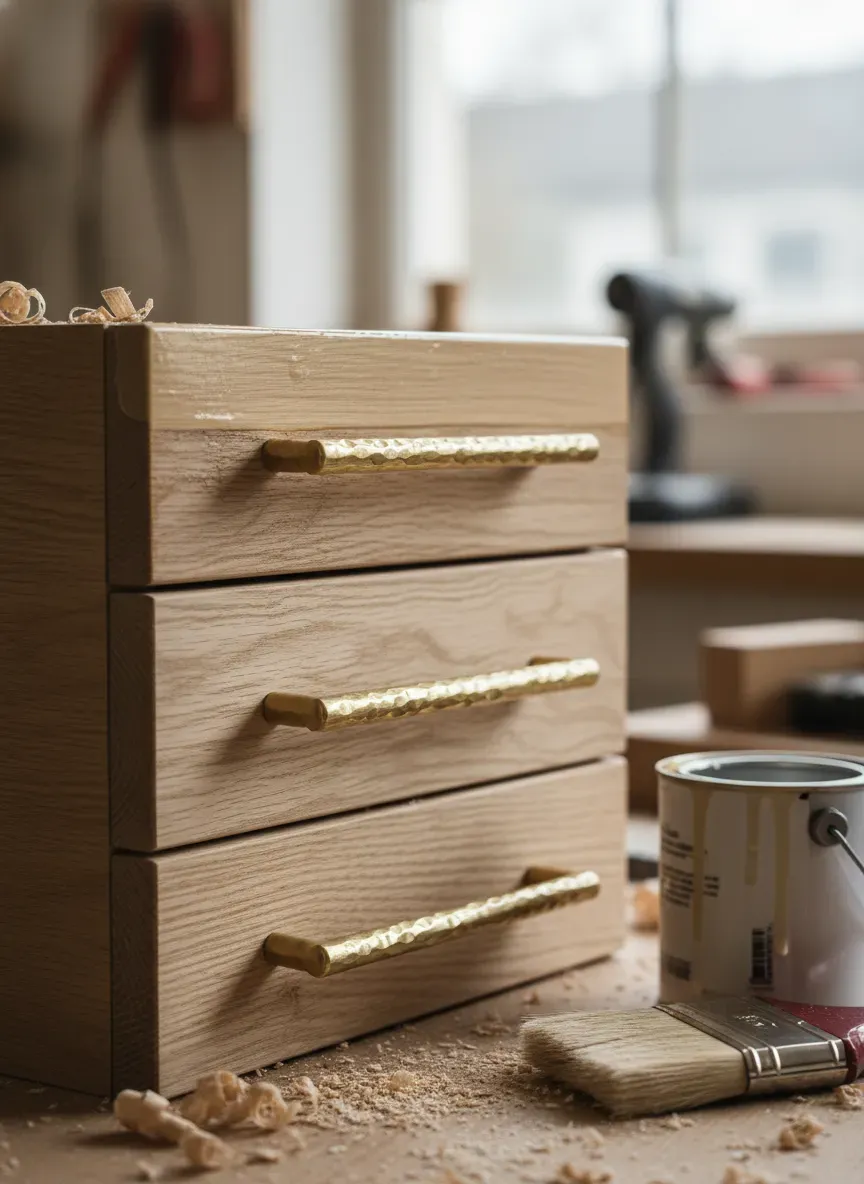
Step 6: Fitting the False Fronts
You’ve built the structural boxes. Now you need to make them look good. A “false front” is a decorative piece of wood that attaches to the front of your structural drawer box, hiding the utilitarian joinery and the edges of the drawer slides.
If you are building a bank of four drawers, the most visually striking approach is to use a single, continuous sheet of plywood or edge-glued hardwood, and cut the drawer faces sequentially out of it. This creates a “waterfall” grain effect that flows uninterrupted from the top drawer down to the bottom.
The Playing Card Trick
Getting the gaps (reveals) between your drawer faces perfectly even is a hallmark of professional carpentry.
Start with the bottom drawer face. Position it exactly where you want it. How do you attach it to the box behind it without visible screws on the front?
Apply strips of heavy-duty double-sided turners tape to the structural drawer box. Press the false front firmly against the tape. Pull the drawer open using the sides of the face. Now, drive permanent screws from the inside of the drawer box, through the structural front, biting into the back of the false front.
For the next drawer up, place a stack of three standard playing cards (or 1/16-inch tile spacers) on top of the bottom drawer face. Rest the second drawer face on the cards. Press it into the tape. Screw from the inside. Repeat. You will end up with razor-sharp, uniform gaps across the entire workbench.
Finishing Touches and Micro-Organization
Raw plywood will absorb grease, oil, and sweat in a matter of weeks. You need to seal the wood.
For the internal boxes, a coat or two of water-based polyurethane is ideal. It dries in hours, doesn’t yellow, and creates a slick surface that makes sweeping out sawdust incredibly easy. For the false fronts, you might choose to apply a penetrating oil finish like boiled linseed oil to pop the grain, followed by a hard-wearing wipe-on poly.
Hardware and Pulls
Your workbench drawers are going to be heavy. Tiny, delicate cabinet knobs will dig into your fingers. Opt for wide, heavy-duty bar pulls or create custom continuous wooden pulls routed into the top edge of the false fronts. If you choose metal pulls, consider using a drilling template jig to ensure every handle is mounted in the exact same location across the entire drawer bank.
Internal Dividers
Don’t let your pristine new drawers devolve into a junk drawer. Customize the interiors based on the tools they house.
- Kaizen Foam: Cut layers of dense foam to the exact silhouette of your tools. This is the ultimate aerospace-grade organizational method. If a tool is missing, the empty foam cutout acts as a glaring visual reminder.
- Slotted Dividers: Route shallow dados into the interior sides of your drawer boxes before assembly to accept 1/4-inch plywood dividers, allowing you to create custom grid compartments for hardware, screws, and router bits.
Common Pitfalls and How to Dodge Them
Even meticulous builders can hit snags during this process. Here are the traps waiting for you in the shop:
The Binding Slide: If your drawer is stiff and requires force to push in, your drawer box is likely slightly too wide, putting lateral pressure on the ball bearings. Fix: Remove the drawer, take off the slides, and run the drawer box sides over a jointer for one highly controlled pass, or use a hand plane to shave off 1/32 of an inch.
The Sagging Bottom: You opted for a 1/4-inch bottom panel, and now your router collection is causing the wood to bow dangerously close to the drawer below it. Fix: You don’t have to rebuild the whole box. Cut a structural rib (a 1x2 strip of pine) and screw it horizontally across the underside of the drawer bottom, tying it into the side walls.
Tear-Out on the False Fronts: When cutting your beautiful waterfall grain faces, the table saw blade chipped and splintered the top veneer of the plywood. Fix: Always use a zero-clearance insert on your table saw. Ensure your blade is sharp (ideally an 80-tooth crosscut or dedicated plywood blade). If you still get tear-out, wrap the cut line tightly with blue painter’s tape before running it through the saw. The tape holds the fragile wood fibers down during the cut.
Key Takeaways:
- Always measure your cabinet cavity in multiple places to account for racking.
- Subtract exactly 1 inch from the smallest cavity width to size your drawer boxes for standard side-mount slides.
- Batch your cuts on the table saw to ensure uniform dimensions.
- Use spacer blocks instead of tape measures to install drawer slides perfectly parallel.
- Utilize double-sided tape and playing cards for flawless false front alignment.
The Bottom Line: Building your own custom workbench drawers requires a front-loaded investment of time and precise math, but the payoff is exponential. You transform a chaotic workspace into a highly calibrated engine of creation. When every tool has a dedicated, accessible home, you spend less time searching and more time actually building.
If you are reading a guide this exhaustively detailed, you clearly have the sawdust bug. You respect the process, the precision, and the satisfaction of building something that will outlast you. But I know exactly what happens next. You finish the workbench, you sweep the floor, and you stare at your lumber rack, wondering, “What do I build now?”
I’ve been in that exact spot—plenty of ambition, a shop full of newly organized tools, but no clear blueprint to follow. Trying to reverse-engineer furniture from pictures online usually leads to wasted exotic wood and immense frustration. You need proven, tested schematics that remove the guesswork from complex angles and intricate joinery.
If you want to take your shop skills to the next level and never run out of inspiration, you need to check out Ted’s Woodworking. It is an absolute goldmine containing over 16,000 step-by-step woodworking plans, ranging from simple weekend jigs to masterful heirloom furniture. Whether you want to build an outdoor pergola, a classic roll-top desk, or specialized shop cabinets, it’s all mapped out with exact cut lists and 3D diagrams. Right now, you can grab the entire archive at a massive 75% discount.
Stop guessing with your lumber. Grab your blueprints and start your next masterpiece right here: https://a730c6qdqz1iyu9qn8tewytpf2.hop.clickbank.net