How to Build a Stunning Bench Using Only Your Scrap Wood Offcuts
Transform your chaotic scrap bin into a masterpiece. Learn the precise milling, glue-up, and flattening techniques to build a premium scrap wood bench.

Mar 21, 2026 - Written by: Linda Wise
Every woodworker knows the creeping guilt of the scrap bin. You rip a beautiful piece of black walnut down to size, and you’re left with an awkward, two-inch strip. It’s too small for a box, too beautiful for the fire pit. So, into the corner it goes. Months pass. The pile multiplies into a chaotic jumble of cherry, maple, oak, and exotic cutoffs.
I’ve personally found that sitting on hundreds of dollars of “useless” hardwood is a universal shop frustration. But those disparate strips hold incredible potential. Transforming offcuts into a solid, functional piece of furniture—specifically a bench—isn’t just a recycling exercise. It’s an advanced masterclass in grain orientation, milling accuracy, and adhesive dynamics. Building a stunning bench out of scrap wood requires meticulous preparation. You are essentially manufacturing your own lumber from chaos.
Let’s break down the exact, step-by-step methodology to turn that pile of shame into a breathtaking focal point for your home.
Quick Comparison: Top Picks
| Product | Rating | Check Price |
|---|---|---|
| Titebond III Ultimate Wood Glue | ⭐⭐⭐⭐⭐ | View on Amazon |
| Bessey K-Body REVO Parallel Clamps | ⭐⭐⭐⭐⭐ | View on Amazon |
| Freud 10” Glue Line Rip Blade | ⭐⭐⭐⭐½ | View on Amazon |
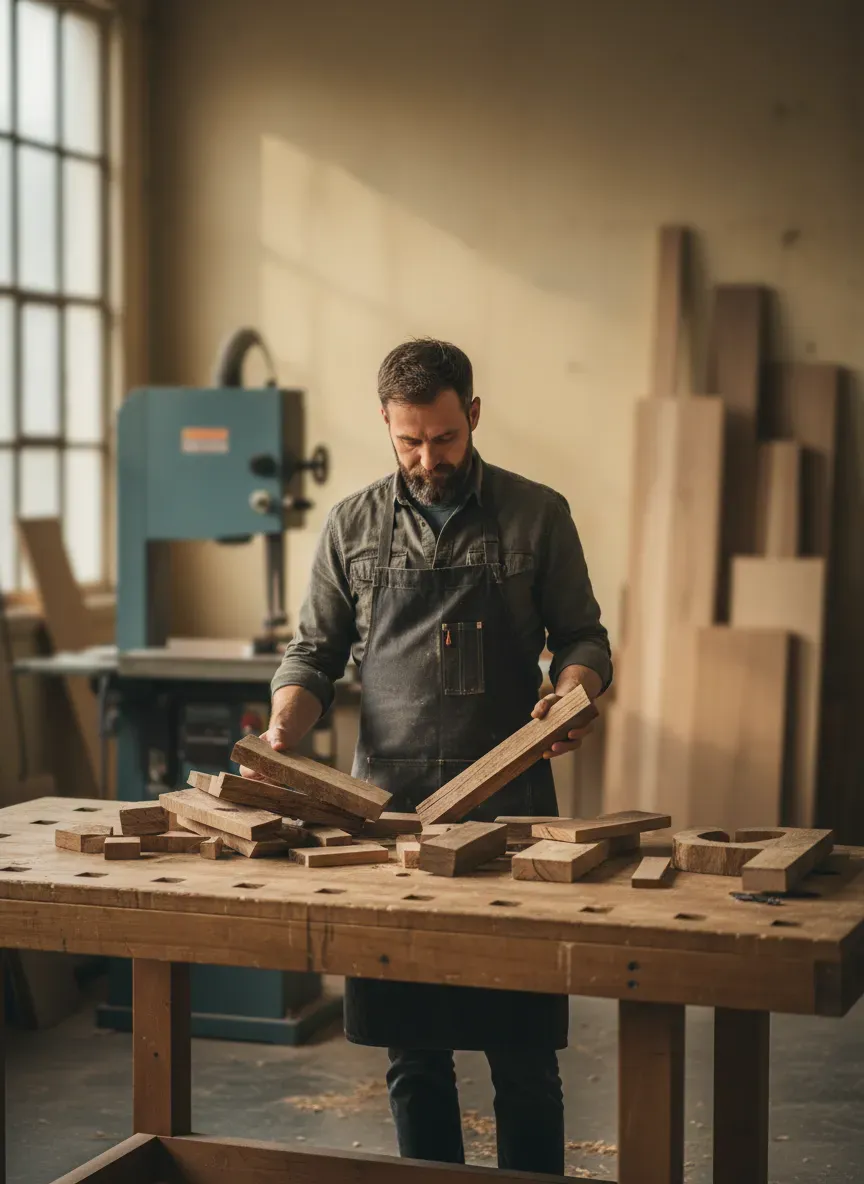
The Hidden Potential in Your Offcut Bin
Before you touch a single power tool, you have to audit your inventory. Not all scraps play nicely together. Wood is a hygroscopic material; it constantly absorbs and releases moisture from the air, expanding and contracting across the grain. When you combine twenty different strips of wood into one solid panel, you are setting up a microscopic warzone of dimensional movement.
Segregating Species by Density
Mixing softwoods and hardwoods in a single laminated panel is a recipe for disaster. I learned this the hard way years ago. If you laminate a strip of soft yellow pine directly against dense hard maple, they will sand unevenly, and worse, they will expand at vastly different rates during seasonal humidity shifts. This differential movement creates immense shear stress on the glue line, eventually leading to catastrophic delamination.
Sort your bin into three distinct piles:
- High-Density Hardwoods: Walnut, Maple, Oak, Hickory, Ash.
- Medium-Density Hardwoods/Exotics: Cherry, Mahogany, Sapele.
- Softwoods: Pine, Fir, Cedar.
Stick to one or two piles for the actual benchtop. A walnut, cherry, and maple combination is a classic for a reason—the densities are close enough to cooperate, and the color contrast is spectacular.
The Moisture Content Trap
Here’s the real kicker: that piece of oak you tossed in the bin three years ago has a vastly different moisture content than the piece of ash you cut yesterday. Before committing to a glue-up, stack your selected pieces with stickers (small spacers) between them in your shop for at least a week. Let them acclimate to the same ambient environment. Ignoring this step guarantees a warped benchtop down the line.
Pro Tip: Invest in a digital moisture meter with pins. Check the thickest offcuts. If there is more than a 2% variance in moisture content between pieces, do not glue them together yet.
Preparation and Milling: The Foundation of Success
The single biggest mistake woodworkers make when building a scrap project is trying to force irregular pieces together with clamp pressure. Glue is not a gap filler. It requires perfectly mated, flat surfaces to create a bond stronger than the wood itself.
Establishing Reference Faces
Your offcuts are likely twisted, cupped, or bowed. You must establish a geometrically flat face and a perfectly square edge on every single piece.
Fire up the jointer. Pass the concave face of the board over the cutterhead until you have one entirely flat surface. Place that freshly milled flat face against the jointer fence and pass the edge over the blades. You now have a 90-degree reference corner.
If you don’t own a jointer, do not panic. You can build a simple jointing sled for your table saw or use a hand plane. The objective remains the same: eliminating twist.
Ripping to Rough Widths
With your reference edges established, head to the planer. Plane all your strips down so they share a uniform thickness. This is non-negotiable. If your strips are varying thicknesses, your final glue-up will be an undulating nightmare to flatten.
Next, rip the strips on the table saw. You don’t need them to all be the exact same width—in fact, varying the widths often yields a more visually striking “butcher block” aesthetic. However, you need the glue edges to be immaculate. This is where a specialized blade, like the Freud 10” Glue Line Rip Blade, pays for itself immediately. It leaves an edge so smooth it feels burnished, requiring zero sanding before glue application.
Designing the Pattern (Chaos vs. Order)
With a stack of perfectly milled strips, the fun begins. You are essentially painting with wood grain. The way you arrange these pieces will dictate the entire visual impact of the bench.
The Butcher Block Method
The most common approach for scrap wood builds is the edge-grain lamination, often referred to as butcher block. You turn the strips on their edge, exposing the tighter, straighter grain lines.
When laying this out, pay close attention to the end grain. You want to alternate the growth rings (the curved lines on the end of the board) up and down. If you orient all the rings facing the same direction, the entire benchtop will naturally want to cup into a U-shape over time. Alternating the rings forces the board to fight itself, resulting in a much flatter, more dimensionally stable panel.
The Staggered Bricklay Technique
If your scraps are exceptionally short—say, 12 to 18 inches—you won’t be able to run continuous strips the full length of a 48-inch bench. You’ll need to use a staggered “bricklay” pattern.
You’ll notice that butt joints (where two end-grains meet) are notoriously weak. Wood glue wicks rapidly into the porous end grain, leaving the joint starved of adhesive. To counter this, ensure your butt joints are staggered by at least four inches in adjacent rows. The immense strength of the long-grain glue bonds on either side of the short piece will lock the butt joint in place, creating a surprisingly rigid slab.
The Anatomy of a Flawless Glue-Up
This is the crucible. The glue-up phase induces more anxiety than almost any other woodworking task. You are fighting the clock, the viscosity of the glue, and the sheer physical resistance of the wood.
Selecting the Right Adhesive
Standard polyvinyl acetate (PVA) wood glues are excellent, but they have varying “open times”—the amount of time you have to apply the glue and assemble the pieces before it starts to skin over and cure.
For a large, multi-strip benchtop, I highly recommend Titebond III Ultimate Wood Glue. It gives you roughly 10 minutes of open working time, which feels like an eternity compared to the panicked 4-minute rush of standard glues. Furthermore, it cures harder and is highly water-resistant, making it ideal if your bench will live near a damp entryway or covered porch.
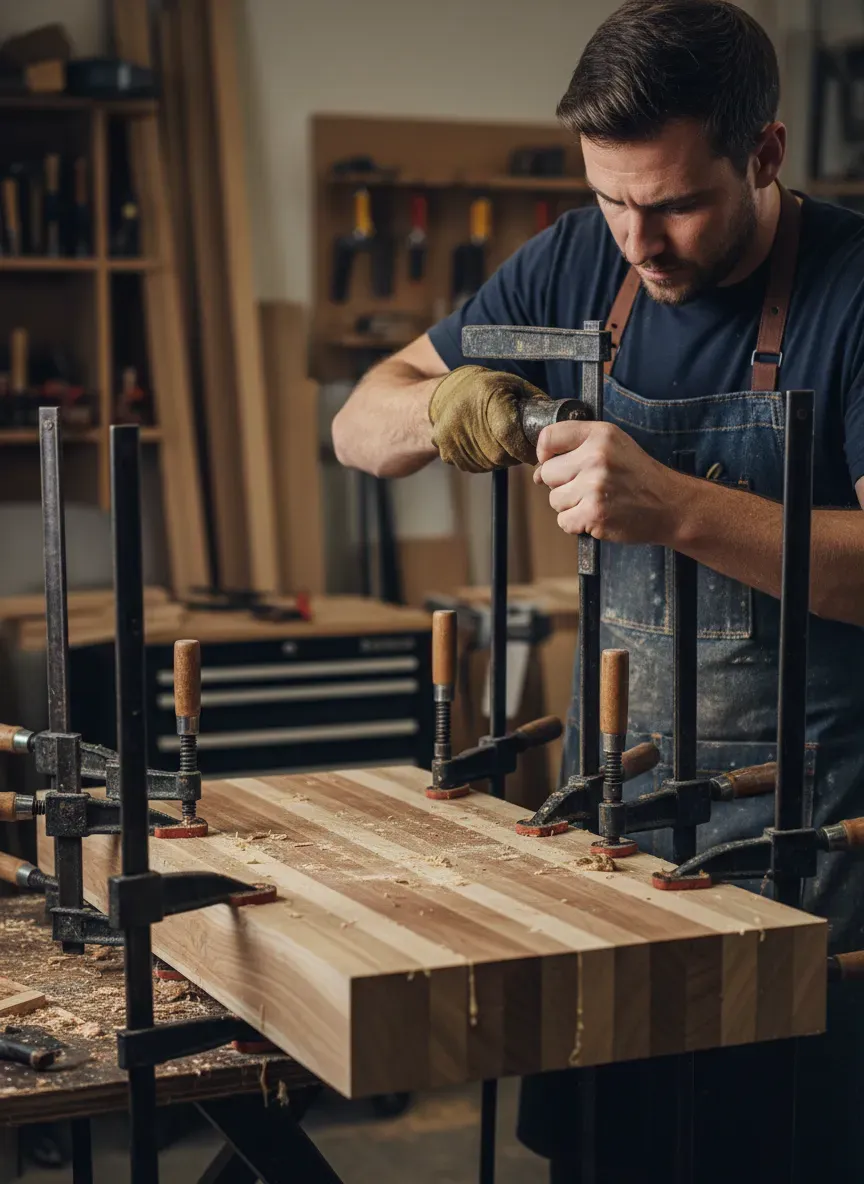
Clamp Distribution and Pressure Dynamics
Do not skimp on clamps. A dense hardwood benchtop requires massive, evenly distributed pressure. Heavy-duty parallel clamps, such as the Bessey K-Body REVO Parallel Clamps, are the gold standard here. Their large, perfectly square jaws prevent the boards from twisting under pressure.
Key Takeaways for a Successful Glue-Up:
- Dry Fit Everything: Always do a full clamp-up without glue first. This exposes gaps and lets you adjust your clamp sizing beforehand.
- Use a Glue Roller: Squeezing a squiggly line from the bottle isn’t enough. Use a silicone roller or a cheap chip brush to spread an even, thin film of glue across the entire mating surface.
- Deploy Cauls: As you apply lateral pressure to squeeze the strips together, the panel will inevitably try to bow upward. To combat this, clamp stout, straight pieces of wood (cauls) across the top and bottom of the panel at regular intervals. Wrap the cauls in packing tape so the squeeze-out doesn’t glue them to your bench.
- Watch for Squeeze-Out: You want a consistent line of tiny glue beads along every single seam. If you don’t see squeeze-out, you starved the joint.
Taming the Beast: Flattening and Surfacing
Once the clamps come off 24 hours later, you will have a heavy, solid slab. But it won’t be perfectly flat. Micro-variations during the glue-up leave tiny ridges.
Constructing a Router Sled
Unless you have access to a massive industrial wide-belt sander, the most efficient way to flatten a wide bench slab is with a router sled.
A router sled is a simple jig: two parallel, coplanar rails that run the length of your slab, and a cross-carriage that rides on those rails. Your plunge router sits in the cross-carriage, equipped with a wide spoilboard surfacing bit.
Set the bit to take off no more than 1/16th of an inch per pass. Slowly glide the router back and forth across the grain, stepping it over by half the width of the bit with each pass. The router will sheer away the high spots, leaving a mathematically flat surface. Flip the slab over and repeat the process on the other side.
Pro Tip: Router surfacing generates a monumental amount of dust and flying chips. Wear a high-quality respirator and a full face shield. Your shop floor will look like a hamster cage by the time you’re done.
Dealing with Tear-Out and Voids (Epoxy)
Scrap wood often features wild, undulating grain patterns. While beautiful, this highly figured grain is prone to “tear-out” when hit by a router bit or planer blade. You may also have small voids, knot holes, or slight gaps in your butt joints.
Now is the time to address these imperfections. Mix a small batch of high-quality, two-part epoxy. You can dye it black to accent the natural flaws, or keep it clear. Pour the epoxy into any voids and let it cure completely. Once hard, you simply sand it flush with the surrounding wood. This transforms an ugly defect into a smooth, intentional design element.
When designing furniture for the foyer or mudroom, dimensional scale is everything. A massive, heavy bench might overwhelm a tight corridor. If you want to integrate this piece seamlessly, you might want to look into 7 professional entryway storage strategies to ensure your new build complements the surrounding environment rather than choking the walking path.
Base Construction and Joinery Integration
A stunning slab deserves a robust base. You have two primary paths here: fabricating a wooden base out of remaining scraps, or utilizing manufactured metal hardware.
Addressing Seasonal Wood Movement
If you opt for a wooden base, you cannot simply glue and screw the legs directly to the underside of the slab. Remember that microscopic warzone we discussed? Your benchtop is going to expand and contract across its width by up to a quarter of an inch as the seasons change.
If you lock the top rigidly to a static base, the wood will literally tear itself apart, developing massive, ugly cracks.
You must allow for movement. The traditional method utilizes “figure-eight” fasteners or Z-clips. You mill a small slot or groove into the aprons of your base, insert the clip, and screw the other end into the slab. This mechanical connection holds the top firmly down but allows it to slide laterally as the humidity shifts.
Custom Wood Legs vs. Metal Hardware
Building mortise-and-tenon wooden legs adds incredible heirloom quality to the piece. Tapered legs offer a mid-century modern aesthetic, while thick, chunky legs ground the piece in a farmhouse style.
Alternatively, heavy-duty metal legs—like steel trapezoids or classic hairpin legs—offer a striking industrial contrast against the organic warmth of the multi-species scrap top. Metal legs usually come with pre-slotted mounting holes. Ensure you position your screws in the center of those slots to allow for the aforementioned wood movement.
Sanding Protocols and Finish Application
The final finish is where all your exhausting milling and glue-up labor pays off. The moment a finish hits a multi-species scrap slab, the disparate colors of the wood explode into vibrant life. But a bad sanding job will ruin it instantly.
The Step-by-Step Abrasive Journey
You cannot rush sanding. Start with a random orbital sander and 80-grit paper. Your goal here is removing the tooling marks left by the router sled or hand planes. Keep the sander moving constantly; dwelling in one spot will gouge a dish into your perfectly flat top.
Once the tooling marks are gone, move sequentially through the grits: 120, 150, 180, and finally 220. Never skip a grit. Skipping from 80 straight to 180 leaves deep, microscopic scratches that will stubbornly refuse to disappear and will glare horribly once the finish is applied.
Before your final pass at 220 grit, perform a technique called “raising the grain.” Wipe the entire benchtop down with a damp cloth. The water causes the compressed wood fibers to swell and stand up, making the wood feel fuzzy. Let it dry completely, then lightly hand-sand it with 220-grit paper. This guarantees the bench will remain silky smooth, even if someone sits on it with a wet raincoat.
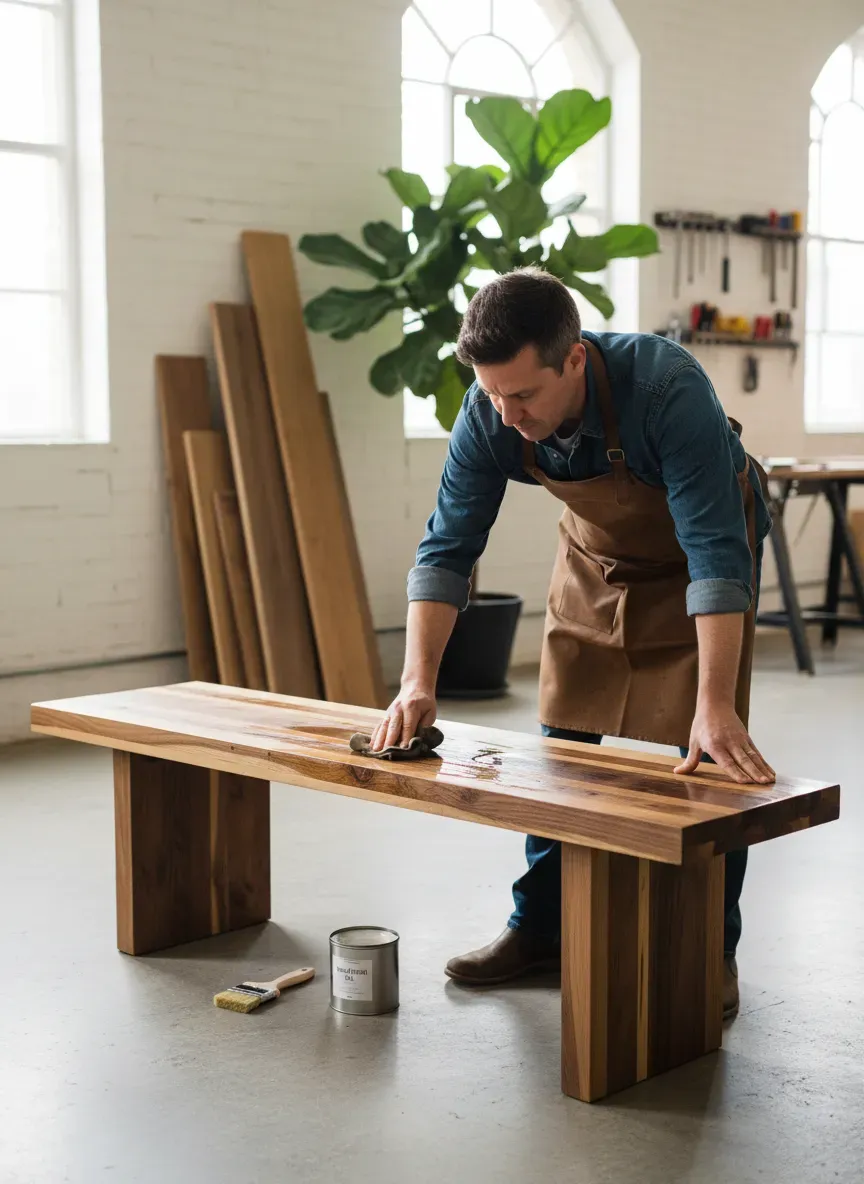
Oil vs. Film Finishes for Scrap Builds
For a bench constructed of high-density scraps, I strongly advocate for penetrating hard-wax oil finishes (like Rubio Monocoat or Osmo Polyx-Oil) over thick film finishes like polyurethane.
Polyurethane sits on top of the wood like a sheet of plastic. It’s highly protective, but it dulls the tactile sensation of the wood. Furthermore, if the bench gets scratched by a rivet on a pair of jeans, repairing polyurethane requires sanding down the entire top and starting over.
Penetrating hard-wax oils, however, bond with the wood fibers at a molecular level. They leave a gorgeous, matte luster that highlights the chaotic beauty of the scrap grain. The tactile feel is pure, warm wood. Best of all, if the finish gets scuffed, you simply dab a tiny amount of oil onto a rag and buff out the scratch. It blends perfectly.
The Bottom Line: Building a bench from offcuts is a deeply satisfying puzzle. It forces you to respect the material, hone your milling accuracy, and master the glue-up. You are quite literally creating something magnificent out of nothing.
The Final Polish
Tackling a project like a scrap wood bench requires a solid grasp of fundamental woodworking physics, but having a blueprint drastically reduces the mental friction. If you are looking to elevate your shop skills without endlessly second-guessing your dimensions or joinery methods, you need an extensive library of reliable plans.
I highly recommend checking out Ted’s Woodworking. I’ve found it to be an absolute lifesaver. You get instant access to over 16,000 meticulously detailed woodworking plans, covering everything from complex entryway benches to complete shop storage overhauls. Right now, they are offering an incredible 75% discount. It takes the guesswork completely out of the equation, allowing you to focus on what actually matters: turning that pile of scrap wood into a masterpiece you’ll be proud of for decades.