DIY Entryway Benches with Storage: Weekend Projects for Beginners
Transform your cluttered foyer with these beginner-friendly DIY entryway benches. Discover step-by-step guides for stylish storage solutions you can build in a weekend.
Feb 3, 2026 - Written by: linda wise

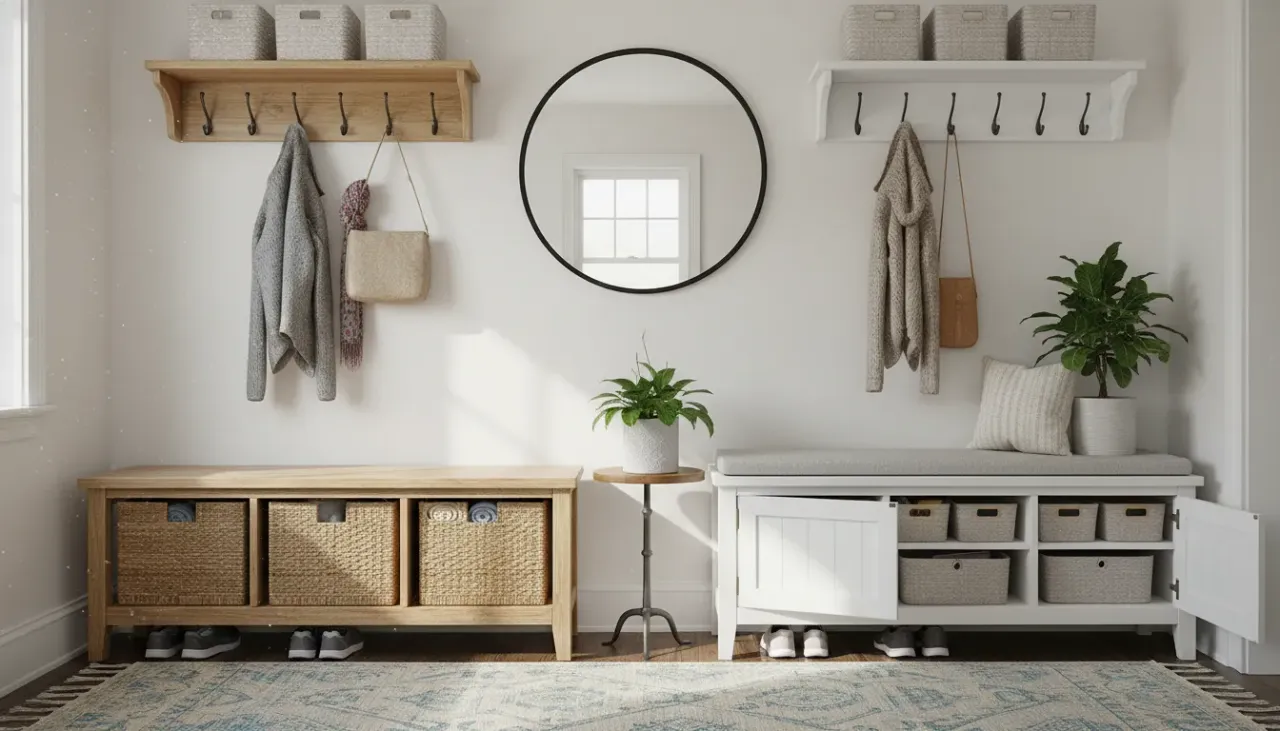
The entryway sets the tone for the entire home. It is the transition point between the outside world and your personal sanctuary. However, without proper organization, this high-traffic area often descends into a chaotic collection of discarded shoes, mail, and backpacks. The solution to this common dilemma is the entryway bench with integrated storage. While retail options can be prohibitively expensive or lack specific dimensions required for your space, building your own bench is a surprisingly accessible endeavor.
Embarking on a DIY project allows for customization in size, finish, and functionality. Whether you require deep cubbies for winter boots or hidden compartments for seasonal gear, a handmade bench provides a tailored solution. This guide outlines three distinct projects designed for beginners, ranging from assembly-only designs to basic woodworking builds. All of these can be completed within a single weekend, requiring only modest tools and materials.
Preparation and Planning
Before purchasing lumber or driving the first screw, careful planning is essential to ensure the success of your project. An entryway bench must be structurally sound enough to support weight while fitting seamlessly into your available space.
Assessing Your Space
Begin by measuring the intended area. Standard benches range from 36 to 48 inches in length, with a typical depth of 15 to 18 inches. The ideal seat height is generally between 18 and 20 inches, including any cushions you plan to add. Use painter’s tape to mark the dimensions on your floor; this visualization technique helps prevent overcrowding in narrow hallways.
Tools of the Trade
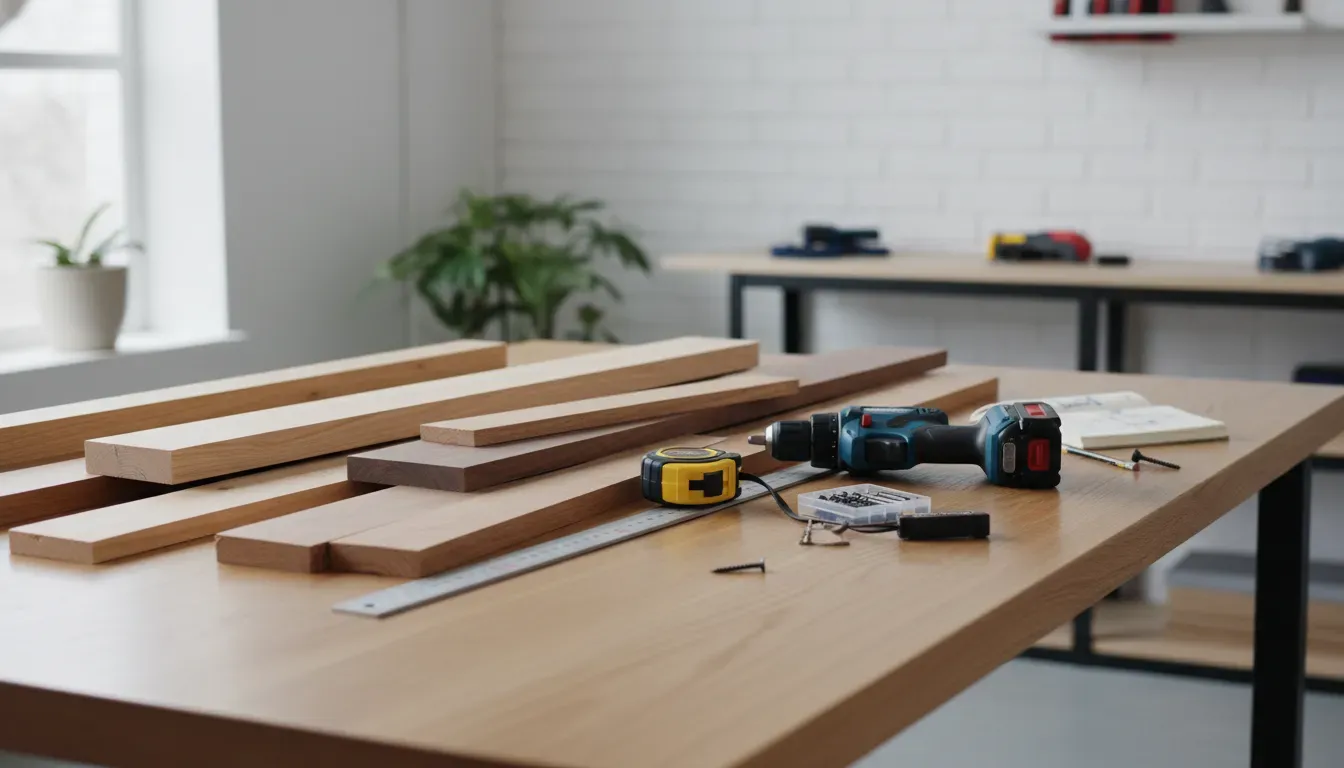
You do not need a fully equipped professional workshop to build high-quality furniture. For the projects listed below, the following tool kit is sufficient:
- Cordless Drill/Driver: Essential for joining wood.
- Circular Saw: For cutting lumber to size (alternatively, most home improvement stores will cut wood for you).
- Orbital Sander: For smoothing rough edges and preparing surfaces for finish.
- Measuring Tape and Speed Square: For accuracy.
- Pocket Hole Jig: This is a game-changer for beginners, allowing you to create strong, hidden joints without complex joinery skills.
If you are looking to invest in one tool that will elevate your DIY capabilities immediately, a pocket hole system is highly recommended.
Check Price on Kreg Pocket Hole Jig
Selecting Your Materials
For beginner projects, dimensional lumber (pine boards found at local hardware stores) is the most forgiving material. It is softwood, meaning it cuts and sands easily. However, ensure you select boards that are straight and free of significant warping or large knots. For painted projects, furniture-grade plywood or MDF (Medium Density Fiberboard) offer smooth surfaces that are easy to work with.
Project 1: The Rustic Crate Bench (No-Saw Method)
This project is the ideal entry point for those with no prior woodworking experience. It utilizes pre-manufactured wooden crates to form the structure, eliminating the need for complex cuts or structural framing. The aesthetic is rustic and open, perfect for farmhouse or industrial interiors.
Materials Required
- 3 sturdy wooden crates (ensure they are uniform in size).
- 1x12 or 1x14 lumber board (cut to the total length of the three crates).
- 1.5-inch wood screws.
- Wood glue.
- Sandpaper (120 and 220 grit).
- Stain or paint of choice.
Step-by-Step Instructions
1. Prepare the Crates Sand the crates thoroughly. Store-bought crates are often rough; use 120-grit sandpaper to remove splinters and smooth out the surfaces. Follow up with 220-grit for a polished feel.
2. Join the Structure Line up the three crates on their sides, ensuring the open ends face out (these will be your shoe cubbies). Clamp them together to keep them aligned. Pre-drill holes through the side slats of one crate into the adjacent one to prevent splitting. Secure them using 1.5-inch wood screws. You now have a long, segmented base.
3. Prepare the Top Measure the total length of your joined crates. Cut your top board to this length, plus an inch of overhang on the sides if desired. Sand the board until smooth.
4. Attach the Top Apply a bead of wood glue along the top edges of the crates. Place your board on top. Secure the board by screwing from the inside of the crates upward into the board. This ensures no screw heads are visible on the seating surface. Ensure your screws are shorter than the combined thickness of the crate slat and the top board to avoiding piercing through the seat.
5. Finish Apply a wood stain or paint to unify the crates and the top board. Once dry, seal with a clear polyurethane coat for durability.
Project 2: The Modern Farmhouse Bench with Shoe Shelf
For those ready to utilize a saw and drill, this project offers a robust, custom-furniture look. This bench features a solid wood top, sturdy legs, and a lower shelf specifically designed for shoe organization.
Materials Required
- Two 2x4s (8 feet long) for the legs and frame.
- One 2x10 or two 2x6s (8 feet long) for the seat.
- One 1x12 (8 feet long) for the lower shelf.
- 2.5-inch pocket hole screws.
- Wood glue.
Step-by-Step Instructions
1. Cut the Frame Components
- Legs: Cut four pieces of 2x4 to 17 inches long.
- Side Aprons: Cut two pieces of 2x4 to 11 inches long.
- Long Aprons: Cut two pieces of 2x4 to 40 inches long (adjust based on desired bench length).
2. Build the End Frames Drill two pocket holes on each end of the side aprons. Attach a side apron between two legs using wood glue and pocket hole screws. The apron should be flush with the top of the legs or inset slightly if you prefer a reveal. Repeat for the other side. You now have two leg assemblies.
3. Connect the Frames Drill pocket holes on the ends of the long aprons. Connect the two leg assemblies by attaching the long aprons at the top. This creates the main skeleton of the bench.
4. Install the Lower Shelf Support Measure 4 inches up from the bottom of the legs. Cut two support cleats (using 2x2s or scrap 2x4s ripped down) and screw them into the inside of the short sides of the leg assemblies. These will hold the shelf.
5. Add the Shelf and Top Place the 1x12 board on the lower supports. You may need to notch the corners with a jigsaw to fit around the legs, or simply cut the shelf shorter to sit between the legs. Secure with screws. Finally, center your 2x10 (or joined 2x6s) on top of the frame. Attach from underneath using pocket holes drilled into the aprons or metal corner braces.
6. Finishing Touches Fill any visible screw holes with wood filler. Sand the entire piece. Paint the base a crisp white and stain the top a rich walnut for that classic modern farmhouse contrast.

Project 3: The Stock Cabinet Hack
This “semi-handmade” approach leverages pre-made kitchen cabinets to create a high-end built-in look with minimal carpentry. This is an excellent method for achieving hidden storage, perfect for concealing clutter rather than displaying it.
Materials Required
- Two “over-the-fridge” wall cabinets (typically 30x12x12 or similar dimensions).
- 2x4 lumber for the base.
- Plywood or butcher block for the top.
- Cabinet hardware (knobs or pulls).
- Trim molding.
Step-by-Step Instructions
1. Build a Base Kitchen wall cabinets are not designed to sit directly on the floor. Build a simple rectangular frame using 2x4s that matches the combined footprint of your two cabinets placed side-by-side. This base lifts the doors off the floor, allowing them to open easily.
2. Join the Cabinets Place the cabinets on the base. Clamp them together and screw them to each other through the face frames (pre-drill to avoid splitting). Screw the cabinets down into the base frame.
3. Add the Top Cut a piece of plywood or butcher block to cover the top. For a built-in look, allow the top to overhang the front and sides by about one inch. Secure from the inside of the cabinets using screws driven upward.
4. Trim and Paint This step elevates the project from “boxes” to “furniture.” Add baseboard molding around the 2x4 base to hide the lumber. You can also add beadboard to the sides if the cabinet sides are unfinished. Paint the entire unit (excluding the top, if you chose wood) a uniform color.
5. Install Hardware Add stylish pulls or knobs to the doors. The right hardware acts as jewelry for the bench and can significantly change the style.
Advanced Comfort: Adding an Upholstered Top
A hard wooden bench is functional, but an upholstered seat invites you to sit and stay awhile. Adding a cushion is a straightforward process that softens the look of your entryway.
To create a fixed cushion (tufted or plain), you will need a piece of plywood cut to the dimensions of your bench top, high-density foam, batting, and durable fabric.
- Cut the Foam: Using a serrated bread knife or electric carving knife, cut the foam to the exact size of your plywood base.
- Layer the Batting: Lay a piece of batting on your work surface, followed by the foam, and then the plywood. Wrap the batting around to the underside of the wood and staple it in place, pulling gently to round over the sharp foam edges.
- Apply Fabric: Lay your fabric face down. Place the batting-wrapped board face down on top. Starting from the center of each side, pull the fabric taut and staple it to the underside of the plywood.
- Corners: Fold the corners neatly, similar to wrapping a gift, and staple securely. Trim excess fabric.
- Attachment: To attach the upholstered top to your bench, drive screws upward through the bench frame into the plywood base of the cushion.
Check Price on High Density Upholstery Foam
Finishing and Protection
Because entryways see high traffic, wet coats, and muddy boots, the finish you apply to your bench is as important as the construction.
Sanding
Never skip sanding. It opens the grain of the wood to accept stain evenly and ensures a professional feel. Begin with 80-grit if the wood is rough, move to 120-grit, and finish with 220-grit. Wipe away all dust with a tack cloth before applying finish.
Staining and Sealing
If you love the look of natural wood grain, choose an oil-based stain. Apply with a rag, wait a few minutes, and wipe off the excess. Once dry, you must apply a protective topcoat.
For an entryway bench, a water-based polyurethane is often the best choice. It dries quickly, does not yellow over time, and provides a hard shell against moisture. Apply at least three coats, sanding lightly with 320-grit sandpaper between coats for a glass-smooth finish.
Painting
If you prefer a painted finish, always prime bare wood first. A high-quality primer blocks stains (especially from pine knots) and ensures adhesion. Use an enamel paint or a specifically formulated cabinet paint for the topcoat; these are harder and more chip-resistant than standard wall latex paint.
Styling Your New Entryway
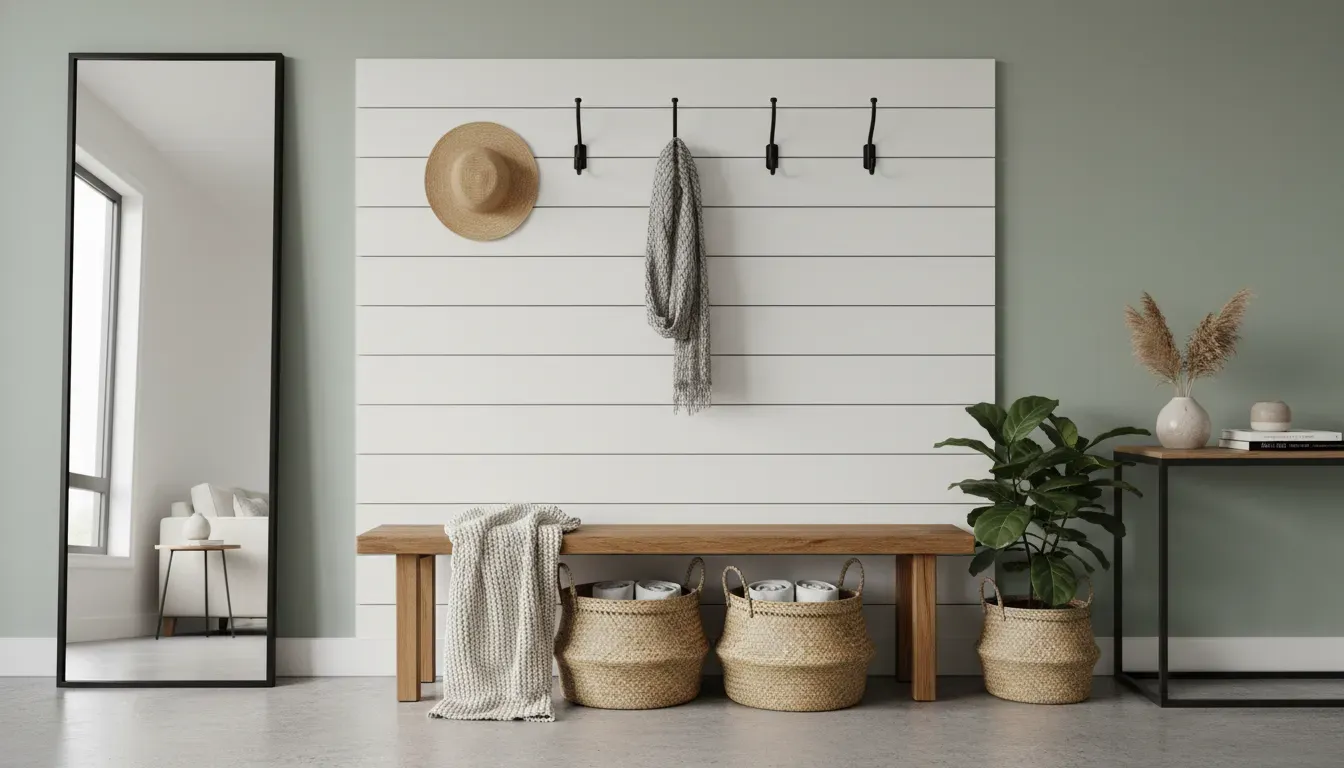
Once your bench is built and finished, the final step is integration into your home’s decor. A bench alone is useful, but a styled “drop zone” is transformative.
- Wall Organization: Install hooks or a coat rack on the wall above the bench. This draws the eye upward and provides immediate storage for jackets and bags.
- Textiles: Add throw pillows or a folded blanket to the bench. This introduces texture and warmth, making the space feel inviting rather than purely utilitarian.
- Baskets: If your bench design includes open shelves (like Project 1 or 2), utilize woven baskets or bins. These hide visual clutter like scarves, gloves, and pet leashes while adding a natural element to the design. For more ideas on managing clutter, read about small hallway storage hacks.
Conclusion
Building your own entryway bench with storage is more than just a weekend project; it is an investment in the organization and atmosphere of your home. By taking control of the dimensions and aesthetics, you create a piece that fits your life perfectly—something no mass-produced furniture can replicate.
Whether you choose the simplicity of the crate bench, the sturdiness of the farmhouse build, or the sleek look of the cabinet hack, the result is a functional anchor for your home’s entrance. Gather your materials, clear your schedule for the weekend, and prepare to transform your entryway from a clutter zone into a welcoming, organized space.