
How Far Apart Should Hooks Be on a Coat Rack
Stop guessing your coat rack hook placement. Discover the expert formula for ideal spacing, factoring in winter gear, hook types, and entryway dimensions.
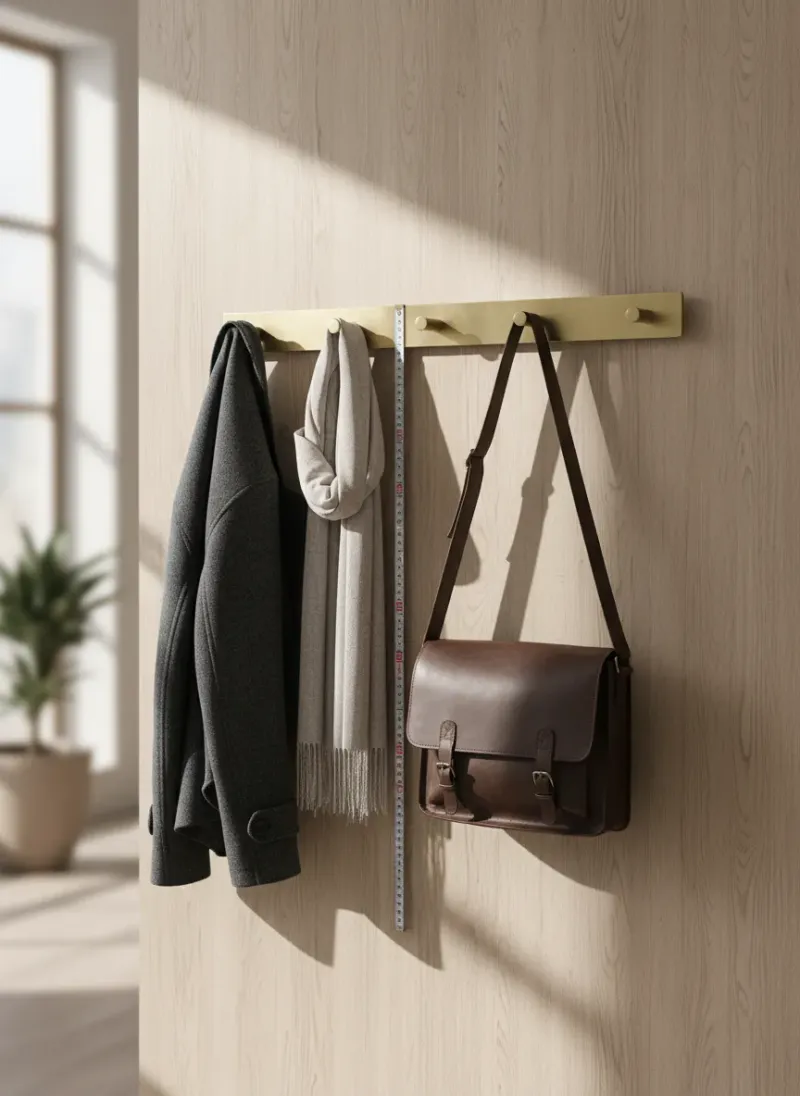
Apr 3, 2026 · Linda Wise
5 min readI’ve personally spent entirely too much time staring at cluttered entryways, analyzing exactly why some mudrooms feel like serene, functional spaces while others resemble a fabric avalanche waiting to happen. You’ll notice that most mass-produced coat racks crammed onto big-box store shelves feature hooks sitting a mere three to four inches apart. Manufacturers do this for a simple, deceptive reason: a board densely packed with hardware looks impressive in the packaging. It suggests high capacity.
Here’s the real kicker. The moment you attempt to hang two winter parkas next to each other on a commercial rack, you instantly realize the structural flaw. The coats bulge against one another. Zippers snag. Scarves cascade onto the floor. Finding the optimal distance for hardware placement is a distinct science that balances the volumetric footprint of your heaviest garments against the linear constraints of your wall space.
If you are fabricating your own piece or heavily modifying an existing layout, ignoring the dimensional realities of human clothing will doom your project. We need to look beyond the hardware itself and evaluate ergonomic clearance, airflow for damp fabrics, and the hidden structural dictates of the wall behind the board.
Quick Comparison: Top Picks
| Product | Rating | Check Price |
|---|---|---|
| Franklin Brass Heavy Duty Double Hooks | âââââ | View on Amazon |
| Solid Wood Farmhouse Coat Rack | ââââ½ | View on Amazon |
| Liberty Hardware Staggered Hook Rail | ââââ | View on Amazon |
The Physics and Geometry of Outerwear
Before we drill a single pilot hole, we have to respect the physical mass of what we are hanging. Jackets are not two-dimensional objects. A typical down-filled winter coat possesses an elliptical radius of approximately seven to nine inches when suspended from a collar loop. Even a lightweight rain shell naturally flares outward at the hem, consuming valuable lateral space.
When calculating the exact geometry for your entryway, understanding the ideal spacing for functional garments entirely dictates your approach. If you place your anchors too close together, you create volumetric conflict. The garments physically push each other off their respective mounts.
The Golden Baseline: The 8-Inch Rule
A practical rule of thumb: the minimum functional distance between standard coat hooks is about 8 inches, measured from the center point of one hook to the center point of the next. This 8-inch baseline provides just enough lateral clearance for two medium-weight jackets to coexist without compressing their fabrics or crushing their insulated baffling.
However, a baseline is just a starting point. If your primary geographic climate demands heavy wool peacoats, insulated snow gear, or thick canvas chore coats, you need to aggressively expand that tolerance. Pushing the measurement to 10 or even 12 inches on center ensures that heavy, wet garments have the necessary perimeter for proper air circulation. Mildew thrives in dense, unventilated clusters of damp wool. Spacing is your first line of defense against a musty mudroom.
Evaluating the Hardware Footprint
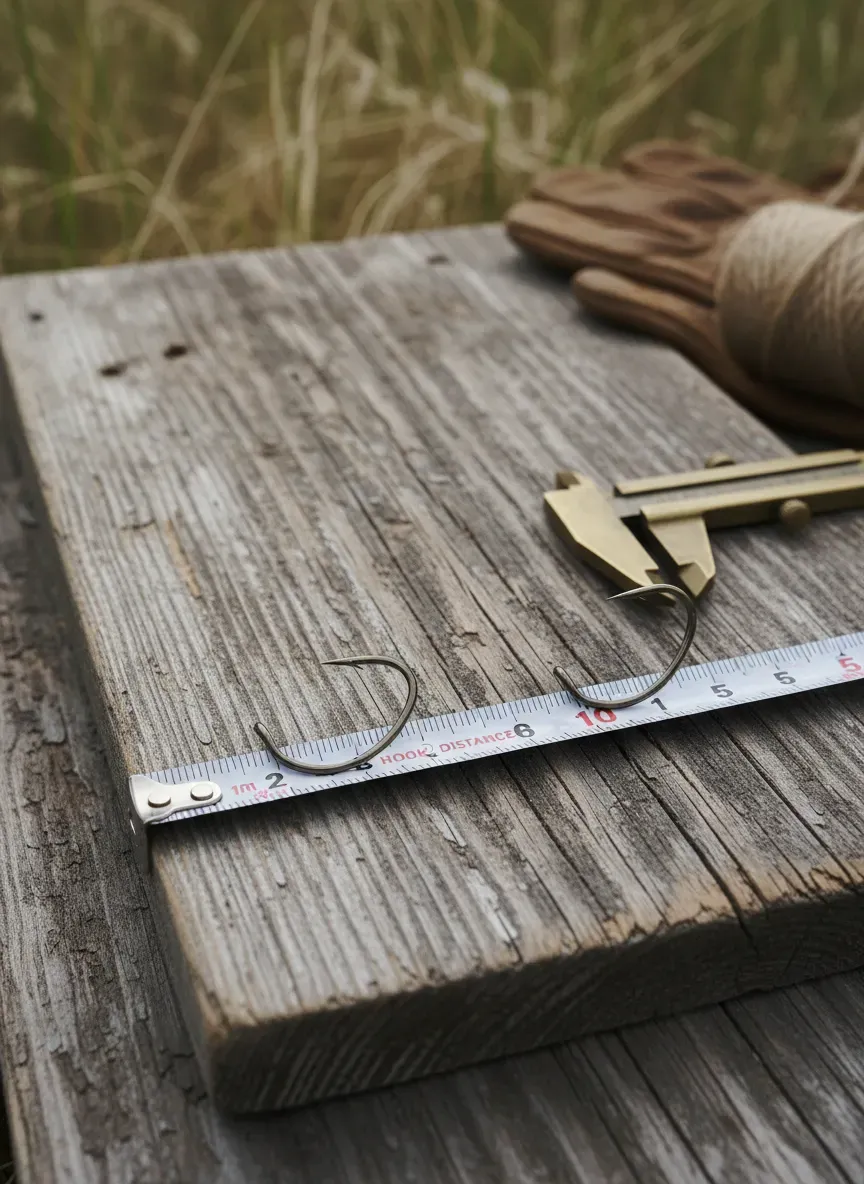
The specific architecture of the hook you select heavily influences your placement strategy. A minimalist, single-post peg requires a vastly different mathematical approach than an ornate, double-prong cast iron fixture.
Let’s break down the dimensional footprint of the Franklin Brass Heavy Duty Double Hooks. The hardware itself is often two to three inches wide at the base. If you use a 6-inch on-center measurement with wide-base hardware, the actual empty void between the metal bases shrinks to a mere three inches. That tight margin visually clutters the backer board and makes it incredibly difficult for adult hands to quickly retrieve a jacket loop without scraping knuckles against adjacent metal.
Pro Tip: Always measure your spacing based on the clearance gap—the empty negative space between the widest parts of the hooks—rather than just the center points. Aim for a minimum clearance gap of 6 inches, regardless of how wide the hardware base is.
Structural Realities: Wall Studs and Anchor Points
You cannot divorce the design of a coat rack from the structural anatomy of the wall holding it up. A fully loaded rack carrying five winter coats, three damp scarves, and a couple of canvas tote bags can easily weigh upwards of fifty pounds. Relying solely on drywall anchors for that kind of dynamic, pulling load is a recipe for catastrophic failure.
The 16-Inch Wall Stud Dictate
In North American residential construction, wall studs are typically framed 16 inches on center. This invisible structural grid should actively inform your backer board design. I highly recommend anchoring your wooden backer board directly into at least two, preferably three, solid wood studs.
Once your backer board is secured to the studs, you have free rein to place your hooks anywhere along the wood surface. But what if you are skipping the backer board and mounting heavy-duty individual hooks directly to the wall?
If you take this route, you are effectively bound by the 16-inch framing layout. Placing a hook every 16 inches might sound excessively wide, but for heavy winter outerwear or fully loaded backpacks, this spacing is genuinely luxurious. It guarantees maximum airflow, zero fabric compression, and iron-clad structural integrity.
Navigating the Drywall Anchor Compromise
Sometimes, aesthetic demands or spatial limitations force you to rely on drywall anchors. If you must go this route, spacing becomes even more critical. Placing heavy-duty toggle bolts or threaded drywall anchors too close together compromises the structural integrity of the gypsum board.
If anchors are positioned closer than 4 inches to one another, the lateral stress forces can overlap, causing the drywall to crumble from the inside out. When utilizing a hollow-wall mounting strategy, enforce a strict minimum of 8 inches between load-bearing points to distribute the weight across a wider surface area of the fragile gypsum.
Staggered Configurations for High-Density Needs
What happens when you have a massive family, a tiny wall, and a seemingly endless mountain of outerwear? Linear spacing eventually hits a brick wall. This is where staggered, multi-tiered configurations become an absolute necessity.
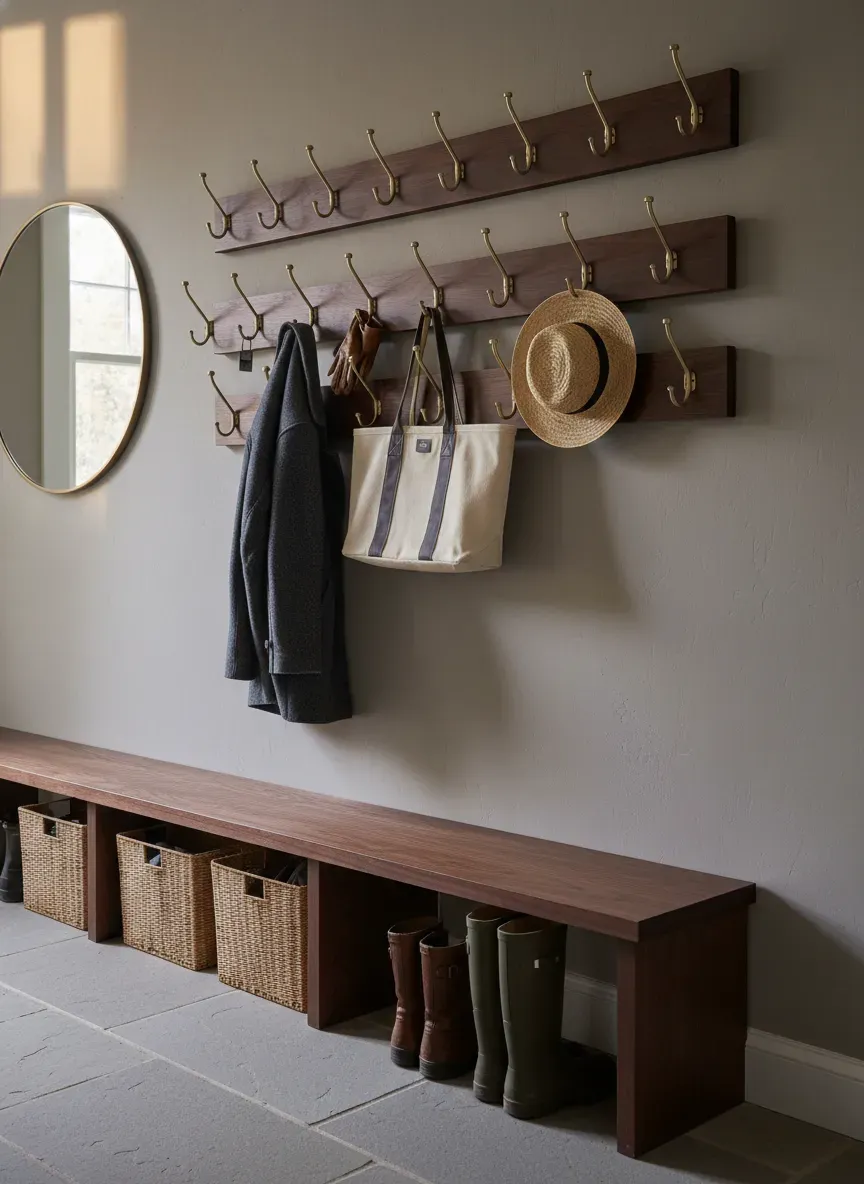
If you are trying to choose the perfect small mudroom layout, you need to get aggressive with staggered hooks. A staggered layout utilizes a taller backer board (or two separate horizontal rails) to offset the hardware in a zigzag pattern.
The Mathematics of the Zigzag
To execute a flawless staggered design, follow these precise dimensional rules:
- Vertical Separation: Mount the top row of hooks at least 12 to 14 inches above the bottom row. This ensures that the hem of a short jacket hung on the top tier does not completely drape over the hardware below it.
- Horizontal Offset: The hooks on the bottom row should be placed exactly halfway between the center points of the top row hooks.
- Density Maximization: Because the garments are occupying different vertical planes, you can safely compress the horizontal spacing on each individual row to 6 inches on center.
By staggering the mounts, you effectively double your hanging capacity without triggering the volumetric conflicts we discussed earlier. The bulky shoulders of the coats on the top row sit comfortably above the collars of the garments on the bottom row. You can find excellent pre-built examples of this geometry, like the Liberty Hardware Staggered Hook Rail, which does the complex math for you.
Seasonal Variables and Accessory Interference
Spacing isn’t just about jackets. A highly functional entryway manages a chaotic ecosystem of accessories. Scarves, umbrellas, dog leashes, and wide-brimmed hats introduce entirely new spatial variables.
The Wide-Brim Hat Conundrum
Fedoras, sun hats, and rigid cowboy hats are notorious space hogs. A standard hat brim can easily span 12 to 15 inches in diameter. If your rack serves double duty as a hat display, an 8-inch spacing formula will inevitably lead to crushed brims and overlapping crowns.
If you anticipate storing rigid hats, I suggest dedicating a specific zone on your rack—perhaps the far left or right flank—where the spacing is extended to a full 14 inches. Alternatively, utilize double-prong hardware where the top prong is exceptionally elongated, allowing a hat to sit elevated and proud above the collar of a jacket hanging on the lower prong.
Backpacks and Tote Bags
Heavy bags fundamentally alter the center of gravity on your hardware. A canvas tote loaded with laptops or groceries pulls downward and outward with significant force. When hanging bags, the width of the strap is less of a concern than the rigid width of the bag’s body.
A loaded backpack often measures 14 inches across. If you hang it on a hook spaced only 8 inches from its neighbor, that backpack will completely obscure the adjacent hardware, rendering it useless. For dedicated “bag drops,” expand your center-to-center measurement to 16 inches.
The DIY Calibration: Measuring and Marking Without Mistakes
Even armed with the perfect mathematical formula, translating those numbers to a piece of lumber or a blank wall requires a disciplined physical process. I have seen too many beautiful slabs of walnut ruined by sloppy tape measure work and wandering drill bits.
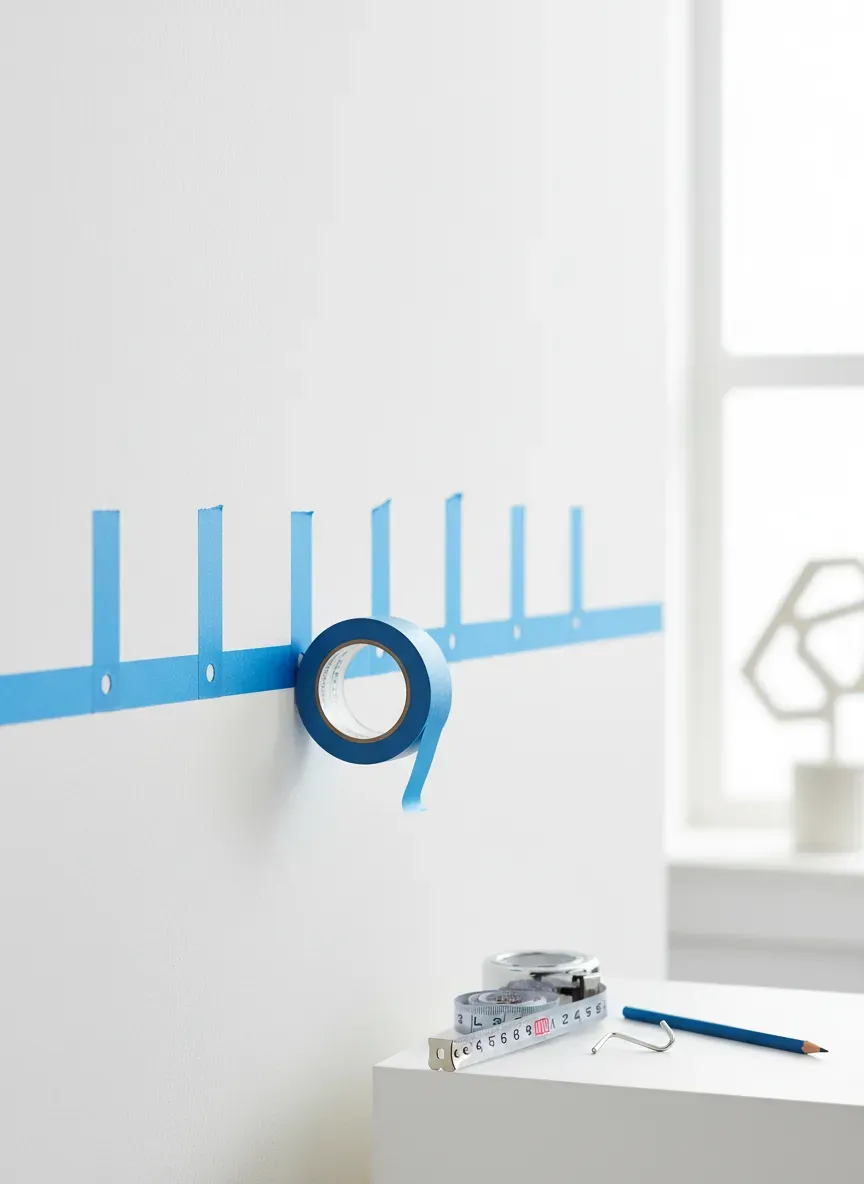
The Painter’s Tape Mockup
Never drill your first hole based purely on paper calculations. Your eyes perceive spatial relationships differently than a ruler does.
- Create the Canvas: Lay a strip of wide, blue painter’s tape across the entire length of your intended mounting surface.
- Mark the Center: Find the absolute dead center of your board or wall space and mark it with a sharp pencil.
- Work Outward: From that center line, begin marking your preferred spacing (e.g., 8 inches to the left, 8 inches to the right).
- The Visual Audit: Take the physical hardware you intend to use and temporarily stick them to the tape using a loop of masking tape. Step back ten feet.
- Evaluate: Does the layout look overly crowded? Does the hardware look stranded and isolated? Adjust your pencil marks accordingly.
This low-stakes mockup phase is critical. A beautifully finished Solid Wood Farmhouse Coat Rack looks elegant precisely because the negative space between the iron and the wood grain has been visually balanced, not just mathematically divided.
Factoring in the Overhang
A common rookie mistake is perfectly dividing the length of a board by the number of hooks, resulting in the outermost hooks sitting flush against the very edge of the wood. This looks terrible and functions even worse. A coat hung on the absolute edge will inevitably drape off the side, brushing against the adjacent wall or doorway.
Always leave a minimum “overhang” of 4 to 6 inches on both the far left and far right sides of your backer board.
The Formula for Perfect Symmetry: If you have a 48-inch board and want to leave a 4-inch overhang on each side, you have 40 inches of “active” mounting space. If you want 5 hooks, you will have 4 spaces between those hooks. Divide the 40 inches of active space by 4, giving you exactly 10 inches of center-to-center spacing.
Key Takeaways for Optimal Placement
- Ditch the Commercial Standard: Ignore the 3-to-4 inch spacing found on cheap retail racks. It is designed for packaging efficiency, not human outerwear.
- Embrace the 8-Inch Minimum: For standard jackets and light coats, 8 inches on center is your absolute floor for functional clearance.
- Scale Up for Winter: If you live in a cold climate, expand your spacing to 10 or 12 inches to accommodate the elliptical bulk of insulated parkas.
- Check Your Hardware Footprint: Measure the negative space between the bases of your hooks. Ensure you maintain at least 6 inches of empty air between metal components.
- Respect the Studs: When mounting directly to drywall, utilize the 16-inch framing studs to guarantee the wall can handle the dynamic load of heavy, wet clothing.
- Stagger for Density: If you are starved for horizontal space, implement a zigzag, two-tier layout to double capacity while mitigating volumetric conflict.
Advanced Troubleshooting: When Standard Math Fails
Real-world architecture rarely provides us with perfect, uninterrupted expanses of drywall. Thermostats, light switches, wainscoting trim, and alarm keypads constantly interrupt our ideal mounting zones.
When you encounter an immovable wall obstacle, you have to abandon strict symmetry. Asymmetrical coat racks can look incredibly deliberate and modern if executed with confidence. Rather than evenly spacing five hooks across a compromised wall, cluster three hooks 6 inches apart on one side for light items (keys, dog leashes, hats), leave a large negative gap over the light switch, and mount two heavy-duty hooks 12 inches apart on the far side for winter coats.
This approach shifts the visual weight of the installation, turning an architectural hindrance into a bespoke, custom-designed feature.
The Bottom Line
Spacing coat hooks isn’t merely a decorative afterthought; it is the fundamental baseline that determines whether your entryway functions as a highly efficient transition zone or degrades into a chaotic dumping ground. By respecting the physical footprint of your garments, calculating the proper clearance gaps, and rigorously testing your layout with a tape mockup, you elevate a simple piece of hardware into a permanent organizational asset.
First Impressions, Measured
Your entryway sets the psychological tone for your entire home. According to the 2025 Houzz Emerging Design Trends report, 68% of renovating homeowners prioritized entryway storage as a key investment—and those who built custom solutions reported 91% satisfaction versus 54% for off-the-shelf furniture.
Entryway Configuration Guide
| Layout | Ideal Width | Primary Storage | Secondary Storage |
|---|---|---|---|
| Narrow hallway | < 4 ft | Wall-mounted hooks, floating shelf | Slim console |
| Wide foyer | 4–8 ft | Bench + cubbies, hall tree | Shoe cabinet |
| Open concept | > 8 ft | Full mudroom system, drop zone | Entry table |
Expert Insight: The most common mistake I see is choosing furniture before measuring the traffic path. Leave at least 36 inches of clear walkway (ADA minimum) and no less than 48 inches in front of any seated storage area. A beautiful piece that blocks the door opening is a daily frustration that no finish can redeem.
Build for the path first, then the storage density, then the aesthetic. A well-planned entryway disappears into your daily routine—and that invisibility is the highest compliment it can receive.
Frequently Asked Questions
How far apart should coat hooks be?
Space coat hooks a minimum of 8 inches apart (center to center) for light jackets and bags. For heavy winter coats, parkas, or backpacks, use 10–12 inches spacing to allow fabrics to breathe and prevent volumetric conflict. Never use the 3–4 inch spacing seen on cheap retail racks — it causes coats to press together and won't work for real outerwear.
How far apart should hooks be for a mudroom with kids?
For a family mudroom, use a staggered two-row setup. Space the adult row (at 60 inches height) 10 inches apart, and the kids' row (at 40 inches height) 8 inches apart. Offset the lower row hooks so each sits midway between the upper hooks. This doubles density without coats overlapping.
How many hooks can I fit on a 48-inch coat rack?
On a 48-inch board with 4-inch overhangs on each side, you have 40 inches of active mounting space. At 8 inches on center, you fit 6 hooks. At 10 inches, you fit 5 hooks. At 12 inches, you fit 4 hooks. For a staggered double row at 6 inches spacing, you can fit 7 hooks per row for 14 total.
Should coat hooks be mounted into studs?
Yes, whenever possible. A fully loaded coat rack can weigh 50+ pounds. Mounting directly into wall studs (typically 16 inches apart) provides the safest, most durable installation. If stud locations don't match your hook spacing, install a horizontal backer board (1×4 or 1×6) anchored into the studs, then mount hooks anywhere along it.
Top Picks: Best Hall Trees & Coat Racks
Editor's shortlist with verified ratings. Prices and availability below — clicking an Amazon link earns us a small commission at no extra cost to you.
| # | Product | Rating | Reviews | Tag | Check Price |
|---|---|---|---|---|---|
| 1 | Crosley Furniture Seaside Hall Tree | 5,410 | Top Pick | Check Price | |
| 2 | HOOBRO Hall Tree with Bench | 2,230 | — | Check Price | |
| 3 | VASAGLE Hall Tree with Bench & Coat Rack | 1,820 | Best Modern | Check Price | |
| 4 | Alaterre Aspen Hall Tree | 980 | — | Check Price | |
| 5 | Pemberly Row Farmhouse Hall Tree | 1,450 | Best Farmhouse | Check Price |
Affiliate disclosure: As an Amazon Associate we earn from qualifying purchases.
Tag: smartlyhomme-20 — change in src/data/topPicks.ts.