Mastering the Bench Crochet: A Traditional Guide to Better Workholding
A human-crafted, high-CTR meta description.
Apr 14, 2026 - Written by: Linda Wise

Spend enough time wrestling with cast-iron vises that rack, slip, or crush the fibers of your prized hardwood, and you inevitably start looking backward. Modern woodworking often assumes that solving a problem requires complex machinery, threaded steel rods, and precision-machined quick-release mechanisms. I’ve personally found that the opposite is true. The most brutal, unyielding, and efficient workholding solutions were perfected centuries ago by craftsmen who had to process massive timbers strictly by hand.
Enter the bench crochet.
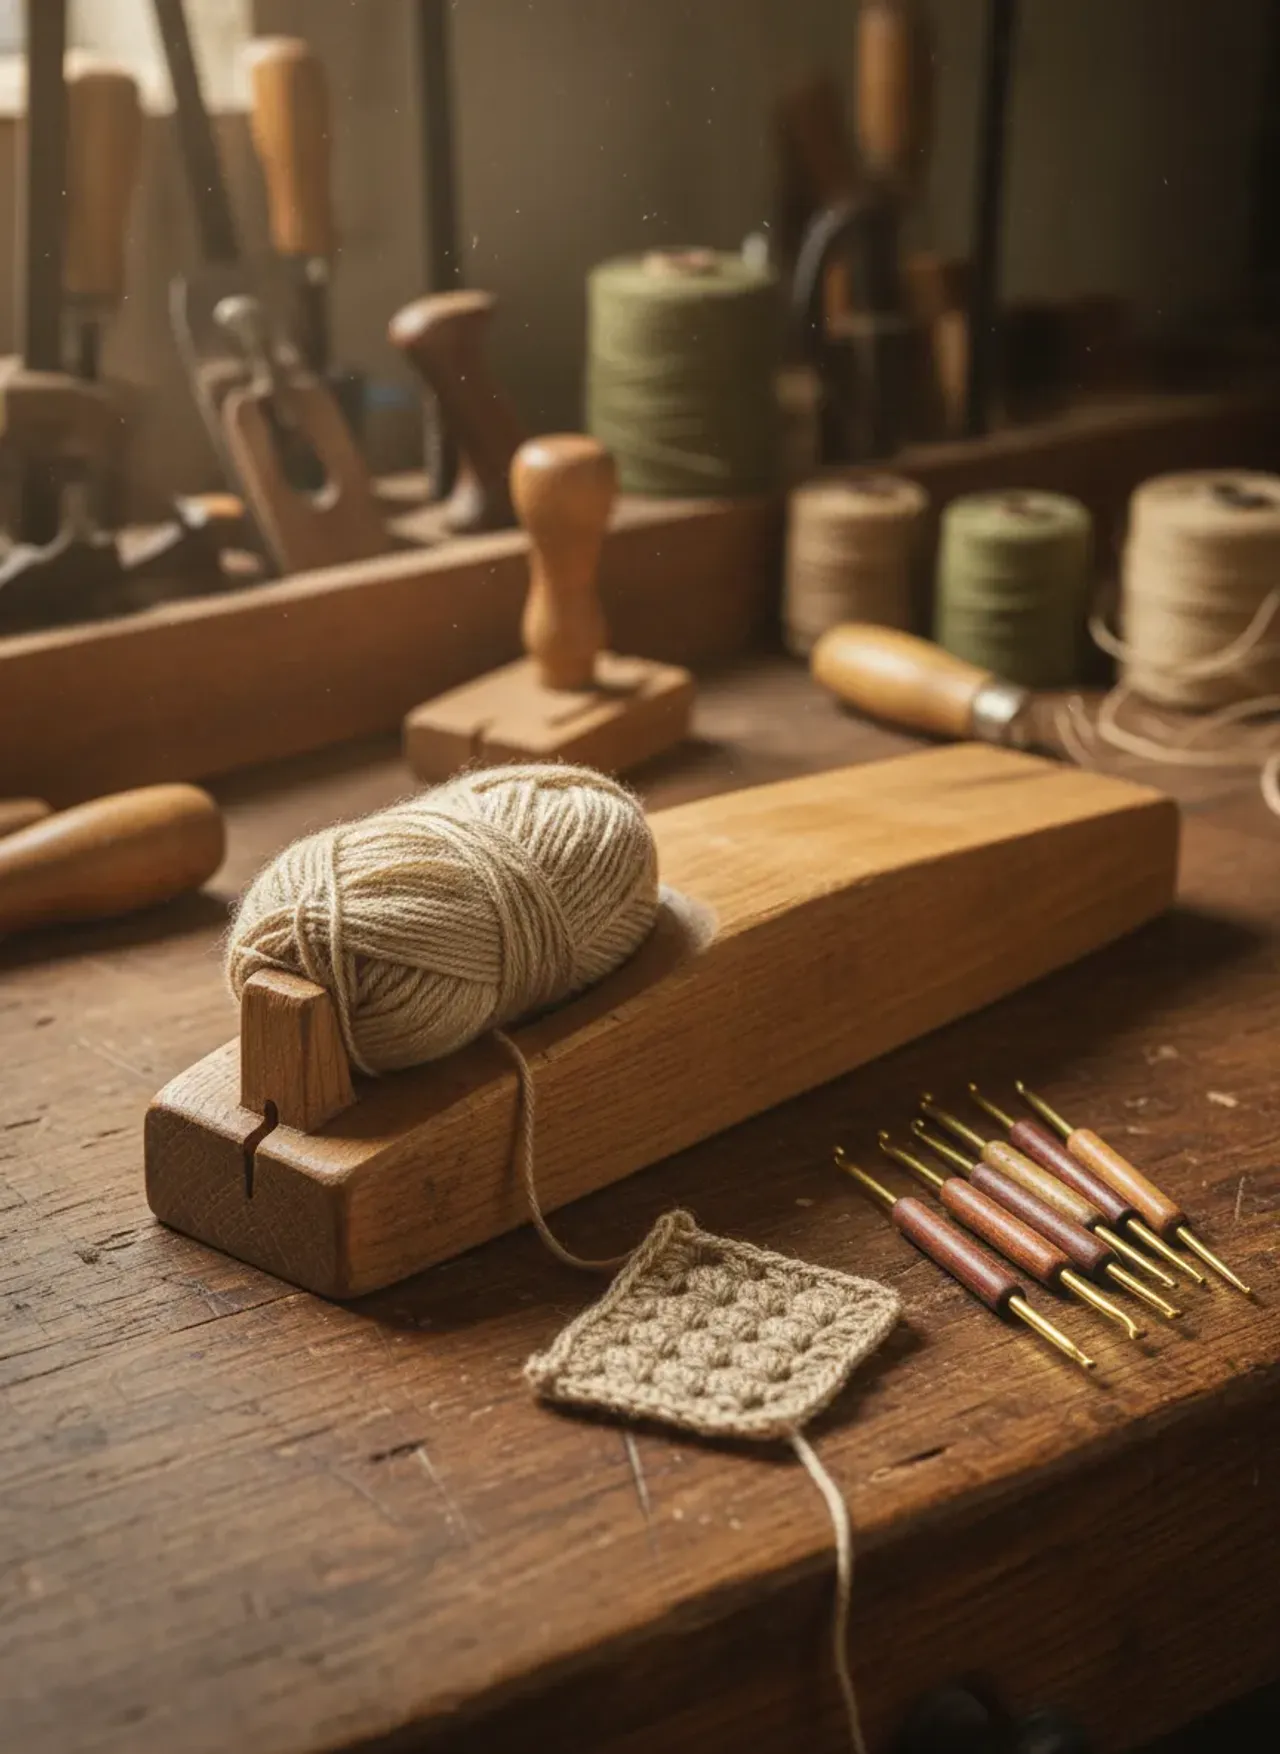
Pronounced “crow-shay” (yes, like the yarn craft, derived from the French word for “hook”), this massive wooden appendage bolted or mortised into the front left corner of a traditional workbench is a masterclass in applied physics. It utilizes the raw kinetic energy of your own hand plane to lock a board into place. The harder you push, the tighter it grips.
Before we tear down the mechanics of designing, installing, and utilizing this brilliant piece of 18th-century engineering, let’s look at a few modern tools that beautifully complement traditional friction-based workholding.
Quick Comparison: Top Picks
| Product | Rating | Check Price |
|---|---|---|
| Gramercy Tools Holdfast | ⭐⭐⭐⭐⭐ | View on Amazon |
| Veritas Low-Profile Planing Stop | ⭐⭐⭐⭐½ | View on Amazon |
| The Workbench Design Book (Schwarz) | ⭐⭐⭐⭐⭐ | View on Amazon |
The Anatomy of a Bench Crochet
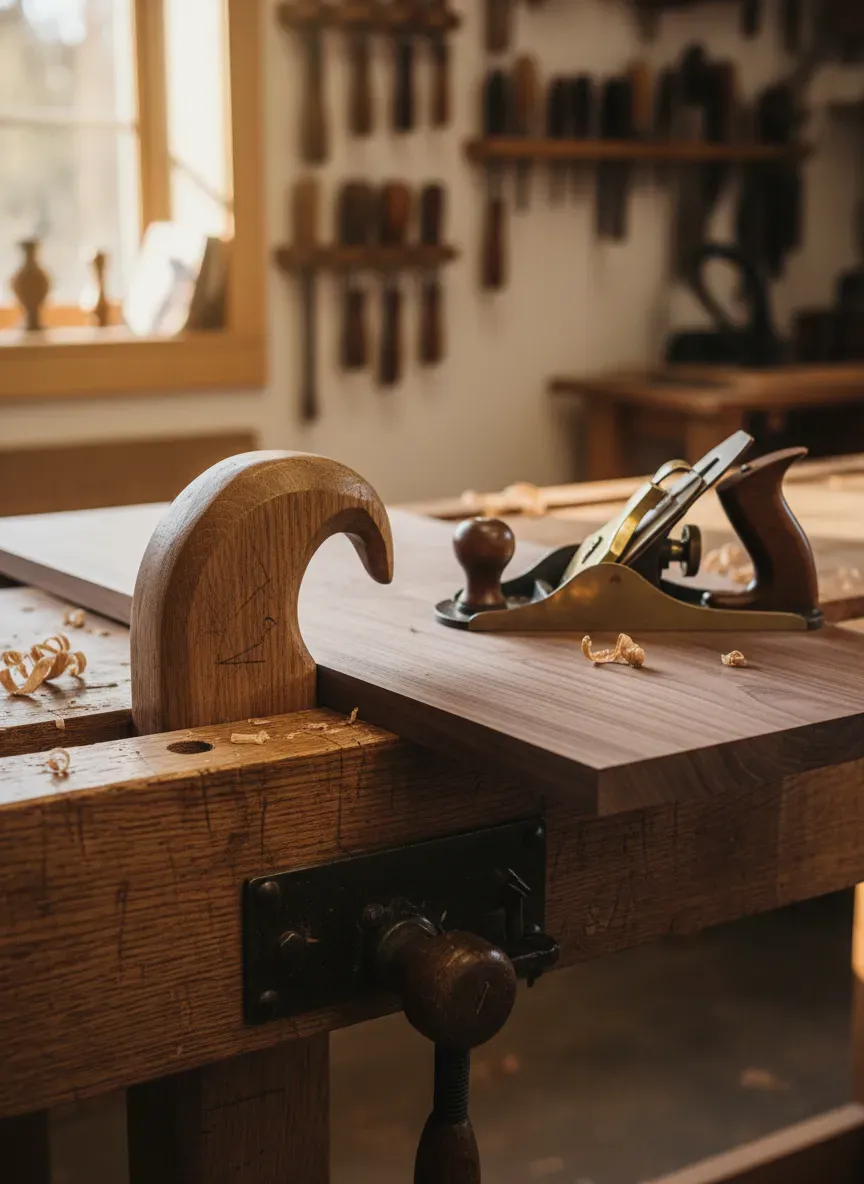
At first glance, a bench crochet looks like an overgrown wooden doorstop glued to the front of a workbench. But to dismiss it as a mere block of wood is to fundamentally misunderstand the anisotropic nature of timber and the geometry of wedge-based friction.
The Historical Context
If you thumb through the legendary plates of André Roubo’s L’Art du Menuisier (The Art of the Joiner), published in the 1770s, you won’t see twin-screw modern vises on every bench. You see massive, thick slabs of wood with a single, aggressive hook protruding from the front edge. French joiners were processing enormous quantities of raw lumber into refined furniture using scrub planes, try planes, and jointers.
They couldn’t afford to spend three minutes twisting a vise handle every time they needed to flip a board to plane the edge. They needed instantaneous workholding. The crochet provided exactly that. A woodworker simply rested the bottom edge of a board on a peg or sliding deadman, shoved the front edge of the board into the V-shaped gap created by the crochet, and started planing.
How the Geometry Actually Works
Here’s the real kicker: the crochet operates entirely on directional force.
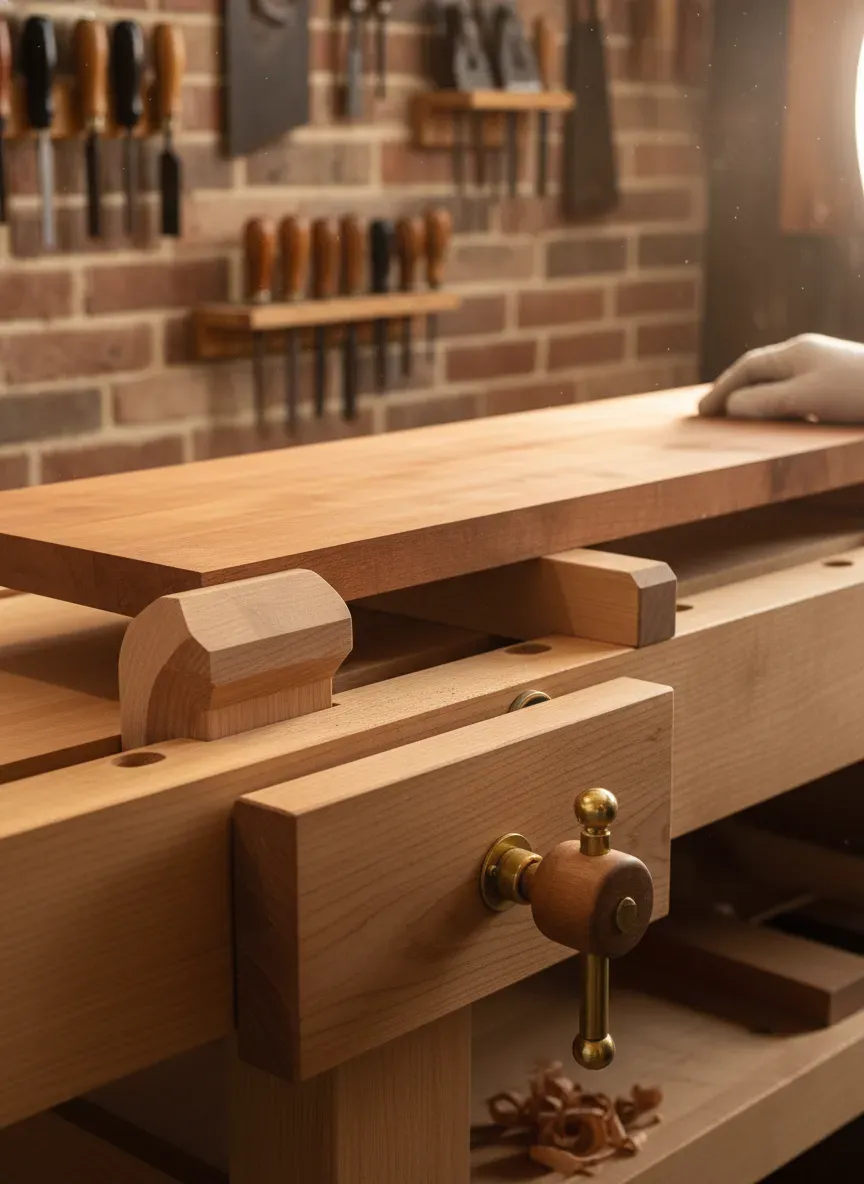
The inner face of the crochet—the part facing the front of the workbench—is not cut parallel to the bench. It is angled backward, typically at a slope of around 1-in-5 or 1-in-6. This creates a converging wedge shape between the hook and the front face of the workbench top.
When you slide a board into this gap, it fits loosely. But the moment the sole of your hand plane touches the top edge of the board and you drive it forward, the friction of the plane blade pulls the entire workpiece violently forward into the narrowing throat of the crochet. The forward momentum translates instantly into lateral clamping pressure.
Stop pushing the plane, and you can simply slide the board backward with two fingers and lift it out. It is a zero-latency vise.
Why Ditch Modern Vises for a Wooden Hook?
You might be wondering why anyone would abandon a $300 machined steel tail vise for a chunk of scrap wood. The benefits become startlingly obvious the first time you dimension rough lumber entirely by hand.
Unmatched Speed and Efficiency
Think about the workflow of edge jointing a board in a standard cast-iron face vise. You open the vise. You drop the board in. You hold the board level with one hand while rapidly spinning the vise handle with the other. You tighten it down. You realize the back end of the board is drooping because it’s four feet long and unsupported. You loosen the vise, adjust, and re-tighten.
With a crochet paired with a sliding deadman, the workflow looks like this:
- Drop the board onto the deadman peg.
- Slide it forward into the crochet.
- Plane.
That’s it. Flipping the board end-over-end to read the grain direction takes roughly two seconds. When you are processing twenty boards for a tabletop, those saved seconds compound into hours of preserved energy and sanity.
Zero Surface Marring
Steel vise jaws, even when lined with leather or cork, require immense crushing force to hold a long board steady against the torque of a heavy plane taking a thick shaving. This localized pressure can easily dent softwoods like pine or cedar, and even crush the pores of hardwoods like mahogany.
Because the crochet distributes the wedging pressure over a much larger surface area—and because that clamping pressure is strictly proportional to the forward force you are applying—it almost never crushes the wood fibers. The board is held precisely as tight as it needs to be, and not an ounce tighter.
Pro Tip: If you’re working with highly polished or pre-finished boards, you can rub a block of paraffin wax or beeswax on the inside face of your crochet. It seems counterintuitive to lubricate a friction-hold device, but the geometry of the wedge is so strong that the board will still lock, while the wax prevents any burnishing or scuffing on your finished surface.
Designing and Installing Your Own Crochet
If you’re building a traditional workbench or retrofitting an existing one, adding a crochet is relatively simple, but it demands strict attention to grain direction and joinery. A poorly designed hook will snap off the moment you drive a No. 7 jointer plane into a tough piece of hard maple.
Material Selection: The Harder, the Better
Do not build a bench crochet out of pine, fir, or poplar. The immense wedging forces will compress soft wood over time, changing the angle of your wedge and destroying the holding power.
You need a dense, unyielding hardwood. White oak, hard maple, hickory, or ash are ideal candidates. The block should be substantial—typically at least 3 inches thick, 4 inches wide, and 10 to 12 inches long.
Grain Orientation is Everything
This is the most common mistake I see woodworkers make. The grain of the wood must run parallel to the length of the bench. If the grain runs perpendicular (pointing out away from the bench), the forward wedging action of your workpiece will act exactly like a froe, splitting the crochet right down the middle along the grain lines.
By running the grain parallel to the bench face, you force the workpiece to compress the side-grain of the crochet, capitalizing on the wood’s maximum structural integrity.
Determining the Crucial Angle
The throat angle is the beating heart of this mechanism. If the angle is too steep, the board will slip right through or bounce out. If the angle is too shallow, the board will bind so violently that you’ll need a mallet to knock it backward to release it.
I’ve experimented extensively with different throat geometries. A slope of 1-in-6 (roughly 9.5 degrees) is the sweet spot for general workholding. This angle provides aggressive lock-up with minimal forward travel, while still allowing for an easy, frictionless release.
Mounting Techniques: Joinery vs. Hardware
Historically, crochets were attached using massive, through-wedged tenons. The block would have two thick tenons cut into its back face, passing entirely through the front edge of the workbench top, wedged and glued from the inside. This is structurally magnificent but incredibly labor-intensive.
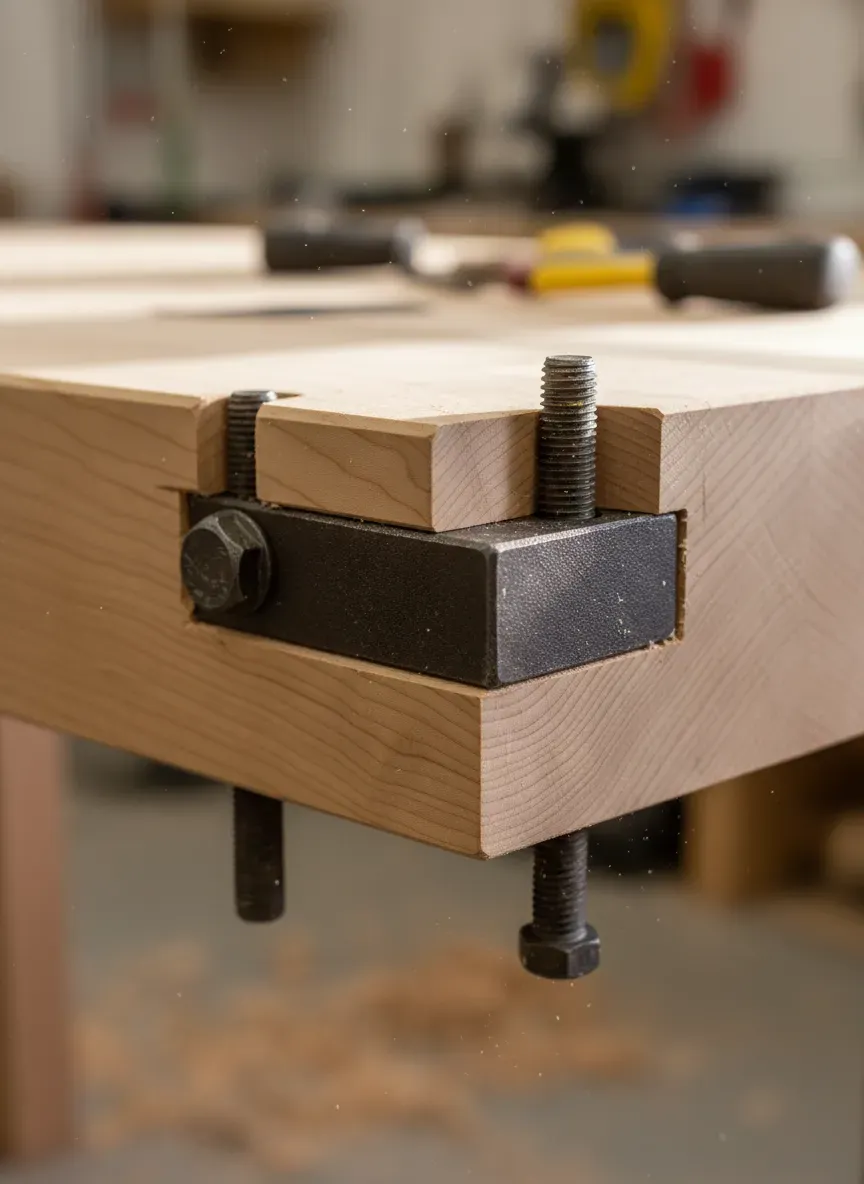
If you prefer a modern, bulletproof approach, heavy lag bolts or carriage bolts are perfectly acceptable.
- The Bolt-On Method: Counter-bore two holes in the front face of the crochet block to recess the bolt heads. Use 1/2-inch thick lag screws, at least 6 inches long, driving them through the crochet and deep into the workbench top.
- The Hybrid Method: Glue the crochet to the bench face using modern epoxy or high-strength PVA, then reinforce it with heavy hardwood dowels (like 1-inch thick oak pegs) driven through the face. This eliminates the risk of metal hardware completely, ensuring you never accidentally strike a bolt head with an errant tool.
Practical Application: Workholding Masterclass
Understanding the theory is one thing; feeling the sheer holding power of traditional workholding in practice is an entirely different revelation. To extract the maximum benefit from your newly installed hook, you must understand how it interacts with the rest of your bench.
Edge Planing Long Boards
The primary job of the crochet is holding long, unwieldy boards on edge. To do this, the crochet handles the forward motion, but you still need to combat gravity.
This is where the sliding deadman (or a simple peg board bored into the bench legs) comes into play. You adjust the peg on the deadman to support the bottom edge of your board. You slide the deadman left or right so it supports the middle or back third of the workpiece.
You slide the front of the board into the crochet. As you begin taking shavings, push slightly diagonally toward the bench face. The board will instantly lock against the crochet and the flat face of the workbench.
Integrating the Leg Vise
What if you are planing backward, or using a tool that requires pulling rather than pushing? The crochet only locks when force is applied toward it.
This is why a traditional bench crochet is almost always positioned directly above a leg vise. When you need absolute immobility in both directions (for instance, when cutting dovetails, carving, or sawing), you simply tighten the leg vise against the board. The crochet acts as a massive upper jaw, preventing the board from twisting or pivoting while the leg vise applies clamping pressure lower down.
Utilizing Holdfasts for Maximum Rigidity
If you don’t have a leg vise, the Gramercy Tools Holdfast becomes your best friend. Drop a board into the crochet, support it on the deadman, and then drop a holdfast into a dog hole on the bench top, clamping the board tightly against the bench face.
This trifecta—crochet, deadman, and holdfast—allows you to secure an 8-foot-long, 2-inch-thick slab of rough walnut in less than five seconds with bone-crushing rigidity.
Common Pitfalls and Troubleshooting
Even a perfectly angled crochet can occasionally present frustrating challenges. Traditional workholding relies heavily on friction, which means the surface texture and geometry of your workpiece dictate the success of the lock-up.
The Slipping Board
Sometimes, you slide a board in, take a pass with your plane, and the board simply pushes right through the crochet, falling off the bench. This happens for three reasons:
- The board is severely tapered: If the board gets thinner toward the front, the wedge gap won’t engage. You have to flip the board so the thicker end faces the crochet.
- The bench face is too slick: If you recently applied a heavy coat of paste wax to the front face of your workbench, you’ve killed the friction. Clean the area immediately behind the crochet with mineral spirits.
- The cut is too light: A smoothing plane set to take a wispy, translucent shaving might not generate enough forward momentum to lock the wedge. In these cases, physically push the board hard into the wedge with your hip before you start planing.
Wood Movement and Binding
Wood breathes. A workbench built in the humid summer will shrink in the dry winter. If you bolted your crochet tightly across the end-grain of your workbench top without allowing for seasonal movement, the bench top’s expansion could actually snap the bolts or split the crochet.
Always ensure your workbench design accounts for cross-grain expansion. If you are attaching a massive block of wood rigidly to a moving slab, something will eventually give.
The “Dovetail Interference”
You’ll notice that when a board is locked in the crochet, the front three or four inches of the board are hidden behind the block. This means you cannot plane end-to-end flawlessly if you need to work that specific covered section.
The workaround is simple: plane the exposed length of the board, then pull the board backward, shift it out of the crochet, and use a Veritas Low-Profile Planing Stop or your leg vise to secure the board while you touch up the remaining few inches.
Pro Tip: Never use a crochet for heavy mortising on the edge of a board. While the wedge resists forward motion beautifully, striking downwards with a heavy mallet can cause the board to pivot downwards, potentially dislodging it. Use a traditional vise or holdfasts flat on the bench top for heavy chopping.
Upgrading Your Traditional Bench Setup
If you are committing to the traditional workholding paradigm, you need to understand that the crochet is just one node in an interconnected system of bench appliances. The beauty of reading through resources like The Workbench Design Book by Christopher Schwarz is realizing that a workbench is a 3D clamping surface, not just a table.
The Planing Stop Synergy
While the crochet handles edge-planing, the surface planing stop handles face-planing. A traditional planing stop is a block of wood or a toothed iron stake driven up through a mortise in the bench top.
You push the end of your board against the stop. The friction of the bench top and the forward thrust of the plane keep the board completely immobilized. Between a surface planing stop and an edge-clamping crochet, you have effectively eliminated the need for tail vises and face vises for 90% of dimensioning tasks.
Customizing the Crochet Profile
You don’t have to settle for a basic, ugly block. Many craftsmen shape the top and bottom of the crochet with elegant ogee curves or sweeping chamfers. This isn’t just aesthetic; rounding over the sharp external corners of the crochet ensures you won’t bruise your hip when walking rapidly around the corner of the bench.
Key Takeaways for Crochet Mastery
- Angle is Critical: Aim for a 1-in-6 wedge slope. Too steep and it slips; too shallow and it binds.
- Grain Direction: The wood grain of your crochet block MUST run parallel to the bench face to prevent splitting under pressure.
- System Integration: The crochet works best when paired with a sliding deadman for vertical support and holdfasts for lateral stability.
- Friction is Your Friend: Avoid aggressively waxing the inner face of the hook or the bench face directly behind it.
- Match the Wood: Use a dense, unyielding hardwood like white oak or hard maple to prevent the wedge from compressing over years of heavy use.
The Bottom Line on Traditional Workholding
The bench crochet is a profound reminder that complexity does not always equal efficiency. By harnessing the basic principles of geometry and kinetic energy, this ancient wooden hook provides a workholding solution that is faster, less damaging to your lumber, and fundamentally more connected to the rhythms of hand-tool woodworking than almost any modern mechanical vise.
It forces you to understand the direction of force in your work. It forces you to engage with your bench as an active partner in the milling process, rather than just a dumb, flat surface. Once you experience the tactile satisfaction of slamming a board into the wedge, feeling it lock up tight, and immediately taking a full-length, whispering shaving with a jointer plane—without ever touching a metal handle—you will look at cast-iron vises with a healthy dose of skepticism.
Traditional woodworking requires a deep understanding of how tools, timber, and the human body interact. If you are serious about building better workbenches, mastering hand-tool joinery, or just want to escape the noise and dust of power tools, you need access to proven, historical plans and techniques.
Before I sign off, let me share a resource that fundamentally changed how I approach my shop projects. If you are looking to build a proper Roubo workbench with a functioning crochet, or if you simply want access to the largest organized repository of woodworking blueprints on the planet, you need to check out Ted’s Woodworking. They currently offer an incredible archive of over 16,000 step-by-step woodworking plans, taking the guesswork out of complex builds. Right now, you can grab the entire collection at a massive 75% discount.
Click here to get instant access to Ted’s Woodworking and start your next masterpiece today.