Maximize Your Workspace: The Ultimate Guide to Under-Cabinet Storage
Discover expert strategies for reclaiming dead spatial zones beneath your cabinets. Elevate your workflow, conquer clutter, and engineer the perfect functional workspace.

Apr 14, 2026 - Written by: Linda Wise

I’ve stared down the barrel of a cluttered workbench more times than I care to admit. You know the exact scenario. Tools, spice jars, hard drives, or loose fasteners slowly colonizing every square inch of your horizontal real estate until you’re left operating in a claustrophobic six-inch square of usable space. It drains your focus. It severely bottlenecks your workflow.
Most people look around their kitchen, office, or garage and assume they’ve simply outgrown the footprint. I’ll tell you right now: you haven’t. You are just ignoring the most valuable, under-utilized spatial asset in the room—the dead air suspended directly beneath your upper cabinets.
Reclaiming this negative space isn’t about buying a cheap plastic basket and slapping it up with double-sided tape. Engineering a robust under-cabinet storage ecosystem requires a fundamental understanding of load distribution, ergonomic reach zones, and mounting substrate physics. We are going to strip away the generic organizing advice and dive deep into the kinematic hardware and bespoke solutions that actually withstand daily, heavy-handed use.
Quick Comparison: Top Picks
Before we tear into the methodology, here are the three hardware solutions I consistently integrate when overhauling a neglected workspace.
| Product | Rating | Check Price |
|---|---|---|
| Rev-A-Shelf Pull-Down Organizer | ⭐⭐⭐⭐⭐ | View on Amazon |
| Heavy-Duty Magnetic Tool Bar | ⭐⭐⭐⭐½ | View on Amazon |
| Mount-It! Under-Desk Swivel Drawer | ⭐⭐⭐⭐½ | View on Amazon |
The Psychology and Physics of a Clear Workspace
Clutter operates as a subtle but persistent cognitive load. Every time your eyes scan across a chaotic horizontal plane, your brain processes and categorizes those objects, burning micro-cycles of mental energy. By vertically integrating your storage, you effectively remove these items from your primary visual field while keeping them within an arm’s reach.
From a purely biomechanical standpoint, the zone between your shoulders and your waist is your primary operational envelope. Reaching up into an overhead cabinet requires shoulder flexion and breaks your line of sight. Reaching down into a lower drawer demands lumbar flexion. Under-cabinet storage sits precisely in the goldilocks zone of human ergonomics. You can retrieve a tool or ingredient using only elbow extension, keeping your eyes locked on the task at hand.
However, the physics of suspending weight from a horizontal plane introduces unique challenges. When you load a standard shelf, gravity pulls the weight directly down into the vertical supports. When you hang an object beneath a shelf, gravity is actively trying to rip the fasteners out of the substrate. This cantilevered tension means your mounting hardware and the structural integrity of your cabinet base dictate exactly what you can and cannot store there.
Evaluating Your Sub-Cabinet Topography
You absolutely cannot start driving screws into the bottom of your cabinets without mapping the terrain first. I’ve personally found that the biggest disasters in workspace modification happen in the first five minutes of blind enthusiasm.
First, assess the substrate. Are your cabinets solid hardwood, ¾-inch cabinet-grade plywood, or ½-inch MDF (Medium Density Fiberboard)? Solid wood will hold aggressive wood screws all day long. MDF, on the other hand, is essentially glorified sawdust held together by glue. If you attempt to mount a heavy steel rack to MDF using standard coarse-thread screws, the constant downward torque of you pulling items on and off will eventually strip the fibers, causing the entire unit to crash down onto your workspace.
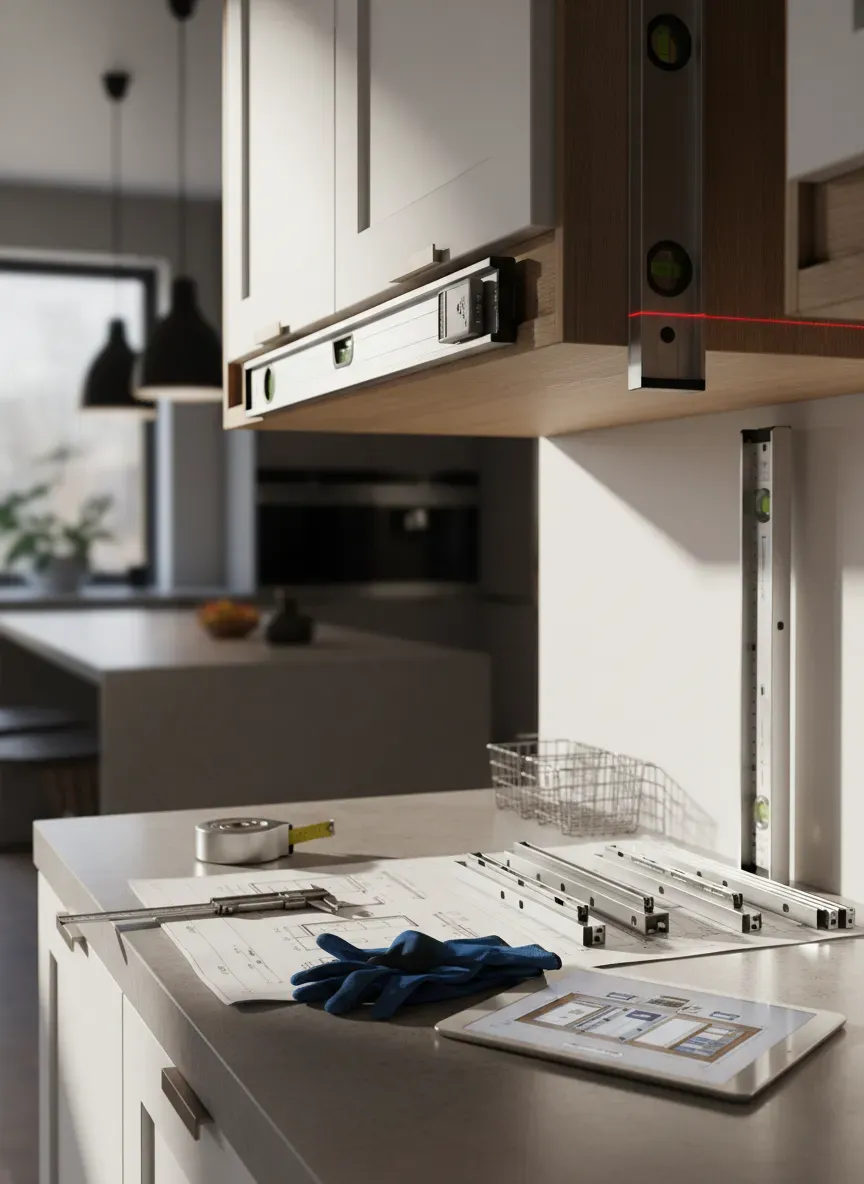
Next, measure the recessed cavity. Most upper cabinets are not completely flat on the bottom; they feature a front valance or lip that hangs down to conceal lighting fixtures. You need to measure the exact depth from the back wall to the inside of that front lip, as well as the vertical clearance from the base of the cabinet to the bottom edge of the valance. If your chosen mounting hardware is deeper than the recess, it will protrude awkwardly below the lip, ruining the aesthetic line of your room.
Pro Tip: Grab a high-powered flashlight and thoroughly inspect the underside of your cabinets for existing wiring runs. Many modern setups feature low-voltage lines for LED puck lights routed flush against the base. Severing one of these with a careless pilot hole turns a quick weekend project into a frustrating electrical repair.
The Big Three: Core Under-Cabinet Storage Systems
Once you understand the physical limitations of your workspace, it is time to select the kinematic hardware. The market is flooded with flimsy wire racks, but true optimization relies on systems engineered for stability and fluid motion.
Tension-Mounted and Track Systems
Track systems offer the highest degree of modularity. By mounting a rigid aluminum or steel extrusion beneath your cabinets, you create a universal rail that accepts various attachments—from spice clips to tablet mounts to specialized tool holsters.
The brilliance of a track system lies in lateral mobility. If you are working on a complex recipe or a multi-stage electronics repair, you can simply slide the required components along the track to follow your physical position at the bench. When installing these, I heavily rely on continuous extrusions rather than segmented pieces. A continuous rail distributes the downward load across a dozen mounting points, dramatically increasing the sheer strength of the installation.
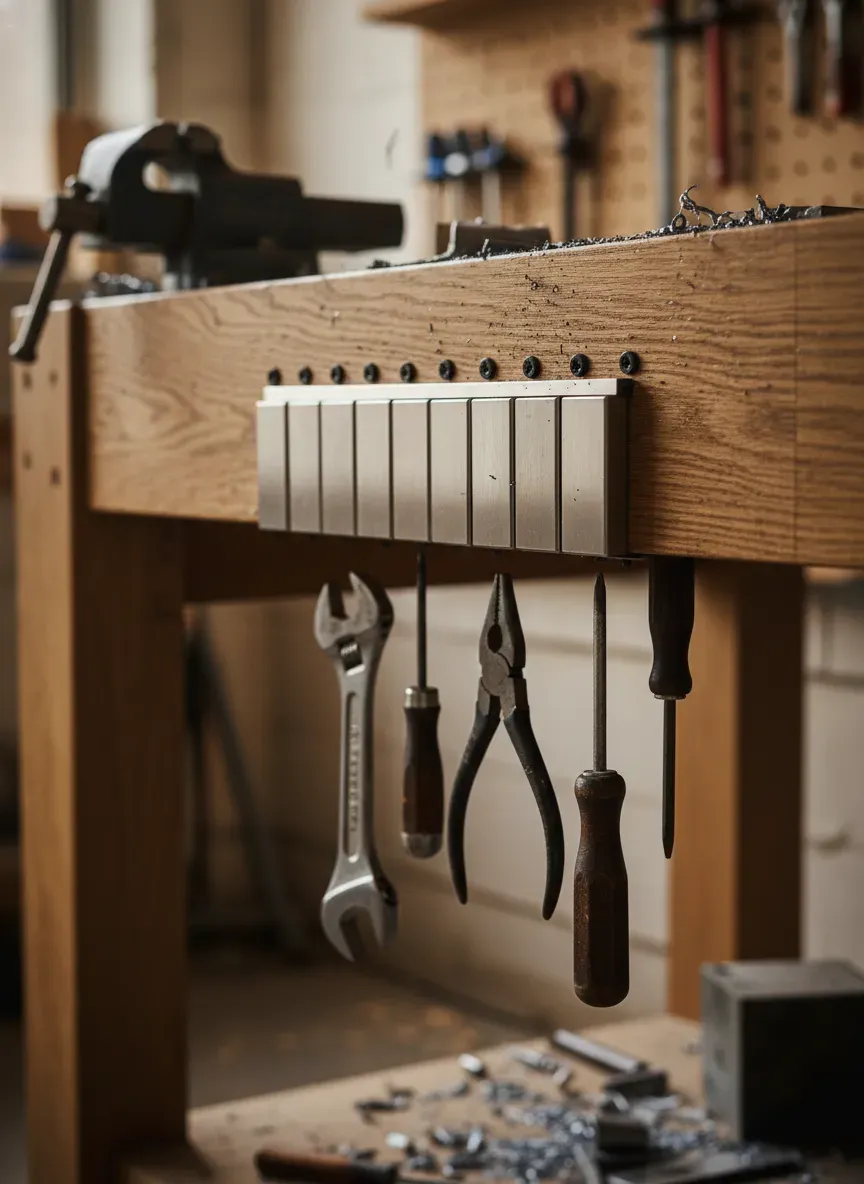
Magnetic Arrays and Gravity-Defying Mounts
If you want immediate, zero-friction access to metallic items, nothing beats a neodymium magnetic array. Forget the weak, ceramic magnet strips of the past. Modern rare-earth magnets generate immense pull-force, easily capable of suspending heavy chisels, chef’s knives, or even power tool batteries.
Here’s the real kicker: magnetic storage fundamentally alters how you interact with your tools. There are no latches to manipulate and no drawers to slide. It provides highly satisfying tactile feedback. You simply present the tool to the array, and physics takes care of the rest.
I strongly recommend the Heavy-Duty Magnetic Tool Bar for areas requiring rapid tool swapping. When mounting these under a cabinet, position them slightly toward the rear wall. This strategic placement ensures that the handles of suspended knives or tools don’t interfere with the primary working area directly beneath the cabinet’s leading edge.
Drop-Down Bins and Concealed Drawers
For items that defy magnetic attraction—SD cards, loose screws, delicate baking spices, or specialized drill bits—concealment is key. Drop-down mechanisms utilize a pivoting hinge system. When stowed, the bin sits flush against the bottom of the cabinet, entirely hidden by the valance. A gentle pull swings the bin downward and outward, presenting the contents at an accessible angle.
Pneumatic or spring-assisted pull-down systems take this a step further. The Rev-A-Shelf Pull-Down Organizer is an engineering marvel in this category. It features gas struts that dampen the motion, preventing your delicate items from slamming up against the substrate when you let go.
If you are working at a desk rather than a standing bench, the mechanics shift slightly. You don’t want items dropping down into your knee space. Instead, swivel storage is the superior choice. The Mount-It! Under-Desk Swivel Drawer rotates 360 degrees on a heavy-duty pivot point. You swing it out to grab your calipers or fountain pen, and push it back until it securely detents out of sight.
Practical Applications Across Different Workspaces
Hardware is useless without context. The way you implement these systems changes drastically depending on the environmental hazards and workflow demands of the specific room.
The Culinary Laboratory (Kitchen)
The kitchen is a hostile environment. Grease vaporizes, becomes airborne, and settles on every exposed surface, eventually curing into a sticky resin. Dust then binds to this resin. If you store items directly out in the open beneath your kitchen cabinets, you are committing to washing those items constantly.
Because of this, I advocate for enclosed drop-down systems in the kitchen over open track systems. Keep your spices and coffee pods inside pivoting bins that shield them from ambient particulate. The one exception is paper towel dispensers and tablet mounts. Mounting your recipe display under the cabinet protects the screen from liquid spills on the counter while keeping the instructions perfectly at eye level.
The Maker’s Sanctum (Garage and Workshop)
In the workshop, durability trumps aesthetics. The vibration from a bench grinder or a heavy mallet strike transfers directly through the workbench, up the wall, and into the overhead cabinets. Flimsy plastic latches will fail, dumping a hundred assorted washers onto the floor.
You need ruggedized hardware. Use structural screws (like GRK fasteners) rather than drywall screws for your installations. Drywall screws are brittle and will snap under sheer stress. Rely heavily on robust magnetic arrays for your most frequently used hand tools, and utilize heavy-gauge steel track systems for bins containing nuts, bolts, and specialized hardware.
The Digital Command Center (Home Office)
Cable management is the eternal battleground of the modern home office. Under-cabinet (or under-desk) storage here is less about tools and more about taming the digital spaghetti.
Mounting external hard drives, USB hubs, and massive power bricks to the underside of the desk surface completely removes them from your visual field. I frequently use custom-cut aluminum brackets lined with neoprene padding to suspend external drives beneath the desk. The aluminum acts as a passive heatsink to dissipate thermal load, while the neoprene absorbs the microscopic vibrations of the spinning platters.
Key Takeaways for Workspace Adaptation:
- Assess environmental hazards (grease, sawdust, heat) before selecting open vs. closed storage.
- Match the hardware to the vibration profile of the room.
- Prioritize ergonomic reach; place the most frequently accessed items on the dominant-hand side.
- Utilize space behind front valances to completely hide utility items like power strips.
Installation Pitfalls and How to Dodge Them
Even with premium hardware, a botched installation guarantees failure. Let’s talk about the microscopic details that separate a professional rig from a frustrating DIY disaster.
The Tyranny of the Substrate
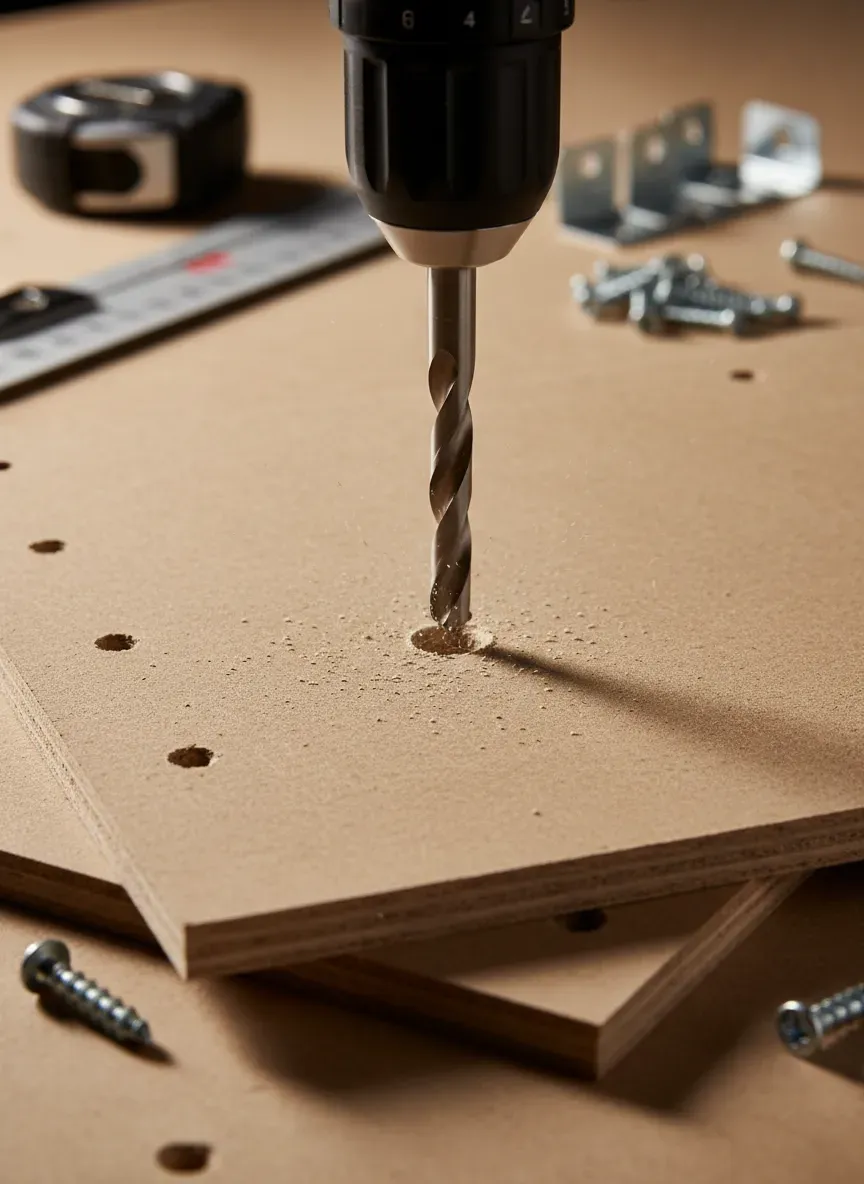
As mentioned earlier, screwing into MDF or particleboard requires a specific approach. Never drive a screw directly into these materials without a pilot hole. Without a pilot hole, the screw acts like a wedge, expanding the compressed fibers until they delaminate and bulge.
You must drill a pilot hole perfectly matched to the root diameter of the screw (the solid core of the screw, ignoring the threads). This allows the threads to cut cleanly into the material without causing outward expansion.
The Depth Stop Dilemma
Drilling upward into an upper cabinet is terrifying because a fraction of an inch of over-penetration means you’ve just drilled a hole right through the floor of your cabinet, potentially ruining the interior finish.
Do not rely on your eyes to judge depth. Take a piece of brightly colored electrical tape and wrap it tightly around your drill bit, leaving exactly half an inch (or whatever your maximum safe depth is) exposed at the tip. When the tape physically touches the wood, stop the drill. It is a foolproof mechanical boundary that will save you hundreds of dollars in cabinet repairs.
Lighting Interference
You’ll notice that adding bulky storage bins directly behind your cabinet’s front lip can cast aggressive shadows across your primary work surface. You are essentially blocking the ambient light bouncing off your backsplash.
Before committing to a permanent installation, use painter’s tape to temporarily suspend your new storage hardware in place. Turn on your primary workspace lighting and observe the shadow casting. You may need to shift the hardware back by two inches or consider installing low-profile LED strip lighting directly onto the bottom of the new storage unit to compensate for the blocked light.
Advanced Customization: Building It Yourself
Sometimes, the off-the-shelf market simply doesn’t have the exact tolerances or aesthetic you demand. When you are dealing with highly specific tools, rare culinary equipment, or specialized electronics, modifying mass-produced plastic trays feels like a compromise.
Bespoke under-cabinet storage is the ultimate evolution of workspace optimization. By milling your own sliding dovetail tracks from dense hardwoods like hard maple or oak, you can create frictionless, perfectly tailored storage systems that blend seamlessly with your existing cabinetry.
Imagine building a custom drop-down knife block that precisely matches the blade geometry of your Japanese chef’s knives, utilizing hidden rare-earth magnets embedded behind a thin veneer of walnut. Or engineering a suspended charging dock for your power tools that integrates custom wire channels routed directly into the wood.
The beauty of custom woodworking is that you dictate the parameters. You control the exact depth, the hinge tension, the structural load capacity, and the finish.
The Bottom Line: Reclaiming your vertical workspace is an exercise in intentionality. Stop allowing dead air to dictate your workflow. By understanding the substrate, choosing kinematic hardware that matches your environmental demands, and executing the installation with precision, you transform a chaotic benchtop into a high-efficiency command center.
If you are ready to stop settling for flimsy, store-bought plastic solutions and want to actually build custom, heirloom-quality storage rigs tailored exactly to your space, I highly recommend looking into Ted’s Woodworking. I’ve personally used their schematics to engineer everything from concealed drop-down charging stations to heavy-duty magnetic tool arrays. They offer an absolutely massive database of over 16,000 step-by-step woodworking plans that eliminate the guesswork from building bespoke storage. Right now, you can bypass the trial and error and get a 75% discount on the entire archive.
Click here to access all 16,000 plans and start building the ultimate custom workspace today.