No Screws Required: How to Attach a Workbench Top Using Traditional Joinery
Discover how to secure a massive workbench top using traditional, hardware-free joinery. Master drawboring, sliding dovetails, and through-tenons for a bench that lasts centuries.

Mar 23, 2026 - Written by: Linda Wise
I still vividly recall the sound of a lag bolt stripping out the underside of my first workbench. It was a humid August afternoon, and the massive southern yellow pine top I had painstakingly laminated decided to expand across its width. The rigid metal fasteners, stubbornly refusing to yield, simply tore through the wood fibers. The bench developed a permanent, maddening wobble. That was the exact moment I swore off hardware for heavy shop fixtures.
You’ll notice that antique workbenches—the ones that have survived centuries of brutal hand-planing, heavy mallet blows, and dramatic seasonal shifts—rarely rely on screws or brackets. They rely on mass, gravity, and the brilliant mechanics of traditional joinery. Building a bench without hardware isn’t about historical stubbornness. It’s about creating a monolithic structure that actually absorbs the kinetic energy of your hand tools rather than vibrating against metal fasteners.
Here’s the real kicker: attaching a workbench top using pure wood joinery creates a symbiotic relationship between the base and the work surface. When the wood breathes, the joints tighten. When you rack the bench, the interlocking geometries distribute the shear forces evenly.
Before we dive into the exact methods you’ll use to lock your workbench top down without a single screw, here is a quick look at the essential tools that make this caliber of precision joinery possible.
Quick Comparison: Top Picks
| Product | Rating | Check Price |
|---|---|---|
| Narex Premium Heavy-Duty Chisels | ⭐⭐⭐⭐⭐ | View on Amazon |
| SUIZAN Japanese Pull Saw Ryoba | ⭐⭐⭐⭐½ | View on Amazon |
| Titebond III Ultimate Wood Glue | ⭐⭐⭐⭐⭐ | View on Amazon |
The Physics of Workbench Movement (Why Fasteners Fail)
Wood is highly hygroscopic. It acts like a bundle of microscopic straws, constantly absorbing and releasing atmospheric moisture. Because of this cellular anisotropy, a thick workbench top will expand and contract significantly across its width (tangential shrinkage), but barely at all along its length (longitudinal shrinkage).
When you bolt a four-inch-thick slab of maple to a rigid trestle base, you are creating a localized warzone. The top wants to grow by a quarter of an inch during the humid summer months. The rigid metal screws say no. The resulting shear stress will either enlarge the pilot hole, snap the fastener, or crack the slab.
The Elegance of Unrestricted Movement
Traditional joinery solves this physics problem by either allowing the top to float within captured channels, or by utilizing joints that naturally pull tighter as the wood breathes. We aren’t trying to stop wood movement. That is a losing battle. We are trying to engineer pathways for that movement to occur harmlessly.
Traditional Joinery Methods for Attaching Tops
If you are abandoning screws, you need to rely on mechanical interlocking. There are three primary methods that have stood the test of time, each offering distinct advantages depending on the style of bench you are building (Roubo, Nicholson, or Moravian).
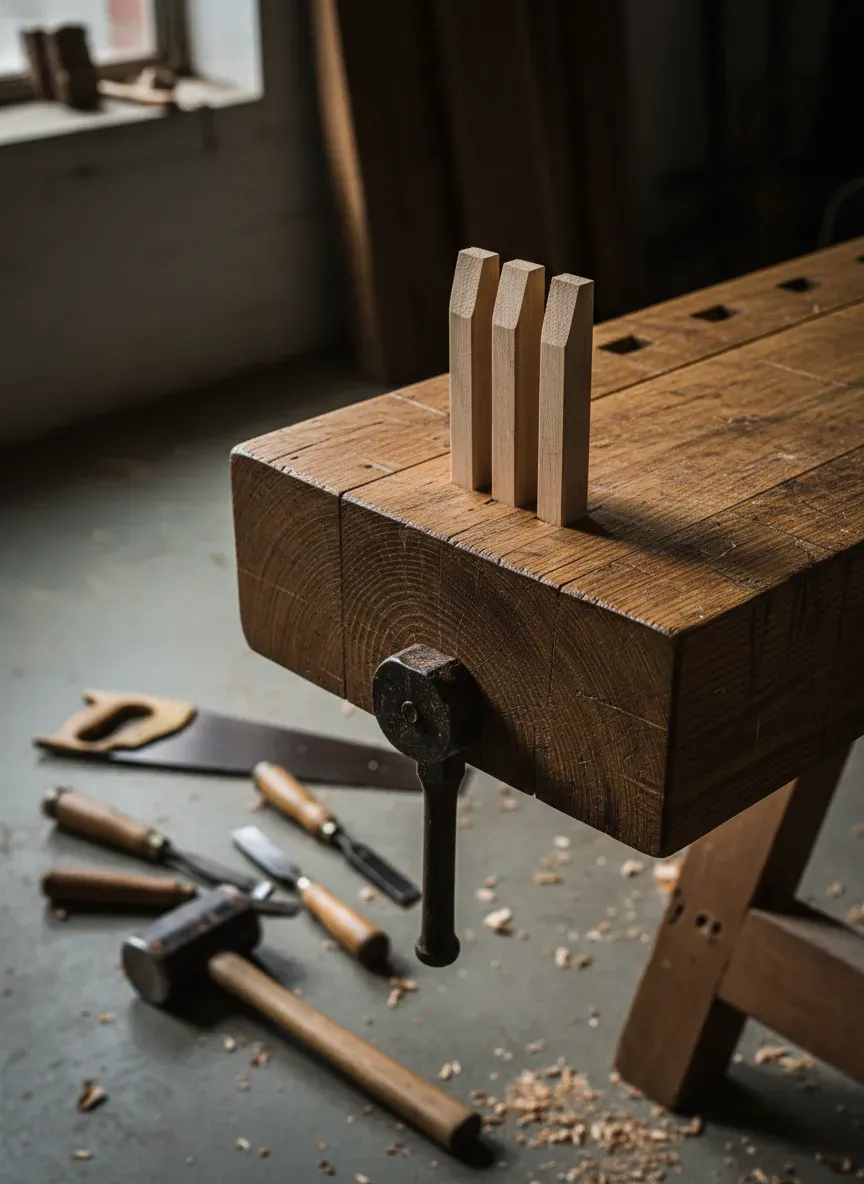
Method 1: The Massive Through-Tenon (The Roubo Standard)
When you look at a classic French Roubo workbench, the first thing you notice is the massive front legs coming completely through the four-inch-thick top. This isn’t just an aesthetic choice. It is a structural masterpiece.
By passing the entire leg tenon through the top, you create an unshakeable connection. The shoulders of the leg support the immense weight of the slab, while the through-tenon prevents any lateral racking.
Executing the Wedged Joint
To make this joint practically indestructible, we introduce wedges. I’ve personally found that cutting a pair of kerfs into the top of the tenon before assembly changes the game entirely. Once the massive slab is dropped over the tenons, hardwood wedges are driven into those kerfs.
This flares the top of the tenon outward, locking it into a dovetail-like shape within the mortise. It is a mechanical impossibility for the top to lift off once those wedges are driven home.
Pro Tip: When sizing your through-mortise for a wedged tenon, undercut the top half of the mortise wall by about 2 degrees. This gives the flaring tenon room to expand into a true dovetail shape, locking the top down permanently.
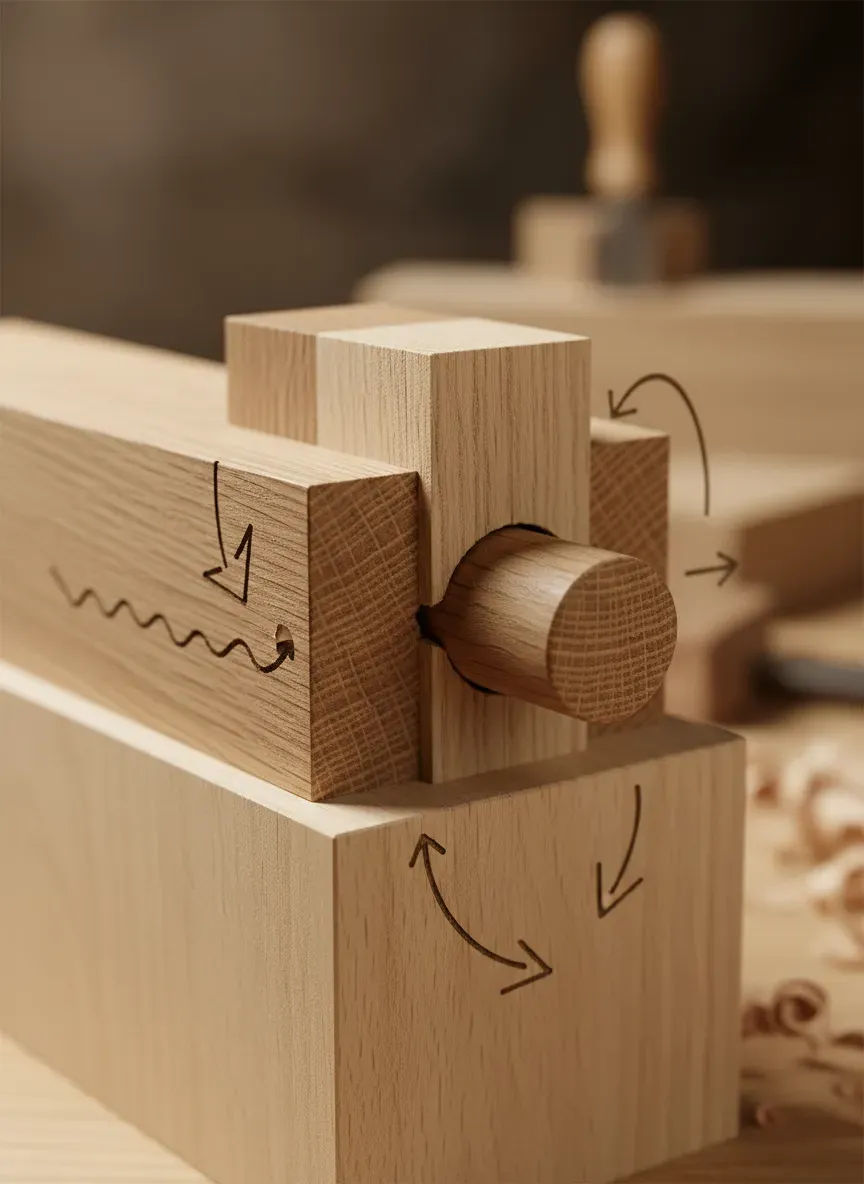
Method 2: The Drawbored Mortise and Tenon
For benches where the top sits entirely upon a separate base assembly (like a classic English Nicholson bench), the drawbored mortise and tenon is your best friend. This technique completely eliminates the need for clamps during assembly and creates a mechanical lock that will literally outlast you.
A drawbore works through intentional misalignment. You cut your standard mortise into the underside of the top, and your tenon on the top of the leg or bearer. You drill a hole straight through the mortise walls. Then, you insert the tenon and mark the center of that hole onto the tenon cheek.
Here is where the magic happens. You don’t drill the tenon hole exactly on that mark. You offset it by roughly 1/16th to 3/32nds of an inch closer to the shoulder of the tenon.
When you drive a seasoned, riven oak peg through the assembly, the peg acts as a massive wedge. It snakes its way through the misaligned holes, violently pulling the tenon shoulder tight against the slab. The tension generated by a well-executed drawbore is staggering. It creates a connection so rigid that glue becomes completely optional.
Crafting the Drawbore Pegs
Do not use hardware store dowels for this. Machine-extruded dowels have severe grain runout and will snap under the intense shear pressure of the offset holes. You must use riven wood. Riving (splitting the wood along the grain rather than sawing it) ensures continuous, unbroken fibers from end to end. Simply take a straight-grained piece of ash or oak, split it into blanks, and pound them through a dowel plate.
Method 3: The Sliding Dovetail
If you are attaching heavy cross-battens to the underside of a slab to keep it flat, or if you want to connect a base without any visible joinery on the top surface, the sliding dovetail is unparalleled.
A long dovetail socket (the trench) is routed or chopped across the underside of the workbench top. The corresponding dovetail pin is cut onto the top bearer of the leg assembly. The base is then literally slid into the top from the side.
Because the dovetail is wider at the bottom than at the neck, the top is mechanically locked down. Gravity holds it seated, and the dovetail geometry prevents it from being lifted off. Most importantly, because the joint is sliding, the massive top is completely free to expand and contract across the bearer without tearing the bench apart.
Pro Tip: Never glue the entire length of a sliding dovetail on a workbench top. Pin it with a single dowel at the front edge (where you stand). This forces all seasonal expansion toward the back of the bench, keeping your front working edge perfectly flush with the legs year-round.
Essential Tools for Metal-Free Joinery
Executing massive joints requires tools that can handle scale. You aren’t making jewelry boxes; you are engineering timber frames. You need mass, sharp steel, and leverage.
First, your layout tools must be dead-on. A heavy marking gauge is critical for establishing tenon shoulders that mate perfectly with the underside of the slab. When you are moving to the actual excavation of the waste, a standard bench chisel won’t cut it. You need something with a thick cross-section that can pry out huge chips of hardwood without snapping. This is exactly where the Narex Premium Heavy-Duty Chisels shine. Their hooped handles can take absolute a beating from a heavy wooden mallet.
For cutting the massive tenon cheeks, a Western tenon saw can get exhausting quickly. Many modern traditionalists prefer the aggressive rip teeth of a SUIZAN Japanese Pull Saw Ryoba. The pull stroke keeps the blade in tension, allowing for a thinner kerf and remarkably straight cuts down a six-inch tenon cheek.
Finally, while mechanical locking is the goal, a modern aliphatic resin can act as a powerful insurance policy and lubricant during assembly. Driving a massive through-tenon home is high-friction work. A liberal application of Titebond III Ultimate Wood Glue provides an extended open time, lubricating the joint as it slides together, and eventually curing to a bond stronger than the wood itself.

Step-by-Step Guide: Attaching a Heavy Slab Without Hardware
Let’s walk through the actual sequence of marrying a four-inch hardwood slab to a heavy trestle base using a combination of blind mortise and tenons with drawbores. This is the most versatile hardware-free attachment method for modern shops.
Phase 1: Truing the Mating Surfaces
Joinery is only as good as the reference faces. If the underside of your workbench top is twisted, the leg shoulders will never seat tightly. You don’t need to flatten the entire underside of the bench, but you absolutely must flatten the specific zones where the leg assemblies will make contact. Use a heavily cambered jack plane to traverse the grain until you have a perfectly flat, coplanar seating pad for each leg trestle.
Phase 2: Marking the Joinery from the Real World
Put the tape measure away. When attaching a top, we use relative dimensioning.
Set the completed base assembly upside down onto the flattened pads on the underside of your inverted workbench top. Use a marking knife to trace the exact physical location of the top tenons directly onto the slab. This ensures that even if your base has a 1/32nd of an inch discrepancy, the mortises in the top will mirror it perfectly.
Phase 3: Excavating the Mortises
Boring out massive blind mortises in dense hardwood is a workout.
- Chuck a Forstner bit into a heavy brace or drill out the bulk of the waste. Stop about 1/4 inch shy of your final depth.
- Grab your heavy framing chisel and a heavy mallet.
- Pare the walls back to your knife lines.
- Check the depth frequently with a combination square. You want the mortise to be about 1/8th of an inch deeper than the tenon is long. If the tenon bottoms out before the shoulder seats, the joint will be loose and weak.
Phase 4: The Drawbore Offset
Drill a 3/8-inch hole through the cheek of the mortise wall. Insert the leg tenon into the mortise until the shoulder is perfectly tight. Take a brad-point drill bit of the exact same size, slide it into the hole, and give it a sharp tap to mark the tenon.
Remove the leg. Look at the dimple on the tenon. Now, shift your drill bit roughly 1/16th of an inch toward the shoulder of the tenon and drill straight through.
Phase 5: The Final Assembly
This part is a one-way street. Apply your glue to the tenon cheeks (not the end grain). Seat the base into the top mortises. Take your riven, faceted wooden pegs, taper the leading edge with a chisel, and drive them home with a heavy hammer.
You will hear the pitch of the hammer blows change from a hollow thud to a high-pitched crack as the peg bends its way through the offset holes, violently clamping the base to the top. Wipe away the squeeze-out. You just built a bench that will survive an earthquake.
Common Pitfalls in Hardware-Free Workbench Builds
Even with brilliant joinery theory, execution errors can compromise the stability of the bench. Keep an eye out for these silent killers.
Key Takeaways for Preventing Joint Failure
- Ignoring Cross-Grain Conflicts: If you decide to glue a massive cross-batten across the grain of the benchtop, the top will split. Period. Always use a sliding dovetail without glue, or elongate the dowel holes on the outer edges to allow the wood to slide.
- Sloppy Tenon Shoulders: The cheek of the tenon provides glue surface, but the shoulder provides racking resistance. If your tenon shoulders are cut at a slight angle or have gaps, the bench will wobble. Always undercut the inside of the shoulder slightly so the visible outer edge seats flawlessly against the top.
- Using Kiln-Dried Pegs in Wet Lumber: If your workbench top is slightly green (which is common for thick slabs), and you drive a bone-dry peg into it, the top will shrink as it dries, crushing the peg. Make sure your moisture content is relatively equalized.
The Bottom Line: Metal hardware in a workbench is a compromise for speed over longevity. Screws localize stress, strip out over decades of vibration, and fight against the natural hygroscopic movement of the timber. Traditional joinery distributes force globally across the structure, utilizing gravity and leverage to create a fixture that feels planted to the earth.
Mastering the Art of Traditional Workbenches
Stepping away from the bucket of lag screws and embracing the chisel is a defining moment for any woodworker. There is a profound, almost primal satisfaction in swinging a heavy mallet to drive a riven oak peg, watching the massive joints of your workbench pull together with terrifying force. You aren’t just assembling a table; you are engineering a reliable partner for your craft. A bench built this way doesn’t groan when you traverse a heavy hand plane across a stubborn board. It pushes back with silent, immovable strength.
If you are serious about taking your shop to the next level and want to explore the exact, dimensioned blueprints for hardware-free workbenches—along with thousands of other heirloom projects—I cannot recommend Ted’s Woodworking highly enough. I get asked constantly where to find reliable, historically accurate plans that detail these specific joints. Ted has compiled an absolutely massive archive of over 16,000 step-by-step woodworking plans, covering everything from classic French Roubo benches to intricate sliding dovetail joinery.
Instead of guessing at mortise depths or drawbore offsets, you get crystal-clear schematics that guarantee your build will last generations. Right now, you can grab the entire collection at a massive 75% discount. Do yourself a favor and secure these plans before starting your next major build: Click here to get instant access to all 16,000 plans at Ted’s Woodworking. Your future shop will thank you.