Stop Making These 7 Common Mistakes When Building a Workbench
Building a workbench is a right of passage, but minor miscalculations can ruin your shop experience. Discover the 7 critical mistakes to avoid for a rock-solid build.
Mar 23, 2026 - Written by: Linda Wise
I still vividly remember the first workbench I ever built. I was so eager to have a dedicated surface for my woodworking projects that I rushed to the home center, bought a pile of cheap two-by-fours, screwed them together with a sheet of thin plywood on top, and called it a day.
It was a disaster.
The first time I tried to aggressively plane a piece of rough oak, the entire bench shimmied across the concrete garage floor like a frightened crab. The top flexed under mallet strikes, absorbing all the kinetic energy my chisels desperately needed. The vise was an afterthought, mounted so poorly that it racked violently the moment I clamped a board off-center. I spent more time fighting the bench than I did building furniture.
A workbench isn’t just a table. It is a three-dimensional clamping surface, a dampener of vibration, and the literal foundation of every project you will ever build. Treat it with the respect it deserves, and it will serve you for decades. Rush the process, and you’ll curse its existence daily.
Here’s the real kicker: most woodworkers, even those with a few years under their belts, make the exact same fundamental errors when designing and building their primary bench. Stop making these seven common mistakes when building a workbench, and you’ll elevate your craft almost overnight.
Quick Comparison: Top Picks
Before we dive into the granular mechanics of workbench design, here is a quick look at some essential hardware and reference benches that I frequently recommend to folks looking to upgrade their shop setup.
| Product | Rating | Check Price |
|---|---|---|
| Yost 9-Inch Heavy Duty Vise | ⭐⭐⭐⭐⭐ | View on Amazon |
| Kreg Bench Dog Hole Kit | ⭐⭐⭐⭐½ | View on Amazon |
| Sjobergs Scandi Plus Workbench | ⭐⭐⭐⭐⭐ | View on Amazon |
Mistake 1: Ignoring the Biomechanics of Height
Most folks build their workbenches to match the height of their kitchen counters or their table saw. This is a massive ergonomic blunder. Your table saw is designed for feeding stock horizontally; your kitchen counter is designed for chopping vegetables. Your workbench requires entirely different biomechanics.
If you are primarily a hand-tool woodworker, a high bench will destroy your shoulders. When you push a hand plane, you want to drive the force from your legs and hips, transferring that energy up through a locked core and down into the tool. If the bench is too high, you are forced to use your triceps and anterior deltoids to push the plane. You will fatigue in ten minutes.
Conversely, if you are strictly a power-tool user who uses routers, sanders, and track saws, a bench that is too low will absolutely wreck your lower back. You’ll spend hours hunched over, straining your lumbar spine just to see your layout lines.
Finding Your Perfect Elevation
I’ve personally found that the “pinky knuckle” rule is the best starting point for a hybrid bench. Stand straight up, arms relaxed by your sides. Measure the distance from the floor to your first knuckle (where your pinky meets your hand). For most average-height men, this sits right around 33 to 34 inches.
If you skew heavily toward traditional hand-planing, drop it an inch. If you do microscopic inlay work or use routers exclusively, raise it two inches.
Pro Tip: If you are terrified of cutting your legs too short, build the bench slightly taller than you think you need. Work on it for a month. If your shoulders ache or you can’t get leverage on your hand planes, you can always saw an inch off the legs. You cannot easily add an inch back.
The Bottom Line: Never blindly copy a height dimension from a set of plans without cross-referencing it against your own physical anatomy and preferred tooling methods.

Mistake 2: Skimping on Mass and Top Thickness
A workbench is not a dining table. Its primary job is to resist the forces you apply to the wood sitting on top of it. Physics dictates a simple reality: mass absorbs energy.
When you strike a mortising chisel with a heavy wooden mallet, you want 100% of that kinetic energy to drive the steel edge into the wood fibers. If your workbench top is made from a flimsy 3/4-inch sheet of MDF or plywood, the top will flex. It acts like a trampoline. The energy from your mallet strike dissipates into the bouncing bench top, meaning your chisel doesn’t cut effectively. Worse, that vibration translates into noise, turning your shop into a deafening echo chamber.
The Beauty of Laminated Tops
You need mass. Serious, immovable mass. A proper workbench top should ideally be a minimum of 2.5 to 3 inches thick. A 4-inch top is even better.
You don’t need to buy a single, massive slab of exotic hardwood to achieve this. The most practical approach is to take standard dimensional lumber (like 2x4s or 2x6s), rip off the rounded factory edges, turn them on their sides, and face-glue them together into a massive butcher-block style slab.
This lamination process creates an incredibly dense, rigid surface. A 6-foot long workbench made from laminated 2x4s (yielding a top just over 3 inches thick) can easily weigh 150 pounds just for the top alone. Add a heavy base, and you have a bench that absorbs dead-blow strikes beautifully and won’t walk across the floor when you’re jointing the edge of a heavy board.
Key Takeaways for Bench Mass:
- Aim for a total bench weight of at least 200 to 250 pounds.
- Avoid single-sheet plywood or MDF tops unless you are building an assembly table rather than a true woodworking bench.
- Laminating dimensional lumber on its edge provides the most cost-effective path to extreme density.
Mistake 3: Poor Vise Selection and Placement
I see an alarming number of beginners bolt a cheap, $30 hardware-store mechanic’s vise to the corner of their woodworking bench. A mechanic’s vise has small, aggressively textured steel jaws designed to crush and grip metal pipes. It will instantly mar and dent your delicate woodworking projects.
Woodworking requires specialized workholding. You need a face vise (often called a front vise) for working the edges of boards, and potentially a tail vise (or wagon vise) for holding boards flat on the bench top to plane their faces.
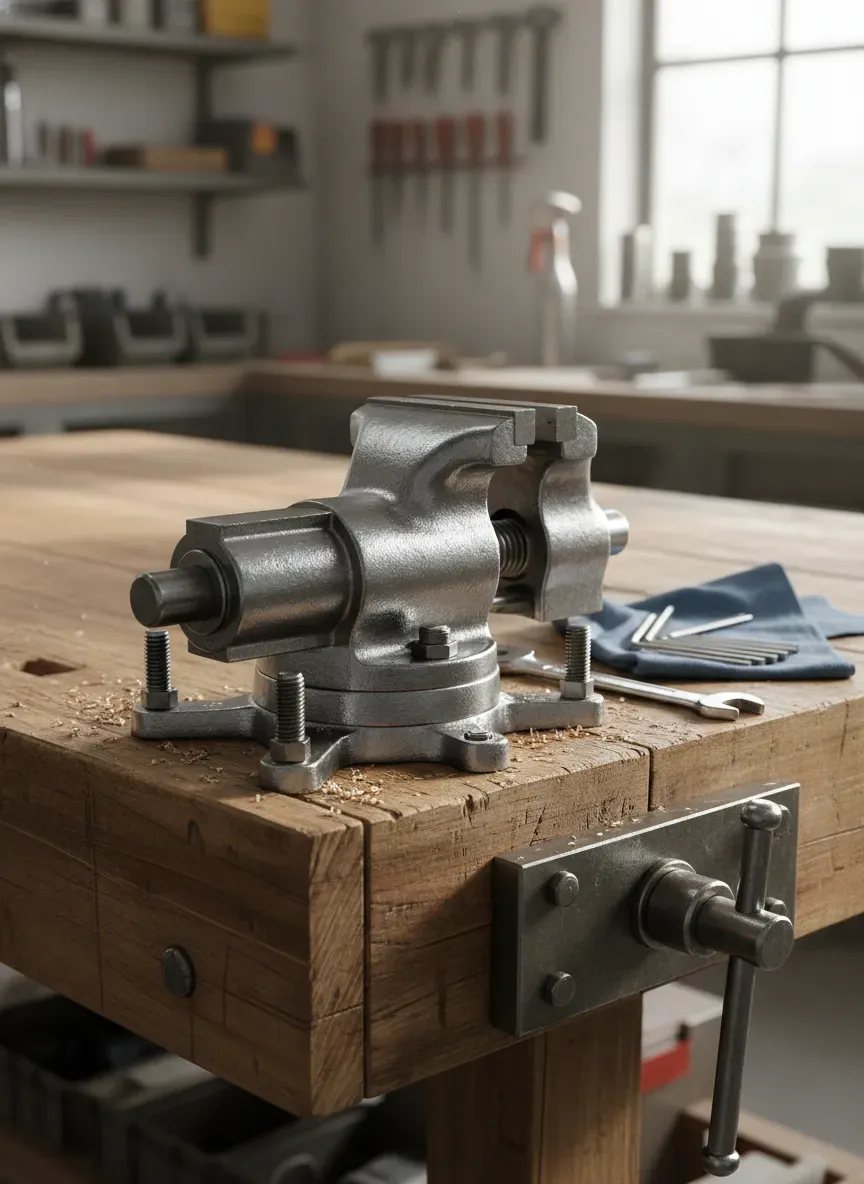
The Racking Problem
If you mount a standard face vise and clamp a piece of wood on only the extreme left side of the jaws, the right side of the vise will pinch inward. This is called “racking.” Over time, racking will bend the guide rods of a cheap vise, rendering it useless.
You’ll notice that premium vises, like a heavy-duty Yost 9-Inch Heavy Duty Vise, are machined with a slight “toe-in.” This means the top edges of the jaws touch slightly before the bottom edges do, ensuring that when pressure is applied, the jaws flex into a perfectly parallel alignment, gripping the wood with massive, even pressure without crushing it.
Placement Strategy
Mount your primary face vise on the front edge of the bench. If you are right-handed, it belongs on the left side of the bench. Why? Because when you plane the edge of a board held in the vise, you will naturally push the plane from right to left. By placing the vise on the left, the long end of the board extends to the right, giving you room to stand and walk along the bench as you plane. Reverse this if you are a southpaw.
The Bottom Line: Treat your vise as the steering wheel of your workbench. Budget appropriately for it, and don’t settle for lightweight, poorly machined cast iron.
Mistake 4: Relying on Weak Base Joinery
A thick top is useless if the base wobbles. Lateral forces are the mortal enemy of a workbench. When you hand plane a board, you are pushing laterally with significant force. If your bench base is assembled using simple butt joints and drywall screws, it might feel stiff on day one, but after three months of heavy use, those screws will wallow out the wood fibers. The bench will begin to sway.
You cannot rely on hardware-store L-brackets or pocket holes to stabilize a workbench base. You must rely on mechanical geometry.
The Power of the Drawbored Mortise and Tenon
The gold standard for a workbench base is the mortise and tenon joint, specifically the drawbored mortise and tenon.
In a drawbored joint, you cut a tenon on the end of your stretcher and a corresponding mortise in your leg. You assemble the joint, then drill a hole straight through the leg and the tenon. But here is the trick: you offset the hole in the tenon slightly closer to the shoulder. When you drive a stout hardwood peg through the hole, it forces its way through the offset path, physically pulling the tenon incredibly tight into the mortise.
This creates a mechanical lock that requires zero glue and will never, ever loosen, regardless of how aggressively the wood moves over the seasons or how hard you push your hand planes.
Pro Tip: If you aren’t ready to tackle massive mortise and tenon joinery, use heavy-duty half-lap joints bolted together with massive 3/8-inch carriage bolts. It’s not as elegant as a drawbore, but it provides the necessary mechanical shear strength to resist lateral racking.
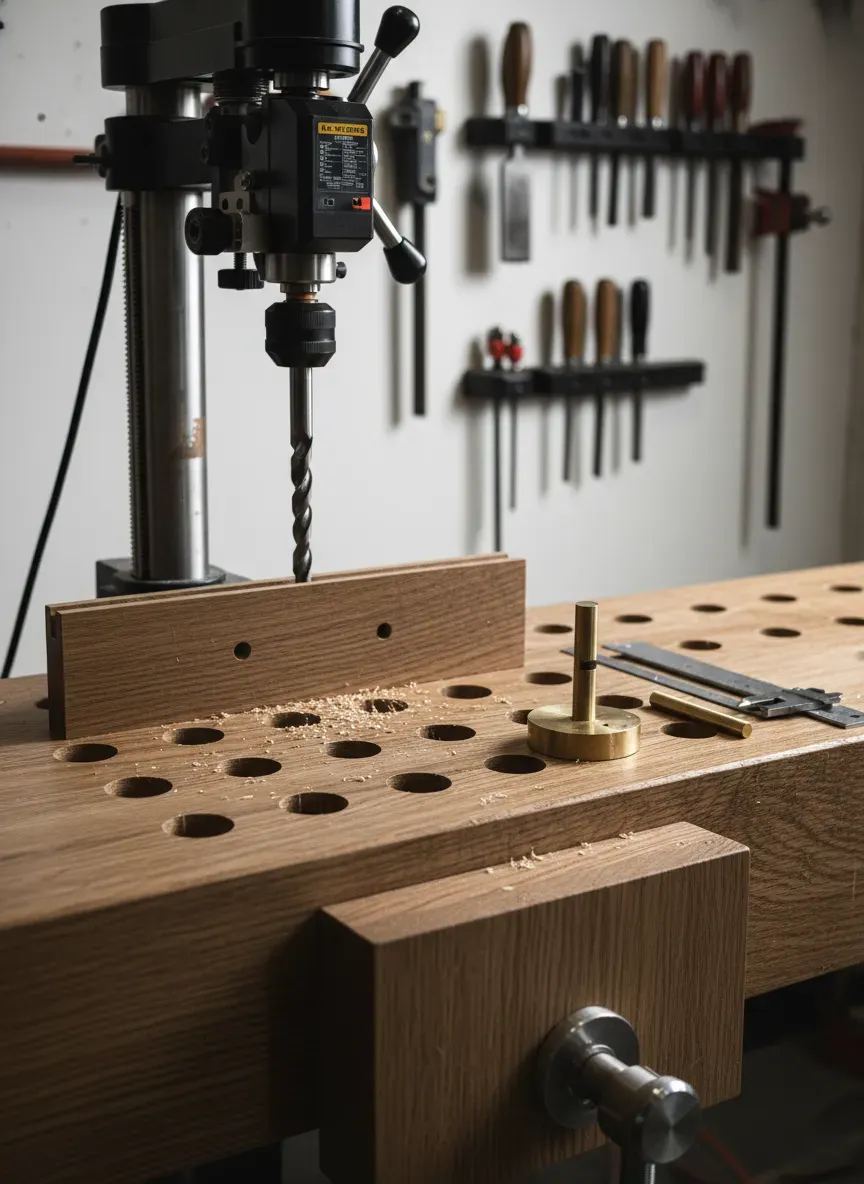
Mistake 5: Overcomplicating the Dog Hole Layout
Once a woodworker discovers the magic of bench dogs and holdfasts, there is a dangerous temptation to turn the workbench top into Swiss cheese. I’ve seen beautifully built workbenches completely ruined by a grid of 100 perfectly spaced 3/4-inch holes drilled across the entire surface.
This is a terrible idea for several reasons. First, every hole you drill reduces the mass and continuous structural integrity of your top. Second, a bench top filled with holes becomes a black hole for pencils, screws, drill bits, and small hardware.
The Minimalist Approach to Workholding
You really only need a single row of dog holes positioned about two to three inches from the front edge of the bench, spaced in increments slightly shorter than the maximum travel of your tail vise. This allows you to clamp a board of virtually any length between a dog in the bench and a dog in the vise.
If you are using traditional iron holdfasts—which work by being wedged into a 3/4-inch hole via a solid mallet strike—you only need a sparse, strategic scattering of holes across the middle of the bench. I recommend drilling holes only as you need them. Work on the bench for a few months. When you find yourself in a clamping situation you can’t solve, drill a hole right where you need it.
If you prefer a more modern, precision approach, utilizing a system like the Kreg Bench Dog Hole Kit can help you drill perfectly plumb holes, but remember to exercise restraint.
Key Takeaways for Dog Holes:
- Never drill a hole directly over a leg or a stretcher where a holdfast won’t have room to drop through.
- Keep your front row of dog holes perfectly aligned with your tail vise.
- Chamfer the edges of your dog holes slightly with a router. This prevents the sharp corners from splintering when you drop a heavy iron holdfast into them.
Mistake 6: Believing You Must Use Expensive Hardwoods
There is a pervasive myth in the modern woodworking community that a “real” workbench must be crafted from perfectly clear Hard Maple or European Beech. Let me shatter that illusion right now.
Hard maple is spectacular. It is incredibly dense, stiff, and pale enough to reflect light beautifully. However, it is also astronomically expensive in many parts of the world. If spending $1,500 on rough lumber delays your workbench build by two years because you have to save up, you are doing yourself a massive disservice.
The Case for Softwoods
Historically, craftsmen built their benches out of whatever dense, cheap timber was locally available. In North America, Southern Yellow Pine (SYP) and Douglas Fir are phenomenal workbench materials.
Yes, they are technically “softwoods” (conifers), but they are incredibly stiff and dense. A bench built from construction-grade SYP will easily weigh enough to anchor your shop.
Furthermore, there is a distinct advantage to having a workbench top that is slightly softer than the furniture you are building. If you drop a prized walnut drawer front onto a hard maple bench, the walnut will dent. If you drop it onto a pine bench, the bench takes the dent, saving your project. Workbenches are tools, not museum pieces. They are supposed to get dinged, sawn into, spilled upon, and battered.
The Bottom Line: Do not let the paralyzing perfectionism of exotic hardwood stop you from building. A massive, well-joined bench made of cheap Douglas Fir will outperform a flimsy, poorly joined bench made of Hard Maple every single day of the week.
Mistake 7: Failing to Account for Wood Movement
Wood is an anisotropic, hygroscopic material. This means it acts like a bundle of microscopic straws that constantly absorb and release moisture from the surrounding air. As humidity rises in the summer, the wood swells. As humidity drops in the winter, the wood shrinks.
Crucially, wood moves significantly across its width (across the grain) but barely moves at all along its length.
If you build a massive, 24-inch wide solid wood top, it could easily expand and contract by a quarter of an inch or more across the seasons. If you take that top and rigidly bolt or screw it directly to the heavy cross-stretchers of your base, you are creating a cross-grain conflict. The top will try to shrink in the winter, but the rigid base will hold it in place.
The result? The top will literally tear itself apart, developing massive, ugly cracks right down the middle of your beautiful lamination.
Allowing for Expansion
You must attach the top to the base in a way that allows the top to float.
There are several ways to accomplish this:
- Gravity: If your top weighs 200 pounds, you can simply bore a couple of oversized holes into the underside of the top, and glue heavy wooden dowels pointing up from the leg frames. The top sits on the dowels. Gravity holds it down, the dowels keep it from sliding horizontally, but the oversized holes give the top room to expand and contract.
- Slotted Fasteners: Use heavy-duty lag bolts driven up through the base into the top, but elongate the holes in the base with a rat-tail file. Tighten the bolts just enough to hold the top firm, but not so tight that they prevent the wood from sliding along the slot as it moves.
- Figure-Eight Fasteners: For lighter benches, heavy-duty metal figure-eight fasteners allow the top to pivot and move slightly while remaining securely anchored to the base frame.
Never trap a solid wood top. Respect the laws of nature, or nature will forcefully remind you of her rules.
Your Next Steps: Building With Confidence
Building a workbench is one of the most rewarding projects you will ever undertake. It is the crucible where all your future projects will be born. By avoiding these seven critical errors—planning your height ergonomically, embracing massive weight, investing in proper workholding, utilizing rigid base joinery, minimizing dog holes, choosing practical lumber, and respecting wood movement—you are guaranteeing a build that will outlast you.
But I know exactly how daunting it can be to transition from understanding the theory to actually cutting the wood. Staring at a pile of rough lumber while trying to calculate exact mortise dimensions, vise clearances, and lamination strategies can cause analysis paralysis. You don’t have to guess.
If you want absolute certainty before you make your first cut, I highly recommend checking out Ted’s Woodworking.
I’ve personally found their database to be an absolute lifesaver. Instead of trying to reinvent the wheel, you get access to an incredible archive of over 16,000 highly detailed, step-by-step woodworking plans—including multiple variations of professional-grade workbenches. Whether you want a traditional Roubo, a Scandinavian-style bench, or a compact Nicholson, the exact cut lists, 3D diagrams, and joinery layouts are all mapped out for you.
Right now, you can grab the entire collection at a massive 75% discount. It takes the guesswork out of the equation, ensuring that the time and money you invest in your lumber translates into a rock-solid bench you’ll be proud to use every day. Don’t wing it on your shop’s most critical tool—click here to grab your workbench plans and 16,000 other projects today.