How to Use MDF to Create a Dead-Flat Work Surface Every Time
Stop chasing perfect joints on warped tables. Discover the exact engineering, framing, and sealing techniques to build a dead-flat MDF work surface that lasts a lifetime.

Mar 19, 2026 - Written by: Linda Wise
If you’ve ever spent hours meticulously milling lumber perfectly square, only to end up with a twisted cabinet box during the glue-up, you already know the culprit. It’s your workbench.
Your reference surface dictates the geometry of everything built on top of it. If your table has a 1/16-inch dip in the center, your casework will inherit that exact flaw. I’ve personally found that chasing square joints on a warped surface is the fastest way to lose your sanity in the shop. You need a dead-flat surface, and the undisputed king of flat, stable, and affordable materials is Medium-Density Fiberboard (MDF).
But throwing a sheet of MDF across a couple of sawhorses isn’t going to cut it. MDF is heavy, flexible, and prone to sagging under its own weight. To harness its incredible dimensional stability, you have to engineer the substructure correctly.
Here is the exact methodology for building a reference surface that stays perfectly coplanar, regardless of humidity swings or heavy use.
Quick Comparison: Top Picks
| Product | Rating | Check Price |
|---|---|---|
| Zinsser Bulls Eye SealCoat | ⭐⭐⭐⭐⭐ | View on Amazon |
| SPAX MDF Centering Screws | ⭐⭐⭐⭐½ | View on Amazon |
| Woodpeckers Precision Straight Edge | ⭐⭐⭐⭐⭐ | View on Amazon |
The Anatomy of Medium-Density Fiberboard (MDF)
Before we start cutting, you have to understand the material you’re working with. Woodworkers love to hate MDF because of the toxic dust it produces and its vulnerability to water. But when it comes to creating a reference plane, it outperforms solid hardwood and top-tier plywood every single time.
Why Plywood Fails Where MDF Succeeds
Here’s the real kicker: plywood is structurally compromised right off the factory line. Even expensive Baltic Birch has internal tensions. Plywood is manufactured by alternating grain directions of thin veneers. While this cross-banding creates a structurally rigid panel, it leaves the board vulnerable to warping if the moisture content changes or if the internal veneers have overlapping voids.
MDF, on the other hand, is completely isotropic. It has no grain direction. It is essentially sawdust and resin subjected to immense heat and pressure. Because the fibers are uniform and randomly oriented, the material expands and contracts at a negligible rate, and more importantly, it does not twist, cup, or bow on its own. It is manufactured dead-flat, and it desperately wants to stay that way.
The Density Profile
You’ll notice that the faces of an MDF sheet are incredibly dense and smooth, while the core is slightly softer and more porous. This density gradient is a byproduct of the pressing process. The smooth, hard faces are what make MDF a dream for a work surface. It provides a slick, frictionless plane for maneuvering heavy cabinets, routing templates, and checking edge joinery.
Foundational Requirements: You Can’t Build Flat on a Bowed Base
If you take a perfectly flat sheet of 3/4-inch MDF and bolt it to a twisted 2x4 frame, the MDF will conform to the twist. MDF is dimensionally stable, but it lacks structural rigidity over long spans. It is highly susceptible to deflection.
To create a dead-flat work surface, we must rely on a specific structural engineering concept: the torsion box.

The Torsion Box Concept
A torsion box is a lightweight, incredibly stiff structure created by sandwiching a grid of intersecting ribs (the web) between two flat skins. Think of an airplane wing or a hollow-core door. The skins handle tension and compression, while the internal grid prevents shear and keeps the skins perfectly spaced apart.
When you build a torsion box using MDF for both the internal web and the skins, you create an assembly that is remarkably heavy, entirely immune to twisting, and flat to within thousands of an inch.
Engineering the Internal Web
The internal grid doesn’t need to be made from expensive hardwood. In fact, cutting your web pieces from the same MDF sheet ensures uniform expansion and contraction.
I typically rip 3/4-inch MDF into strips that are exactly 3 inches wide. The absolute most critical step here is ensuring every single strip is identically wide. If one strip is 3 inches and the next is 3-1/16 inches, your top skin will have a hump.
- Pro Tip: Run all your grid strips through the table saw with the fence locked in a single position. Do not move the fence until every rib is cut.
Create a grid with squares roughly 6 to 8 inches apart. You can use half-lap joints to lock the grid together, or you can run continuous strips lengthwise and use short blocking pieces to bridge the gaps. If you go with the blocking method, use a reliable brad nailer and a liberal amount of wood glue. The glue is what provides the ultimate rigidity; the brad nails are just clamps that hold things together until the glue cures.
The Paradox: Building Flat Without a Flat Reference
This is the classic chicken-and-egg problem of woodworking. How do you build a perfectly flat torsion box if you don’t already have a perfectly flat table to build it on?
You have to engineer a temporary reference plane.
The Winding Stick and String Line Method
Find the flattest area of your shop floor. Lay out two straight, rigid beams (like heavy-duty aluminum extrusions, steel box tubing, or carefully jointed laminated LVL beams) parallel to each other.
Place a pair of winding sticks on top of these beams. Winding sticks are simply two straight pieces of wood or metal with contrasting edges. By crouching down and sighting across the top of the front stick to the back stick, you can instantly see if the two beams are twisted relative to each other.
Use composite shims under your base beams until the winding sticks align perfectly. Once those two beams are coplanar, you have your temporary, dead-flat reference plane. You will assemble your torsion box directly on top of these leveled beams.
Step-by-Step: Constructing Your Dead-Flat MDF Surface
With your temporary reference beams set, it’s time to execute the build.
Laying the Bottom Skin
Place your bottom sheet of 3/4-inch MDF onto your leveled beams. This will be the underside of your table.
Assembling the Grid
Begin gluing and nailing your 3-inch MDF strips onto the bottom skin. Apply a continuous bead of high-quality wood glue along the bottom edge of every single strip. Shoot brad nails through the strip and into the bottom skin to hold it in place.
Work systematically from one corner to the other, ensuring the grid is tight and square. This internal matrix is the backbone of your assembly. Whether you’re batching out identical drawer boxes or designing intricate professional entryway storage assemblies, the stiffness generated right here is what guarantees your components will sit flush during final assembly.
Skinning the Frame: The Critical Glue-Up
Once the grid is assembled and the glue has dried, it’s time for the most stressful part of the build: attaching the top skin.
You need to apply a bead of glue to the top edge of every single piece of the internal grid. Because there is a massive amount of surface area, standard yellow PVA glue might skin over and begin to dry before you can get the top sheet in place.
Key Takeaways for the Top Skin Glue-Up:
- Use a glue with an extended open time, like Titebond III or a liquid hide glue.
- Use a cheap foam roller to quickly spread the glue across the grid edges.
- Enlist a friend. Trying to maneuver a heavy, floppy sheet of 3/4-inch MDF onto a glue-covered grid by yourself is a recipe for a misaligned, ruined mess.
Once the top skin is dropped into place, you need massive, evenly distributed weight to press the skin down onto the grid. Do not rely on screws for this step. Screws in MDF have a nasty habit of “mushrooming” the material around the shank, which can actually push the top skin away from the grid, creating tiny humps on your perfectly flat surface.
Instead, use every heavy object in your shop. Sandbags, toolboxes, buckets of leftover paint, anvils, and stacks of lumber. Distribute the weight evenly across the entire surface and leave it alone for 24 hours.
Edge Banding for Durability
Raw MDF edges are fragile. If you bang a heavy cast-iron clamp into an unprotected MDF edge, it will crush and flake away. Furthermore, the porous edges of MDF are highly hydrophilic—they act like sponges, soaking up atmospheric moisture which causes the edges to swell and destroy your flat surface.
You must edge-band the table.
I prefer using 3/4-inch thick solid hardwood, like maple or ash. Mill your hardwood strips slightly wider than the total thickness of your torsion box. Miter the corners for a clean look.
Apply glue to the MDF edges and clamp the hardwood firmly in place. Once the glue dries, use a flush-trim bit in a handheld router to perfectly shave the hardwood banding down so it is exactly flush with the top and bottom MDF skins.
Sealing and Protecting Your MDF Investment
You now have a heavy, rigid, dead-flat torsion box. If you leave it raw, you will ruin it within a month.
Why Raw MDF is a Liability
Raw MDF stains easily. A single drop of water, an overturned coffee mug, or a bead of squeezed-out wood glue will bond with the porous surface fibers. When you try to chisel away the dried glue, you will tear out chunks of the MDF, creating craters in your reference surface.
You must seal the MDF to create a non-porous, slick barrier.
The Shellac and Wax Methodology
I’ve tested polyurethane, boiled linseed oil, and epoxy. The absolute best finish for an MDF work surface is dewaxed shellac followed by paste wax.
Shellac dries incredibly fast, builds up quickly, and creates a hard, durable shell over the soft MDF fibers. Because MDF is so thirsty, your first coat of shellac will soak completely into the board.
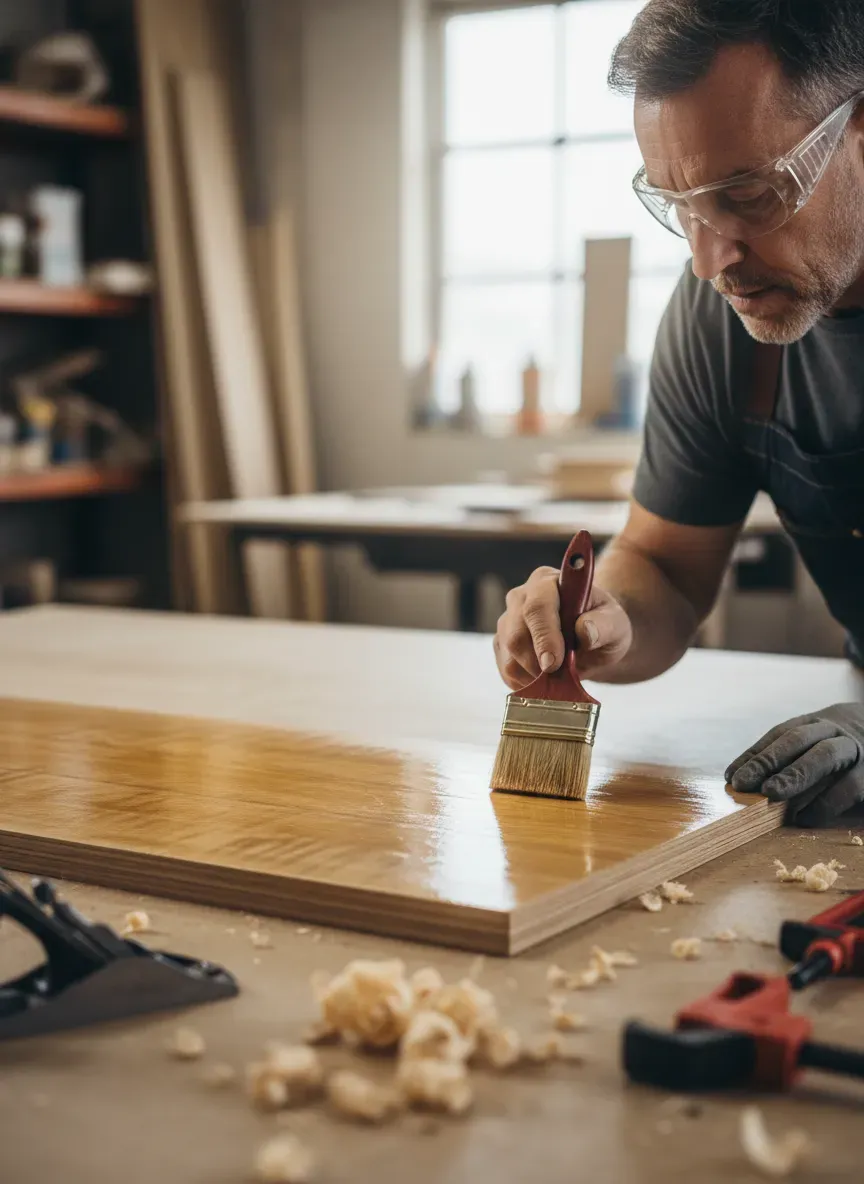
- First Coat: Flood the surface with a 2-lb cut of dewaxed shellac. Use a wide synthetic brush or a foam roller. Let it dry for 45 minutes. The surface will feel rough because the shellac has raised the tiny fibers of the MDF.
- Sanding: Lightly scuff the entire surface with 320-grit sandpaper wrapped around a hard sanding block. Vacuum the dust.
- Second and Third Coats: Apply two more coats of shellac, waiting an hour between each. The surface will begin to look glossy and feel rock-hard.
- The Wax Barrier: Once the final coat of shellac has cured overnight, apply a generous layer of high-quality furniture paste wax. Buff it out with a clean cotton rag.
The paste wax is the secret weapon. It lowers the surface friction drastically, allowing heavy sheet goods to glide effortlessly across the table. More importantly, dried wood glue will not adhere to a waxed shellac surface. When you have glue squeeze-out during a project, let the glue dry into a hard bead, and then simply pop it off the table with a plastic putty knife. It will release instantly, leaving your dead-flat surface completely unharmed.
Adding Versatility: The Sacrificial Top and Dog Holes
A torsion box is a permanent structural fixture, but work surfaces eventually take a beating from saw blades, drill bits, and chisels.
Many elite woodworkers choose to add a 1/4-inch or 1/2-inch sheet of MDF on top of their sealed torsion box as a sacrificial skin. You do not glue this skin down. Instead, secure it with a few countersunk brass screws at the corners. When this top skin gets chewed up after a year of hard use, you simply unscrew it, throw it away, and drop a fresh, cheap piece of MDF onto your perfectly flat torsion box base.
Integrating a Clamping Grid
A flat table is useless if you can’t hold your workpieces down securely. Transforming your dead-flat MDF surface into a multi-functional clamping station (similar to an MFT, or Multi-Function Table) elevates it to a professional-grade fixture.
Using a plunge router and a specialized template (like the Parf Guide System), you can bore a matrix of 20mm holes perfectly spaced across the top of your table. These “dog holes” allow you to drop in bench dogs, toggle clamps, and track saw rails. Because your MDF surface is dead-flat, any vertical clamp you place in these holes will apply perfectly perpendicular downward pressure, preventing your workpieces from bowing during assembly.
Maintenance and Longevity Hacks
Your dead-flat surface requires a baseline level of respect. It is a precision instrument disguised as a piece of shop furniture.
Dealing with Spills and Stains
If you spill solvent, mineral spirits, or dye on the table, wipe it up immediately. While the shellac and wax provide excellent protection, highly aggressive solvents will eventually eat through the finish. Reapply a quick coat of paste wax to the affected area once it’s clean to restore the protective barrier.
The Heavy Impact Warning
MDF has impressive compressive strength, but its impact resistance is poor compared to solid maple or oak. Do not use your dead-flat assembly table as an anvil. Pounding out a bent piece of steel or hammering heavy mortises without a backing board will eventually dent the MDF fibers beneath the shellac, creating a localized divot.
The Base Framework: Supporting the Beast
A fully constructed 4x8-foot MDF torsion box easily weighs over 200 pounds. Setting it on flimsy sawhorses defeats the entire purpose of building it.
You need a heavy-duty lower chassis.
Build a stout base out of 4x4 lumber, or weld a frame out of steel square tubing. The legs of your base must feature heavy-duty, adjustable leveling feet.
The Bottom Line: Concrete shop floors are never level. They slope toward drains or sink near expansion joints. If you place a perfectly flat, stiff torsion box onto a four-legged base resting on an uneven floor, gravity will pull the unsupported corners downward. Over time, this racking force will induce a twist into your table.
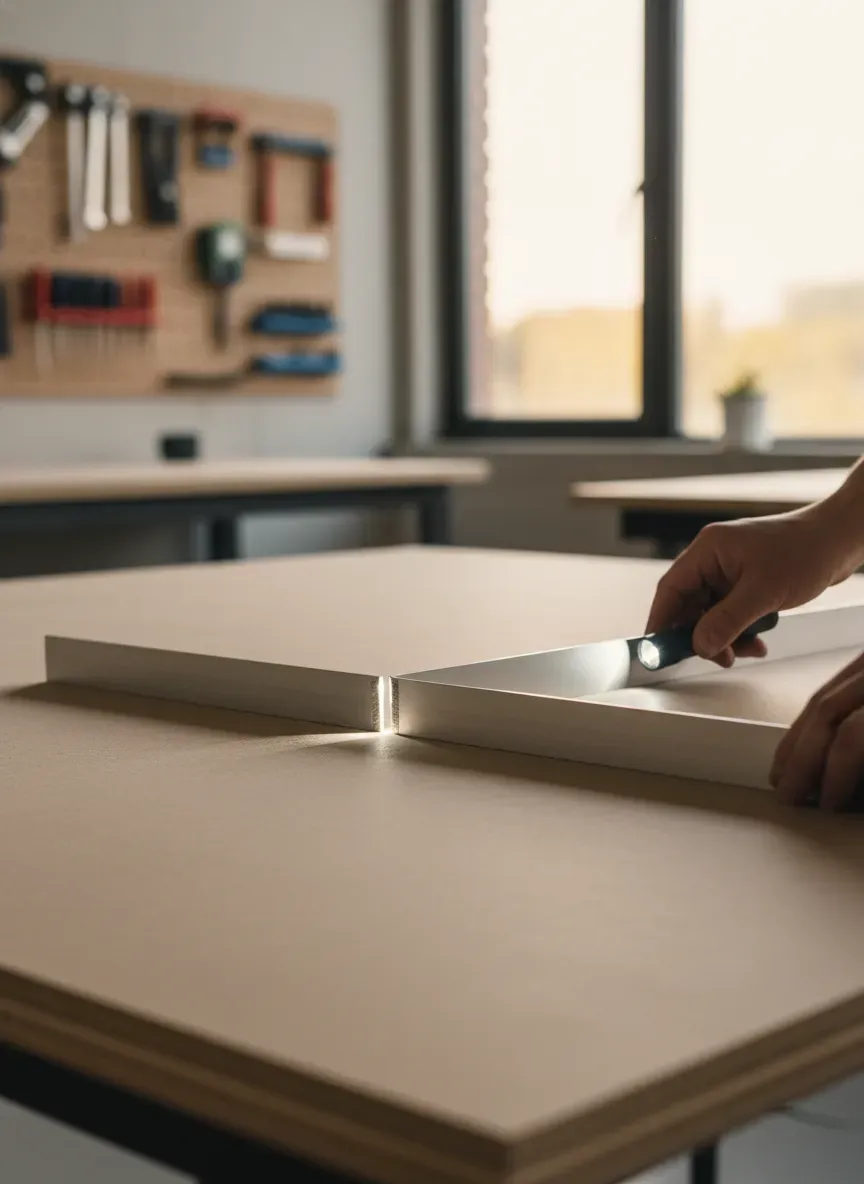
By installing threaded leveling feet on the bottom of your legs, you can tweak the height of each corner independently. Once the table is in its final resting place, put a precision straight edge across the diagonals. Adjust the feet until the table is perfectly level and fully supported at all four corners.
Common Pitfalls That Destroy Flatness
Even with the best intentions, a few minor oversights can ruin your reference surface. Avoid these common traps:
- Skipping the Acclimation Period: Do not bring a sheet of MDF from a freezing, damp lumberyard directly into a heated shop and immediately start cutting. Stand the sheets up, space them apart, and let them acclimate to your shop’s relative humidity for at least 72 hours before building your torsion box.
- Over-Driving Screws: If you choose to use screws instead of weight to clamp your top skin (which I heavily advise against), you must use specialized MDF screws and you must pre-drill and countersink every single hole. If a screw head sits even 1/64th of an inch above the surface, it will scratch your workpieces and throw off your flatness.
- Ignoring the Underside: Moisture exchange happens on all exposed surfaces. If you seal the top and sides of your table with shellac but leave the bottom skin raw, the bottom will absorb moisture from the air while the top remains sealed. This differential moisture absorption will cause the entire assembly to bow upward like a potato chip. You must seal the bottom of the table just as thoroughly as the top.
The Ultimate Shop Upgrade
Stepping back from the technical details, the time and effort invested in engineering a dead-flat MDF work surface will pay dividends in every single project you build going forward. No more questioning your squares. No more clamping out twists. No more fighting your furniture during the final dry-fit.
When you know your reference surface is flawless, you can trust your joinery.
And once your shop is equipped with a surface capable of handling precision work, you are going to need projects that actually challenge your skills. If you are tired of hunting through internet forums for incomplete cut lists and vague project dimensions, there is a better way to fuel your workflow.
I highly recommend checking out Ted’s Woodworking. It is a massive, incredibly thorough archive containing over 16,000 step-by-step woodworking plans. From intricate cabinetry to massive outdoor pergolas, every single plan comes with exact material lists, detailed schematics, and 3D diagrams so you never have to guess a dimension again. Right now, you can access the entire 16,000-plan database at a massive 75% discount. Do yourself a favor, put that new dead-flat assembly table to work, and start building with absolute confidence.