
How to Build a Simple Pallet Shoe Rack (free Wood, One Saturday)
Build a simple pallet shoe rack for about $0 of wood: safe HT pallet picks, the cut list, saw cuts, and a splinter-free finish — a real Saturday project.
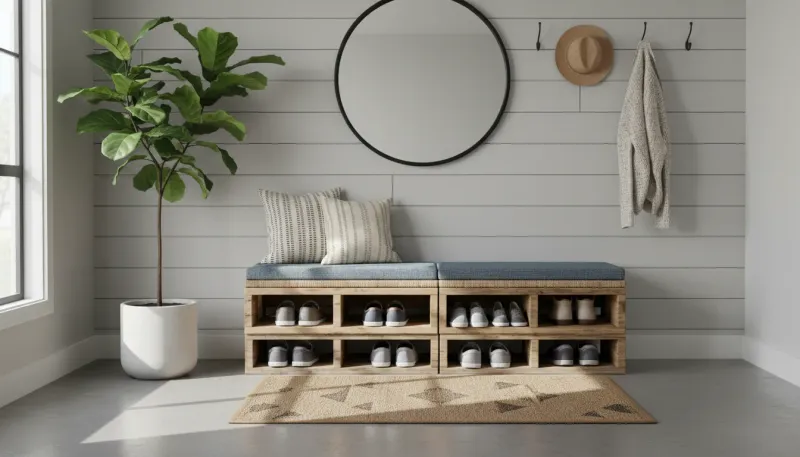
Jan 31, 2026 · Linda Wise
15 min readA simple pallet shoe rack costs about $0 of wood and one lazy afternoon — here’s exactly how to build one that doesn’t fall over.
The word “lazy” is doing real work there, so let me be straight with you: this is one of the most forgiving projects in woodworking, because pallets are free and mistakes are free to redo. But “free wood” has a tax, and the tax is prep — sorting the pallets, cleaning them, sanding them. Do that part honestly and the build itself takes an afternoon. Rush it and you’ll be re-cutting slats at 9 p.m. while the dog sleeps on your drill.
So the deal up front: This is a Saturday project, not an ‘I’ll start this weekend’ project. It’s a genuinely good first woodworking build — but call it what it is and you’ll finish with a rack instead of a half-project in the garage.
What we’re building is a simple pallet shoe rack with two tiers, roughly 48 inches wide by 13 inches deep, standing about 26 inches tall. Two shelves, four legs, one back brace to stop the wobble, and a floor made of five slats per tier. It holds eight pairs without being greedy about space, and the back brace is the part that keeps it from falling over — which is the part most pallet tutorials skip.
How to Build a Pallet Shoe Rack (full tutorial)
You need one good tool list before you touch a pallet. Every item, one per line, so you can shop:
- Circular saw (a handsaw works; budget double the time)
- Pry bar and hammer
- Tape measure and carpenter’s square
- Drill with drill bits and a screwdriver bit
- Orbital sander with 60-, 120-, and 220-grit paper
- Safety glasses, dust mask (N95), and work gloves
Materials: one heat-treated (HT) pallet, about 40 deck screws sized 2.5 inches, and a water-based polyurethane sealer (details in the finishing section below). The pallet selection rules are in the next section — read those before you haul anything home.
The build, in numbered steps:
-
Break the pallet down. Pry off the deck boards you’ll use as shelf slats, and pull the long stringer beams that become the legs and braces. Work from the edges in, and hammer out every nail you can; the ones you leave behind get sanded flush in step 6.
-
Cut to the cut list. Measure and mark every cut using the table in “Cut List & Plans” below before you switch on the saw. Batch-cutting identical lengths keeps the cuts square and fast.
-
Build the two shelf frames. Take four 13-inch rails — two per tier — and screw the five 44-inch slats across them, spacing each slat an inch apart so air gets under wet shoes. Use two screws per slat end; pre-drill to stop the dry pallet wood from splitting.
-
Attach the legs. Screw four 26-inch legs to the outside of the shelf frames: top tier flush with the leg tops, bottom tier 5 inches up from the floor. Two screws per joint at every corner, and keep the frame square with your carpenter’s square before you drive them all the way.
-
Add the back brace. This is the anti-wobble insurance: one 44-inch brace screwed across the back, just under the top tier. Skip this and the rack will rack sideways the first time someone leans on it — and a pallet shoe rack that falls over is not a rack anyone keeps.
-
Sand everything. Run 60 grit over every surface that a sock, a hand, or a child’s face can reach, then 120, then 220 on the top edges. Round over sharp corners with the sander. Pallet wood is splinter city until this step; this is the “kids’ socks” step.
-
Set it up and brace it. Stand the rack, confirm it rocks on no corners, and if you can, screw the back brace into a wall stud with an L-bracket — twenty minutes of insurance against curious kids and heavy winter boots.
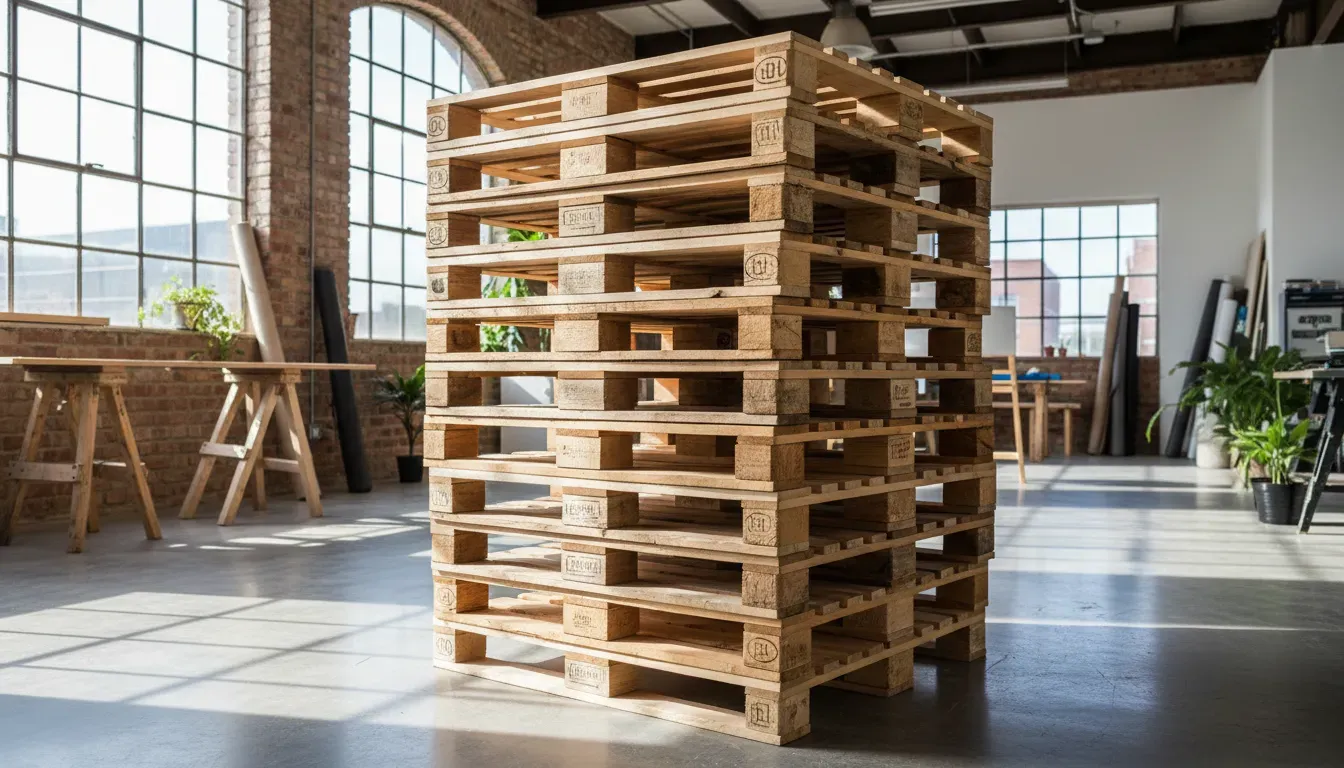
Choosing Pallets (the HT stamp, nails, and splinters)
Not every pallet belongs in your house. The single rule that matters more than any other: only use pallets stamped HT (heat treated). Look for the IPPC stamp on the pallet side — a country code, a number, and a treatment code.
- HT (heat treated): safe for indoor projects. This is what you want, every time.
- DB (debarked): shown next to HT; also fine.
- MB (methyl bromide): fumigated with a toxic chemical. Never for indoor furniture, ever.
- Colored pallets (blue, red, orange): rental pallets that circulate through supply chains and may have carried chemicals. Skip them.
Then the physical check: straight slats, no major rot or cracks running through a stringer. A little nail-holing is character; a pallet that’s been through a forklift three times a week is a splinter farm. Pull the old nails before you cut — hitting a buried nail with a saw blade ruins both the blade and the afternoon.
Cut List & Plans (PDF download)
The rack builds from one pallet and one honest shopping list. The full cut list is also available as a printable PDF download — one page with a dimensioned diagram and a shopping list, the same dimensions you see here, ready to take to the shop.
| Part | Length | Count | Source |
|---|---|---|---|
| Shelf slats (two tiers of five) | 44” | 10 | Pallet deck boards |
| Side rails (two per tier) | 13” | 4 | Stringer wood |
| Legs | 26” | 4 | Stringer wood |
| Back brace | 44” | 1 | Stringer wood |
| Misc. blocking | 4” | 1 | Scrap |
The saw cuts, spelled out so the waste and the danger stay low:
| Cut | Blade | Technique | Safety note |
|---|---|---|---|
| Slats at 44” | Crosscut blade (24T+) | Clamp a straightedge as a guide fence | Keep both hands behind the blade line |
| Rails at 13” | Crosscut blade | Square line, cut from the good face | Support both ends; no free drops |
| Legs at 26” | Ripping blade or handsaw | Clamp the workpiece to a bench | Pre-drill holes before screwing |
| Back brace at 44” | Crosscut blade | Square ends, not miters | Feet planted, work at waist height |
That’s it — ten slats, four rails, four legs, one brace. Everything else is fancy.
Simple vs. Fancy Pallet Designs
The pallet rack you’re building is deliberately plain: two tiers, no drawers, no doors, no back panel. Here’s why plain wins for most mudrooms.
Simple designs take one afternoon and one material, and they shrug off wet boots, muddy cleats, and the occasional dropped tool bag. Fancy builds — flip-top lids, painted frames, added hooks, cushion tops — double the build time and quadruple the surfaces that can rot or wobble; a painted pallet rack looks great in photos and scuffed by November.
Where the fancy upgrade is actually worth it: a bench-style top. If you want to sit down while you remove boots, build the simple rack as your base, then add a spare slat row laid flat on top of the upper frame. If you’d rather buy the bench version off the shelf, the compact storage bench roundup covers ready-made bench-with-storage options in proper measurements. For everybody else: simple, two tiers, star of the mudroom.
Sealing & Finishing (ditch the splinters for kids’ socks)
The structure is done; the finish is what makes it safe. This is where you earn “no splinters in the kids’ socks.”
- Sand in the three-step order: 60 grit to strip the weathered layer and round the corners, 120 to remove the coarse scratches, 220 for a smooth furniture-grade feel. Run a hand over every surface to find snags you missed.
- Seal with water-based polyurethane. Three thin coats, drying per the can between coats, with a light 220-grit pass between coats to kill dust nibs. Water-based stays clear — oil-based turns pallet pine amber, which is either a feature or a problem depending on your taste.
- Let it cure before you load it. Two days minimum before shoes go on it. The sealer is what lets you wipe mud off with a damp cloth instead of scrubbing the grain.
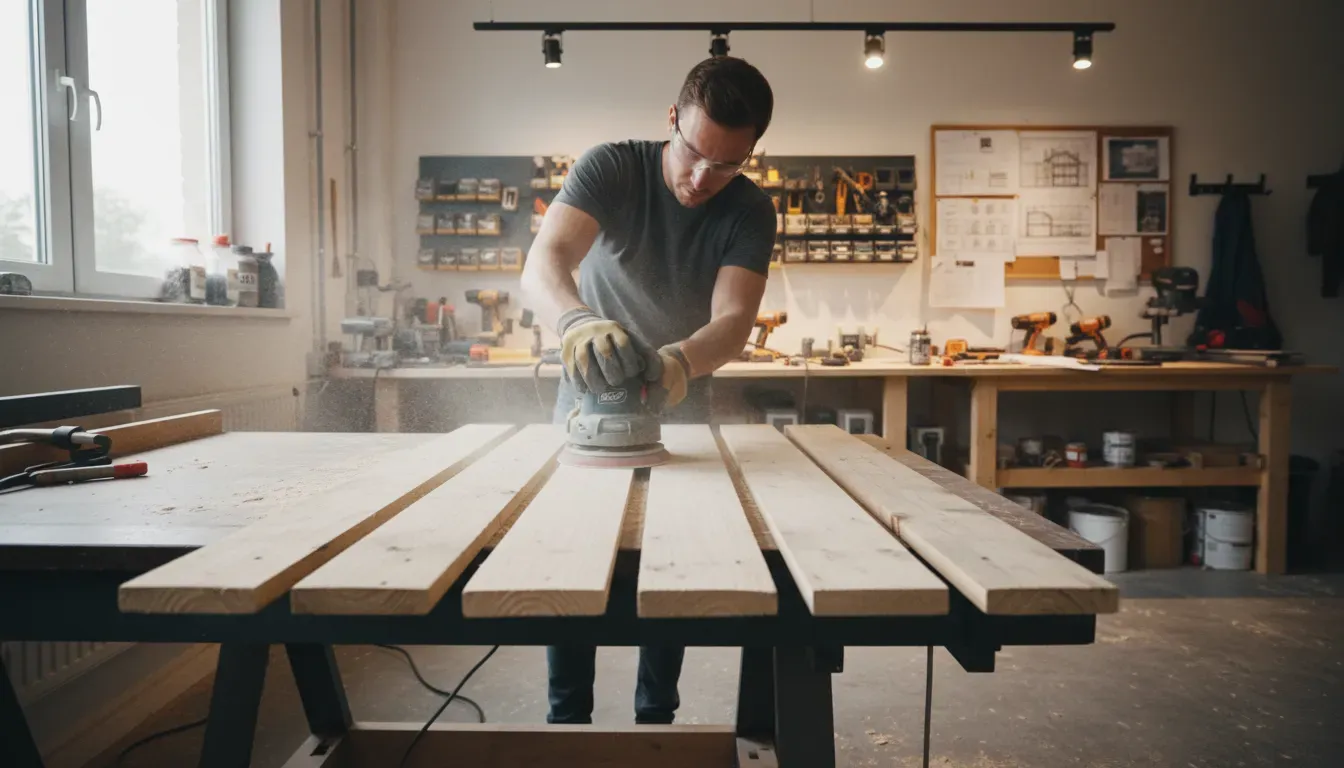
One honest note on expectations: a simple pallet shoe rack from pallet wood is never going to look like a lacquered furniture-store piece, and it shouldn’t. The charm is the grain, the nail holes, the slight irregularity of the slats. Sealed properly, it will look intentional for years — and it cost you about $0 of wood and one real Saturday.
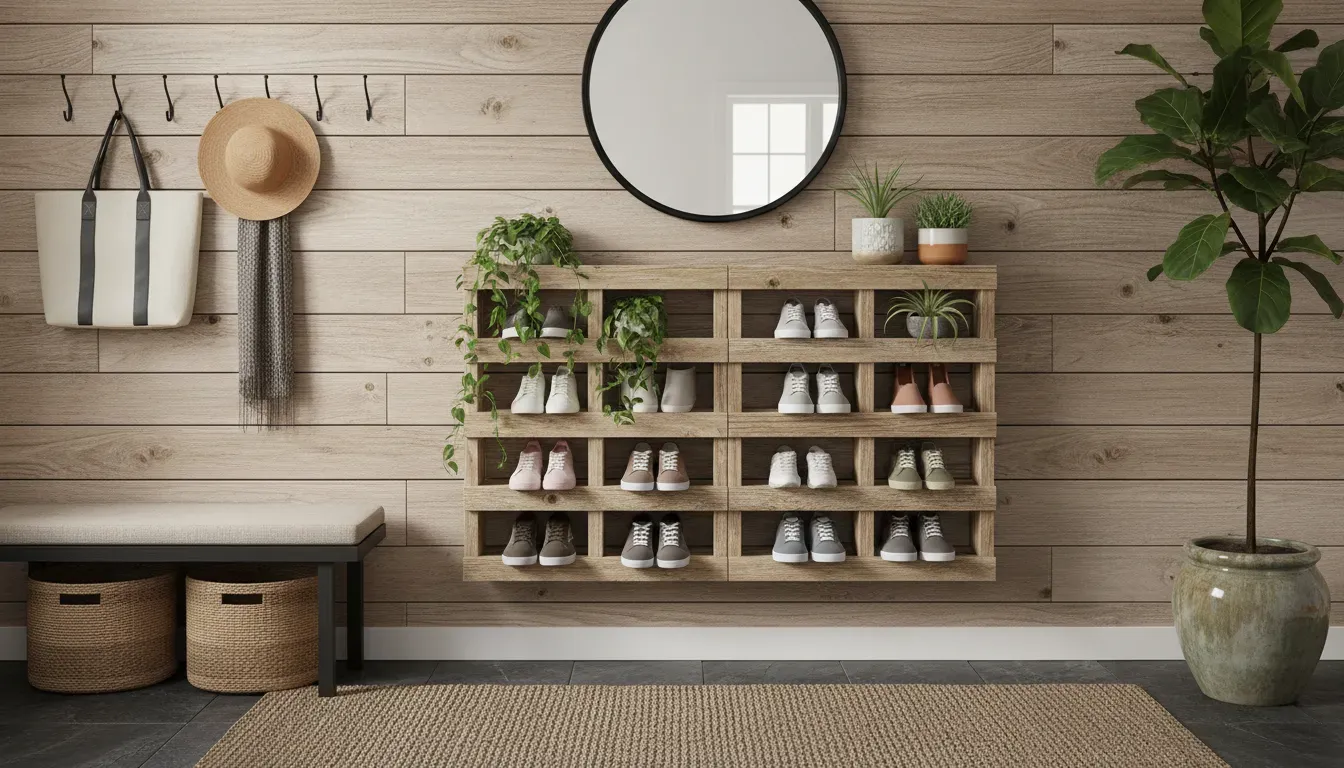
Built to the cut list, braced, and sealed before it ever meets a sock, this rack organizes eight pairs of shoes for the price of an afternoon: free wood, honest labor, and a mudroom with a place for every boot.
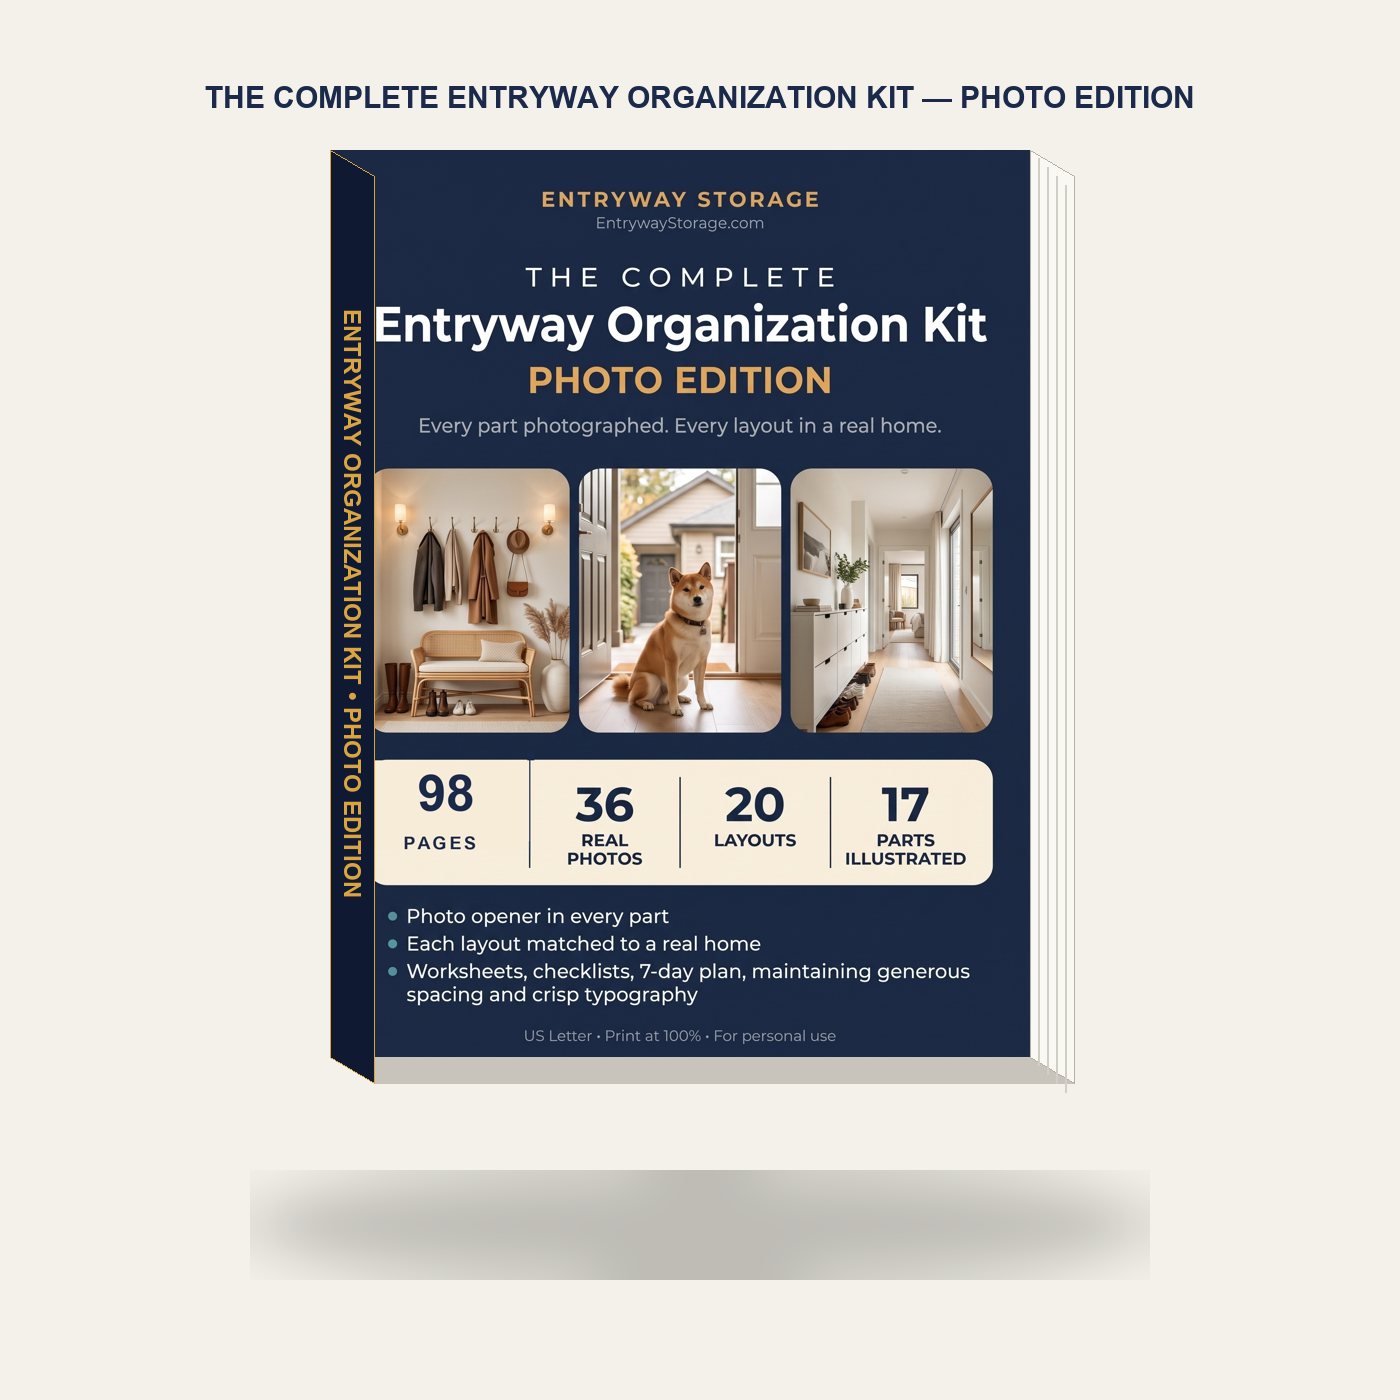
Stop Guessing Measurements. Build Your Dream Entryway with Confidence.
Transform awkward hallways, cramped foyers, and cluttered mudrooms into organized sanctuaries. Includes 20 CAD floor plans, facing real-home photo spreads, the 36-Inch Clearance Rule, the Shoe Pairs Formula, and 7 printable worksheets.
Core Edition ($17.99) · Flagship Photo Edition v5 ($39.99)
