How to Build a DIY Entryway Wall Organizer
Master the art of entryway organization with this exhaustive DIY guide. Learn advanced woodworking techniques to build a custom wall organizer.
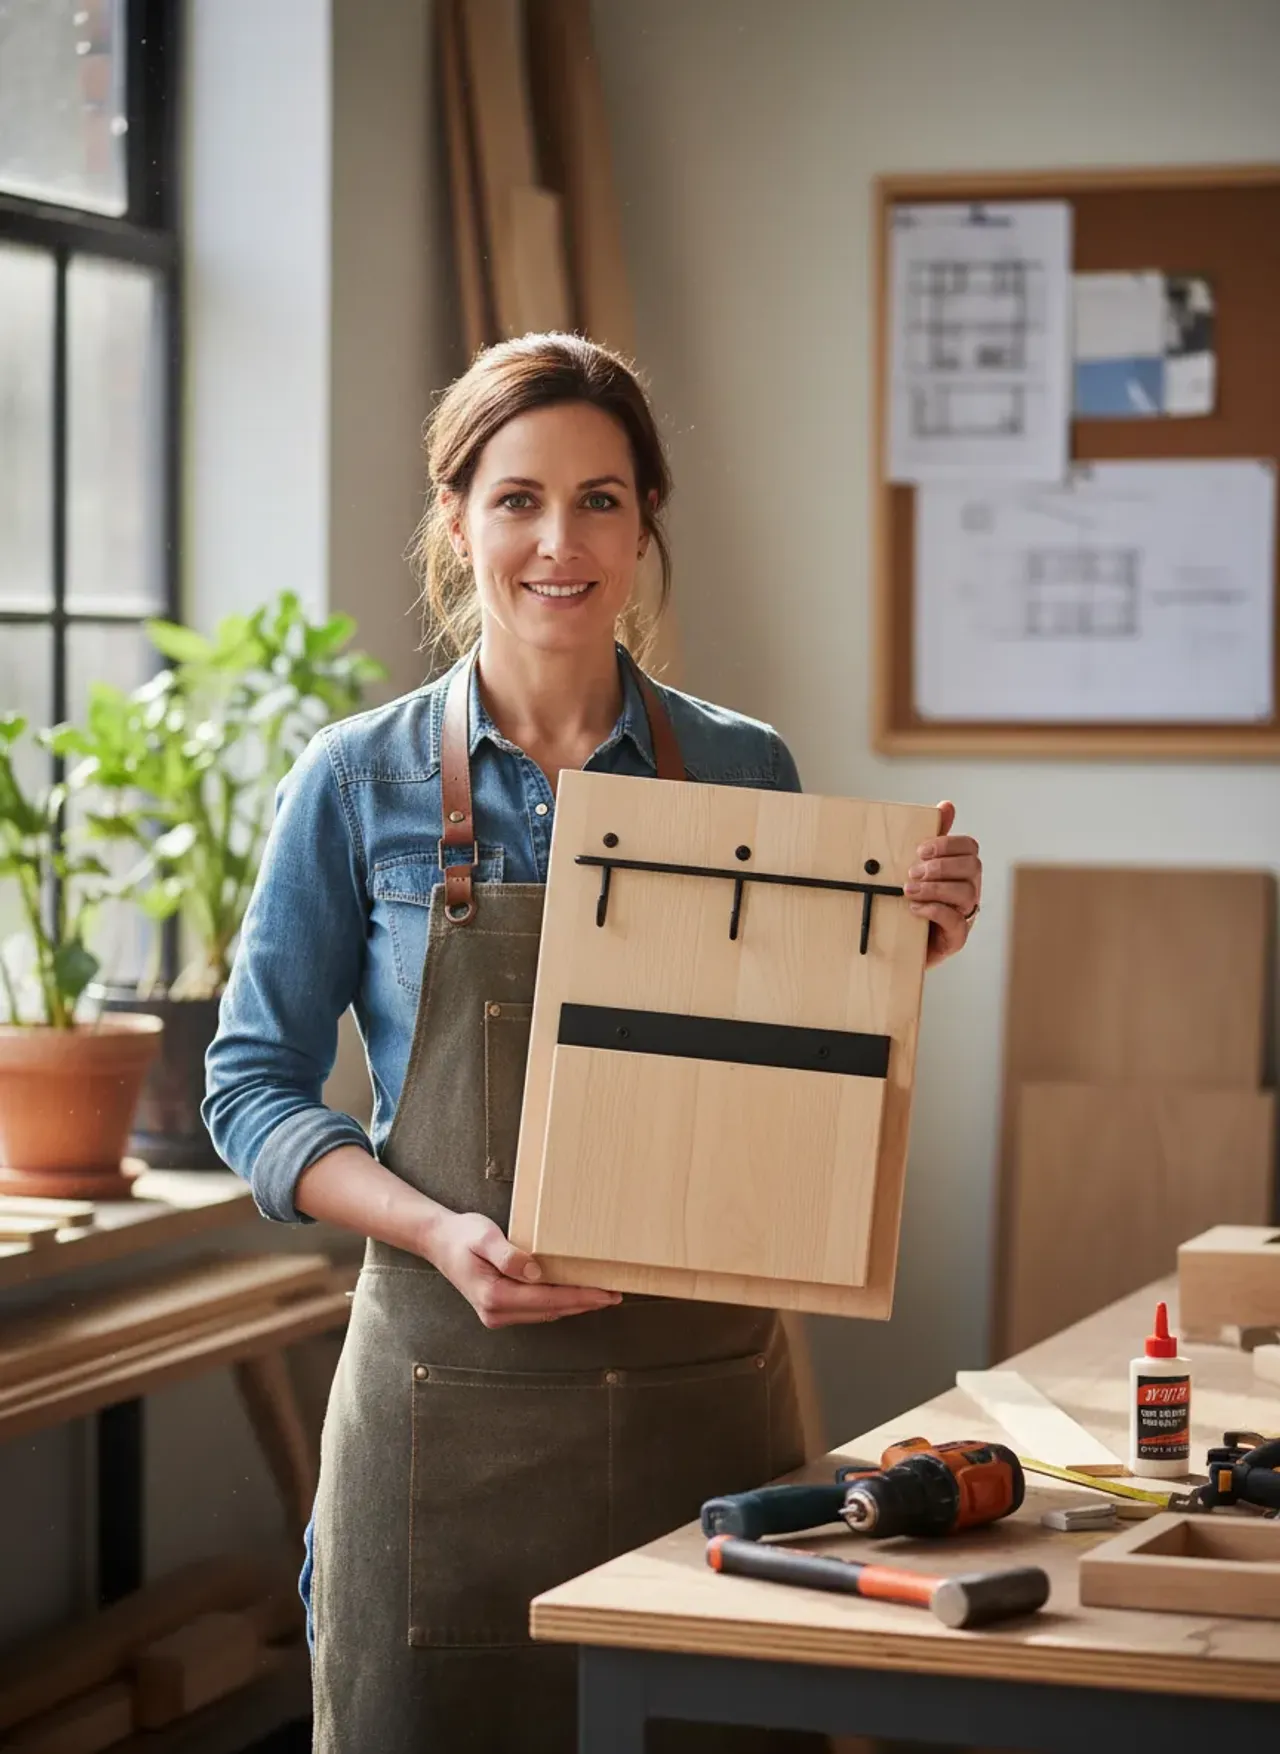
Mar 15, 2026 - Written by: Linda Wise
If you’ve ever lost fifteen minutes of your morning frantically searching for your car keys beneath a pile of junk mail, you already know why the entryway is the most critical chokepoint in your home. It’s the domestic front line. It dictates the tone of your departure and the relief of your return.
I’ve personally found that relying on flimsy, mass-produced particleboard organizers from big-box stores is a recipe for frustration. They warp under the weight of heavy winter coats, their veneer chips within months, and their generic dimensions rarely fit the unique spatial dynamics of your hallway.
You need something robust. Something engineered for your specific drop-zone habits. Today, we are going to walk through exactly how to build a DIY entryway wall organizer from scratch. We’ll bypass the amateur pitfalls and focus on cabinet-grade construction techniques, resilient joinery, and flawless finishing.
Before we start ripping lumber, here is a quick breakdown of the foundational gear you’ll want in your shop to make this build seamless.
Quick Comparison: Top Picks
| Product | Rating | Check Price |
|---|---|---|
| Kreg Pocket-Hole Jig 320 | ⭐⭐⭐⭐⭐ | View on Amazon |
| DEWALT 20V MAX Cordless Drill Kit | ⭐⭐⭐⭐½ | View on Amazon |
| Titebond III Ultimate Wood Glue | ⭐⭐⭐⭐⭐ | View on Amazon |
Diagnosing the Entryway Dilemma
Look at your current entryway setup. If you are like most homeowners, it consists of a bowl that has overflowed with receipts, a haphazard row of hooks screwed directly into drywall, and an aesthetic that can best be described as “organized chaos.”
The psychology of a drop zone is simple: if the designated storage space requires too much effort to use, humans will default to the path of least resistance. We toss our jackets on the nearest chair. We dump the mail on the kitchen island.
A high-utility wall organizer forces compliance through intelligent design. By integrating dedicated mail slots, staggered coat hooks, a sunglasses shelf, and hidden cubbies for miscellany, you effectively quarantine the clutter. But building one that actually withstands the daily abuse of a busy household requires a strategic approach to materials and structural integrity.
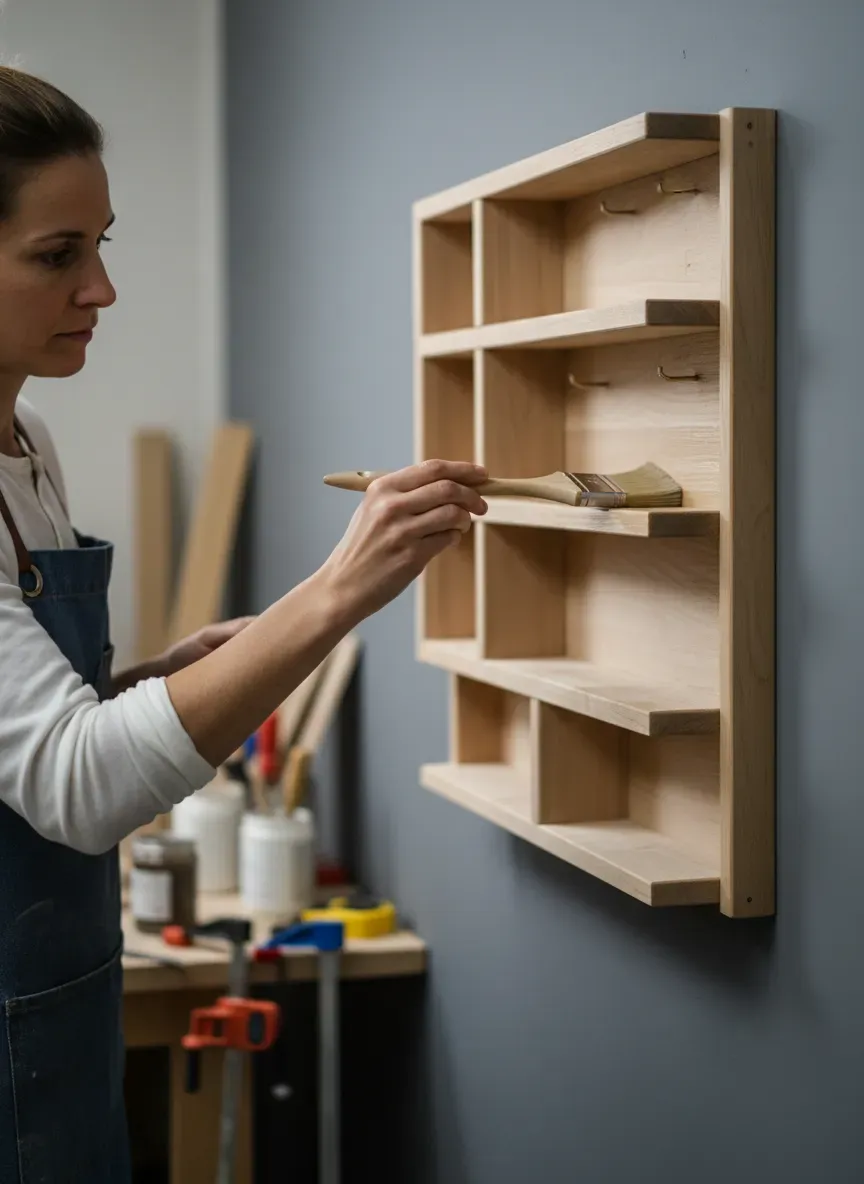
Form Meets Function: The Anatomy of a High-Utility Organizer
Before you buy a single board, you have to map out the anatomy of your build. I recommend a multi-tiered approach.
The Backer Board: This is the spine of your organizer. It anchors the piece to the wall and provides a vast canvas for mounting hooks. The Upper Shelf: Ideal for decorative items, small potted plants, or items you need out of reach of small children. The Mid-Section (Mail Slots): Angled or compartmentalized dividers specifically dimensioned for standard envelopes and magazines. The Lower Drop Zone: A small, protruding shelf ledge designed for keys, wallets, and sunglasses. The Hardware Base: A reinforced lower apron where the heavy-duty coat hooks will reside.
One crucial element that often trips up first-time builders is the protrusion factor. You must balance storage capacity with hallway traffic flow. If your organizer sticks out too far, it becomes a shoulder-checking hazard. This requires determining the ideal depth for your storage needs before you finalize your cut list. Generally, a shelf depth of 4 to 6 inches is the sweet spot for a wall-mounted unit, providing ample room for sunglasses and wallets without encroaching on walking space.
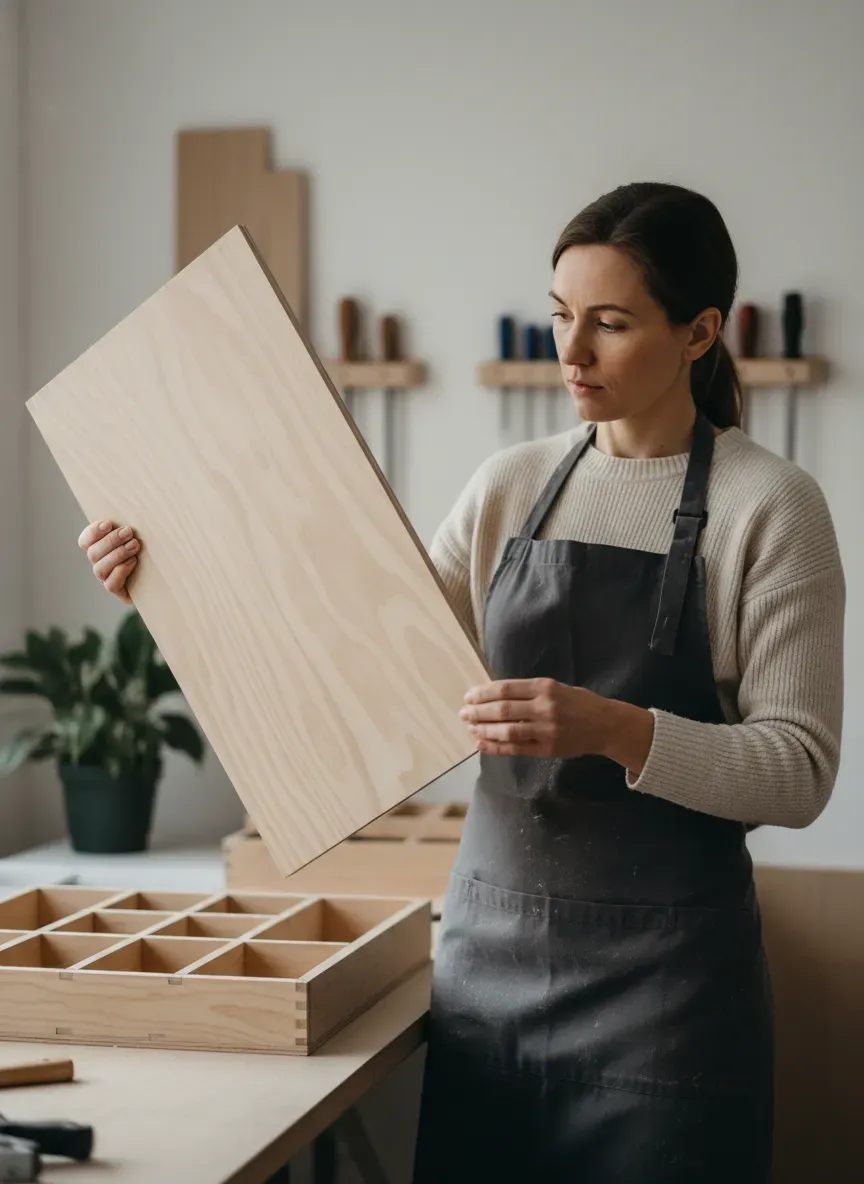
Selecting Your Lumber: Hardwoods vs. Sheet Goods
Don’t cheap out on the wood. If you use standard framing lumber (like 2x4s or cheap pine common boards) from the hardware store, you will fight warped, cupped, and twisted wood throughout the entire project. Pine also absorbs stain blotchily unless meticulously conditioned.
Here’s the real kicker: for a project like this, cabinet-grade plywood combined with solid hardwood edge banding is usually your best bet.
- Baltic Birch Plywood (3/4-inch): Unbelievably stable, dimensionally accurate, and features beautiful, void-free edges that you can actually leave exposed if you prefer a modern, Scandinavian aesthetic.
- Solid Maple or Walnut: If you want a heritage piece, solid hardwoods offer unmatched durability and grain beauty. Just be prepared to pay a premium and spend more time milling the boards flat and square.
- Poplar: The undisputed king of painted projects. If your entryway organizer is going to be painted white, navy, or sage green, poplar is affordable, takes paint beautifully, and machines with zero fuss.
The Blueprint: Materials and Tools Arsenal
To execute this build, you need a curated toolkit. You don’t need a massive commercial shop, but precision matters.
The Tool Roster:
- Table saw or a track saw (for perfectly straight, tear-out-free rips)
- Miter saw (for precise crosscuts)
- Pocket hole jig (essential for hidden, fast joinery)
- Random orbital sander (with 120, 150, and 220 grit discs)
- Brad nailer (18-gauge)
- High-quality tape measure and a combination square
The Materials List (For a standard 36-inch wide unit):
- One 2x4 project panel of 3/4” Birch Plywood
- One 1x6x8 Solid Poplar or Maple board (for shelving and dividers)
- 1 1/4” pocket hole screws
- Quality wood glue
- Edge banding (if using plywood and wanting hidden edges)
- 4-5 heavy-duty coat hooks
- French cleat hanging hardware (more on this later)
Pro Tip: Always let your wood acclimate to the humidity inside your home for at least 72 hours before making any cuts. Wood expands and contracts. Cutting wood straight from a damp lumberyard will lead to joints pulling apart as the wood dries inside your climate-controlled hallway.
Step-by-Step Construction Protocol
Phase 1: Milling and Precision Cuts
Start by breaking down your sheet goods. If you are building a 36-inch wide organizer, your backer board will likely be 36” wide by 18” tall.
When cutting plywood across the grain, tear-out (where the wood fibers splinter rather than cut cleanly) is your worst enemy. To prevent this, apply a strip of blue painter’s tape directly over your cut line before running the saw. Furthermore, ensure your table saw blade is a high-tooth-count (60T or 80T) finish blade, not a coarse framing blade.
Next, cut your shelving. You’ll want a top shelf (e.g., 36” x 5”) and a bottom shelf (36” x 4”).
For the mail dividers, you’ll need to calculate the internal spacing. It’s vital to factor in the thickness of the divider material itself so you don’t end up with slots that are too narrow. If you are struggling with spatial mapping, I highly recommend reading up on optimizing standard storage dimensions between 12 and 24 inches. It provides excellent formulas for determining exact cubby spacing based on the items you intend to store.
Phase 2: Joinery that Lasts
We are going to use pocket hole joinery for this build. It is fast, incredibly strong when paired with wood glue, and allows you to hide the fasteners completely from the front and top views.

Set your pocket hole jig for 3/4-inch material. Drill pocket holes into the back edges of your top and bottom shelves, and along the bottom edges of your vertical mail dividers.
The Glue-Up Sequence:
- Lay your backer board flat on your workbench.
- Mark your shelf locations with a sharp pencil and a combination square.
- Apply a thin, even bead of wood glue to the back edge of your top shelf.
- Clamp the shelf firmly to the backer board to prevent it from shifting. Do not skip clamping. When you drive pocket screws, the wood naturally wants to pull out of alignment.
- Drive your 1 1/4” pocket screws.
- Repeat this process for the lower shelf and the vertical mail dividers.
For the mail dividers, you might find that fitting a drill into the tight 4-inch gaps between slots is impossible. In this case, secure the dividers by driving countersunk wood screws directly through the back of the backer board into the back edge of the dividers.
Phase 3: Assembly and The Dry Fit
Before the glue fully cures, check every corner with your square. An out-of-square organizer will haunt you every time you look at it. If a shelf is slightly askew, loosen the screws, adjust with a gentle tap of a rubber mallet, and re-tighten.
If you are using plywood and haven’t opted for the exposed Baltic birch edge look, now is the time to apply iron-on edge banding. This thin strip of real wood veneer melts onto the exposed plywood edges via a standard household iron, instantly transforming cheap sheet goods into what looks like a solid slab of premium hardwood. After ironing it on, use an edge banding trimmer or a sharp chisel to shave the overhang flush with the board.
Advanced Customization and Spatial Dynamics
Once the primary carcass is assembled, you can elevate the piece from “basic DIY” to a truly bespoke fixture.
Consider routing a shallow groove (a dado) along the length of the top shelf. This acts as a picture ledge, allowing you to lean framed photos or small pieces of artwork against the wall without them slipping off.
I’ve also had immense success embedding rare-earth magnets into the bottom of the lower shelf. By drilling a shallow hole from the top of the bottom shelf (leaving just a millimeter or two of wood at the bottom) and gluing in a strong neodymium magnet, you create a “magic” keyholder. You simply hold your keyring under the shelf, and it snaps into place, floating invisibly. It’s a brilliant party trick and completely eliminates the need for unsightly cup hooks.
Paint, Stain, and Sealing Mechanics
Finishing is where amateur projects reveal themselves. You can execute flawless joinery, but a blotchy stain or a drip-ridden clear coat will ruin the entire aesthetic.
If Painting:
- Fill all visible gaps, brad nail holes, and wood imperfections with a high-quality wood filler.
- Sand the entire piece with 150-grit, then 220-grit sandpaper.
- Vacuum the dust, then wipe the piece down with a tack cloth.
- Apply a stain-blocking primer (especially if you used pine, to prevent knots from bleeding through).
- Apply two coats of an enamel-based cabinet paint. Enamel dries much harder than standard wall latex, resisting the scratching of keys and metal jacket zippers.
If Staining:
- Sand meticulously up to 220-grit. Any sanding pigtails left by your orbital sander will act like neon signs once the stain hits them.
- Apply a pre-stain wood conditioner. This is non-negotiable for woods like pine, poplar, or maple, which absorb liquid unevenly.
- Wipe on your stain with a lint-free rag, let it penetrate for 5-10 minutes, and rigorously wipe off the excess.
The Final Seal: Regardless of whether you painted or stained, you need a topcoat. Entryway organizers see severe tactile abuse. I recommend three coats of a water-based polyurethane in a matte or satin finish. Water-based poly dries crystal clear (unlike oil-based, which ambers over time), dries quickly, and provides an armor-like shell against wet coats and sharp keys. Sand very lightly with 320-grit sandpaper between coats for a glass-smooth finish.
Installation: Anchoring to Reality
Do not hang this organizer using drywall anchors or picture wire. Between the weight of the wood, three heavy winter coats, a purse, and a backpack, you could easily be hanging 60+ pounds on your wall.
The French Cleat System The absolute best way to hang heavy, flat-backed woodworking projects is via a French cleat.
- Rip a piece of 3/4-inch plywood (about 4 inches wide and slightly shorter than the width of your organizer) down the middle at a 45-degree angle.
- Attach one half of the cleat to the back of your organizer, with the 45-degree angle pointing down and toward the wood.
- Locate the wall studs in your entryway using a reliable stud finder.
- Screw the other half of the cleat directly into the wall studs using 2 1/2-inch structural screws. The 45-degree angle should be pointing up and away from the wall.
- Simply lift your organizer and drop it onto the wall cleat. Gravity locks the two 45-degree angles together.
This method allows for lateral adjustment (you can slide the organizer left or right an inch or two to perfectly center it) and provides unbelievable shear strength.
Key Takeaways
- Design for your habits: Don’t build mail slots if you immediately throw your mail in the recycling. Build sunglass cubbies instead.
- Invest in good plywood: Baltic birch will save you hours of sanding and warp-correction compared to cheap pine.
- Cabinet paint is vital: Standard latex wall paint remains tacky and will peel when metal keys scrape against it. Use alkyd or enamel formulations.
- Always use a French cleat: It is the safest, strongest, and most forgiving mounting system for heavy wall furniture.
The Bottom Line Building your own entryway wall organizer is a weekend project that yields daily dividends. By taking control of the dimensions, materials, and hardware, you eliminate the entryway bottleneck and create a piece of functional furniture that will outlast anything you could buy in a store.
If this project has sparked your interest in building high-quality, custom furniture for your home, you’re standing at the edge of an incredibly rewarding hobby. But designing plans from scratch and doing the complex math for cut lists can be overwhelming.
I’ve relied on professional plans for years to skip the guesswork and get straight to the building. If you want to turn your garage into a factory of custom furniture, you absolutely need to check out Ted’s Woodworking. It is an absolute goldmine featuring over 16,000 step-by-step woodworking plans, ranging from simple beginner wall shelves to master-craftsman dining tables. Every plan includes exact cut lists, 3D diagrams, and material requirements.
Right now, you can grab the entire 16,000-plan archive at a massive 75% discount. Stop guessing your dimensions and start building like a pro today.
Click here to get instant access to Ted’s Woodworking and claim your 75% discount!