Building a Simple Mudroom Bench with Cubbies for Entryway Organization (Weekend Project)
Transform your chaotic entryway into a streamlined drop zone. Discover exactly how to build a durable, custom mudroom bench with cubbies in a single weekend.
Mar 11, 2026 - Written by: Linda Wise
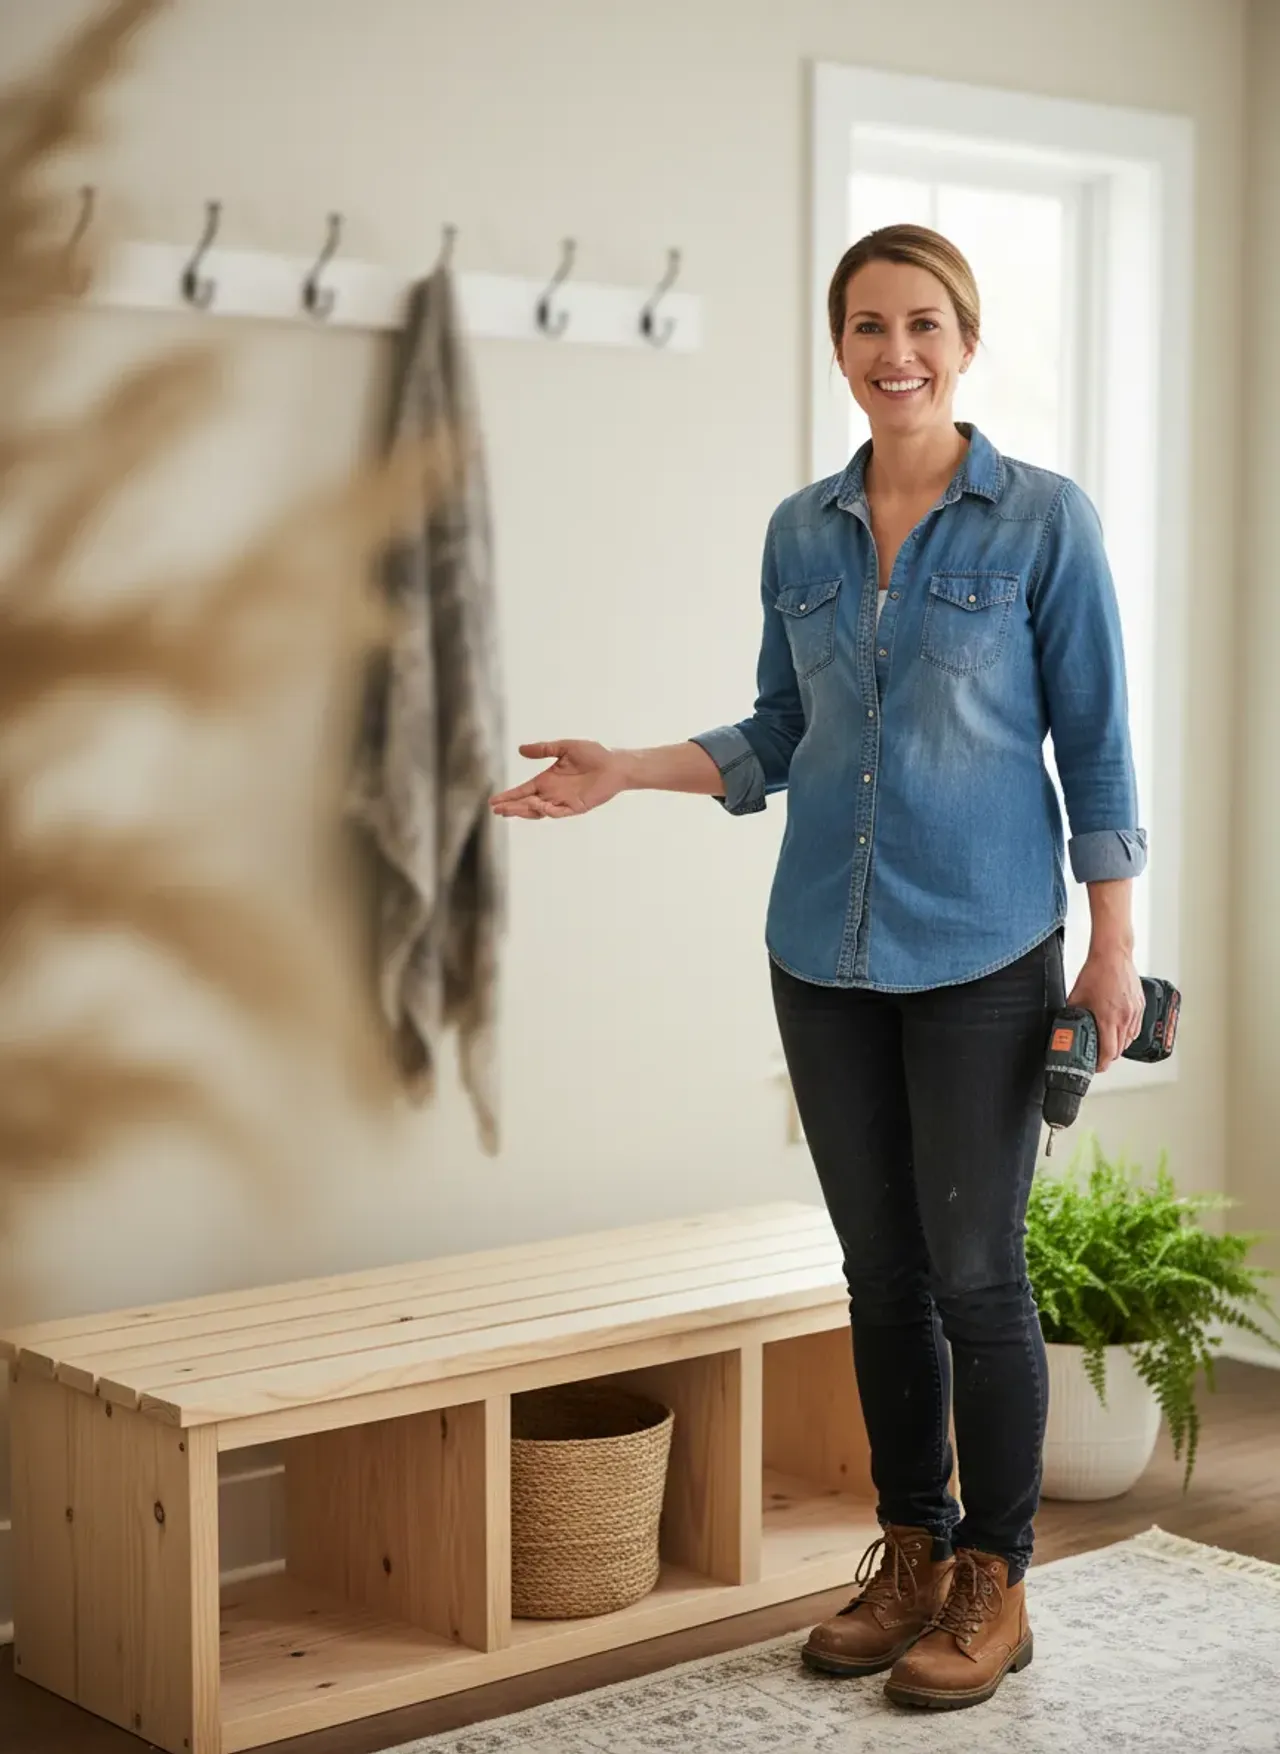
The front door opens, and the daily avalanche begins. Backpacks hit the floorboards, muddy sneakers scatter across the rug, and the mail finds a temporary home on whatever flat surface is available. I’ve personally lived through this chaotic entryway bottleneck, and I can tell you that trying to enforce a “put your things away” rule without dedicated, intuitive infrastructure is a losing battle.
You need a drop zone. Specifically, you need a heavy-duty, custom-fitted piece of furniture that absorbs the impact of daily life. Building a simple mudroom bench with cubbies for entryway organization (weekend project) sounds like a daunting task if you aren’t a seasoned carpenter, but I promise you it isn’t. Stripped down to its bare mechanics, a cubby bench is simply a reinforced box divided into smaller boxes.
By taking control of your entryway geometry and building this yourself, you bypass the flimsy, flat-pack particleboard options at big-box stores and create an heirloom-quality fixture tailored exactly to your family’s needs.
Quick Comparison: Top Picks for Your Build
Before we cut a single board, you need the right gear. Here is my curated list of non-negotiable tools and materials for getting this job done efficiently.
| Product | Rating | Check Price |
|---|---|---|
| Kreg Pocket-Hole Jig 320 | ⭐⭐⭐⭐⭐ | View on Amazon |
| DEWALT 20V MAX Cordless Drill Combo Kit | ⭐⭐⭐⭐½ | View on Amazon |
| Minwax Polycrylic Protective Finish | ⭐⭐⭐⭐⭐ | View on Amazon |
The Anatomy of a Functional Mudroom Bench
A successful mudroom bench operates on a simple premise: it must provide a sturdy horizontal plane for sitting and vertical compartments sized perfectly for the items you actually own. Guessing at these dimensions will leave you with cubbies that are too shallow for winter boots or a seat too high for a child to use comfortably.
Why Cubbies Change the Organizational Game
Open cubbies eliminate friction. When a storage solution requires opening a door, pulling out a drawer, or unlatching a bin, human nature dictates that we will eventually skip the extra step and leave the item on the floor. Open-faced cubbies offer instant gratification. You slide the boots in. You walk away. The visual framing of the cubby naturally compartmentalizes clutter, turning a chaotic pile of shoes into an intentional display.
Determining the Right Dimensions
Standard bench height sits right around 18 inches from the floor. This mirrors standard dining chair heights, providing optimal leverage for lacing up boots. Length will entirely depend on your available wall space, but I recommend a minimum of 36 inches to comfortably seat one adult while accommodating three standard-width cubbies underneath.
Depth is where many DIYers stumble. Make it too shallow, and men’s boots will hang awkwardly over the edge. Make it too deep, and items get lost in the dark recesses of the back panel. If you are planning a full floor-to-ceiling unit later, you’ll definitely want to cross-reference an overarching mudroom locker depth guide to ensure your base bench aligns perfectly with any future upper cabinetry. For a standalone bench, an overall depth of 15 to 16 inches is the sweet spot.
Sourcing Materials Like a Pro (No Warped Boards Allowed)
The structural integrity of your bench depends entirely on your lumber selection. Walk past the stacks of framing studs at the hardware store. Those are cut from fast-growing pine, saturated with moisture, and they will twist like a pretzel as they dry in your climate-controlled home.
Plywood vs. Solid Wood: The Eternal Debate
For the carcass (the main body and dividers), ¾-inch cabinet-grade plywood is the undisputed champion. Birch or maple veneer plywood offers immense shear strength, perfectly flat surfaces, and a beautiful grain pattern if you choose to stain it.
Pro Tip: Have the hardware store employee rip your large 4x8 plywood sheets down to your exact bench depth (e.g., 15.5 inches) right there in the lumber aisle on their panel saw. This makes transporting the wood in your vehicle infinitely easier and saves you from wrestling massive, heavy sheets through your table saw at home.
For the actual seat top, you can stick with plywood layered with edge banding, or elevate the project by purchasing a solid edge-glued pine or butcher block panel. A solid wood top provides a premium, heavy-duty feel that stands up to dropped keys and heavy bags.
The Hardware That Holds It Together
You’ll need 1 ¼-inch pocket hole screws (coarse thread for plywood), quality wood glue, and 2-inch brad nails if you are attaching a decorative trim or face frame. Do not skip the wood glue. The screws act as internal clamps holding the wood together until the glue dries; it is the glue that actually forms the permanent structural bond.
Step-by-Step Build Guide: From Lumber to Locker
Clear out your garage, set up your sawhorses, and put on your safety glasses. This weekend project breaks down into four highly manageable phases. We are building a basic rectangular box, inserting vertical dividers, and capping it with a sturdy top.
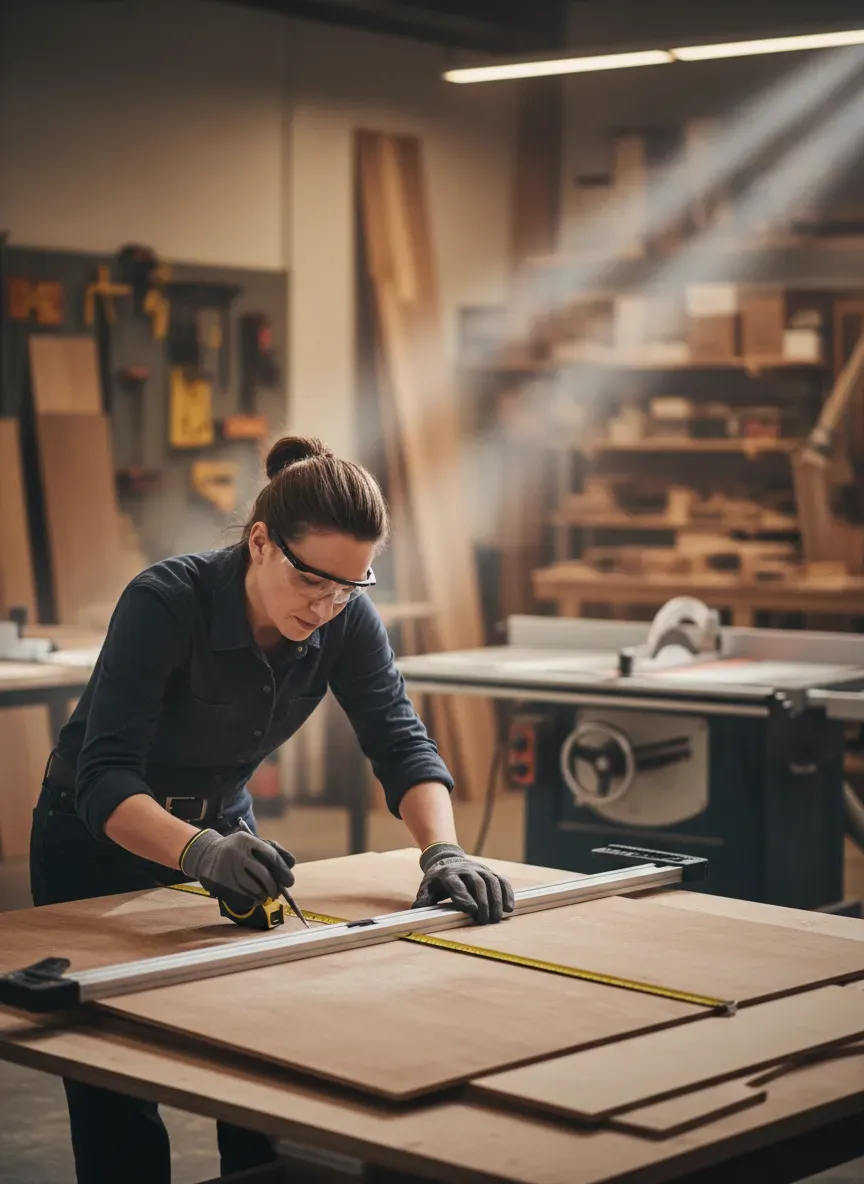
Phase 1: Making the Cuts
Assuming a standard bench that is 48 inches long, 18 inches high, and 16 inches deep, your cut list using ¾-inch plywood will look something like this:
- Bottom Panel: 46.5” x 15.5”
- Two Side Panels: 16.5” x 15.5” (Subtracting ¾” for the top and ¾” for the bottom)
- Two Vertical Dividers: 16.5” x 15.5”
- Top Panel (Solid wood or plywood): 48” x 16” (Leaving a slight overhang on the front and sides)
Take your time here. A millimeter off on a vertical divider will result in a wobbly bench. Use a track saw or a circular saw with a straight-edge guide to ensure perfectly parallel cuts.
Defeating Tear-Out
Plywood veneers love to splinter when cut cross-grain. To prevent this “tear-out,” apply a strip of blue painter’s tape directly over your cut line before running the saw through it. Use a high-tooth-count blade (60 teeth or more) and cut with the “good” side of the plywood facing down if using a circular saw.
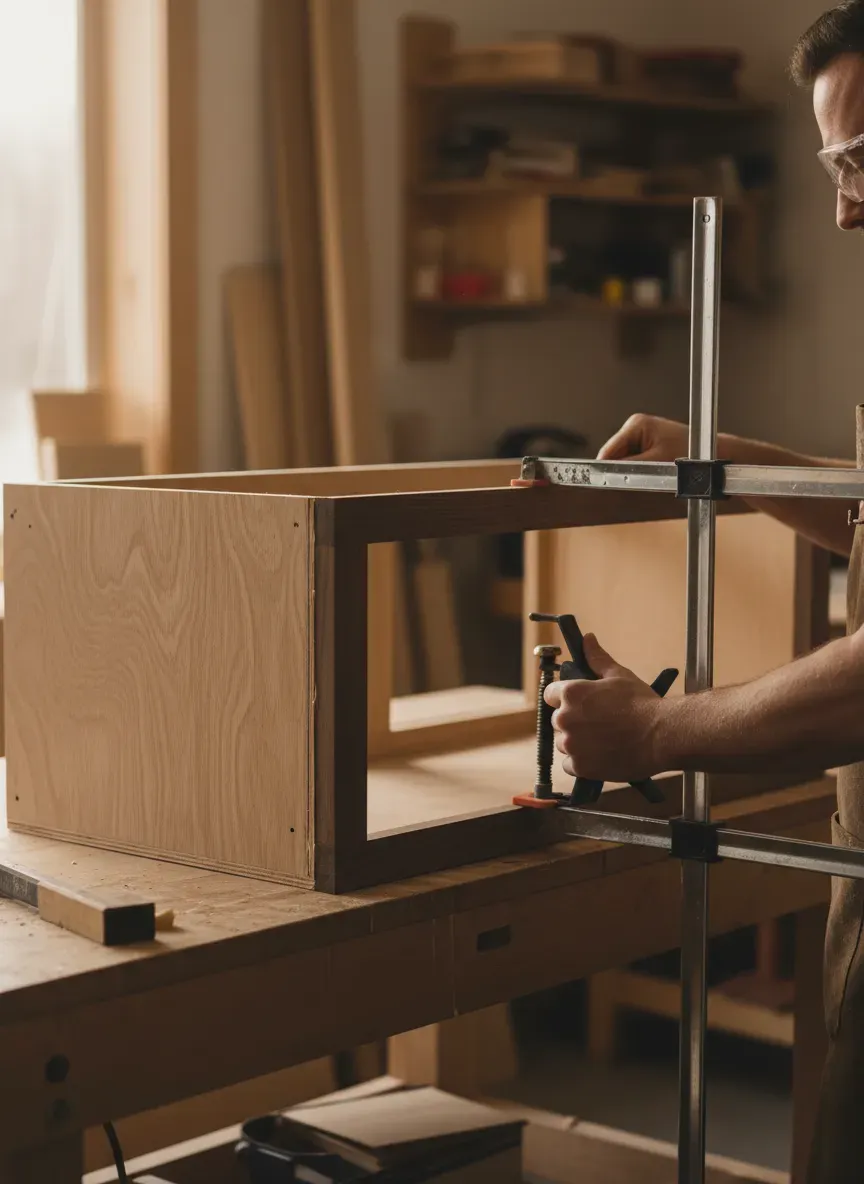
Phase 2: Assembling the Carcass
This is where the Kreg Pocket-Hole Jig 320 pays for itself. Pocket hole joinery allows you to hide your fasteners completely while pulling the joints together with incredible force.
- Drill pocket holes along the underside edges of your bottom panel.
- Apply a thin bead of wood glue to the bottom edge of your side panels.
- Clamp the bottom panel flush between the two side panels.
- Drive your 1 ¼-inch screws through the pocket holes.
You now have a U-shape.
Phase 3: Slotting the Dividers (The Cubbies)
Determine your spacing. For a 46.5-inch interior width, two dividers placed evenly will yield three cubbies roughly 15 inches wide each.
Drill pocket holes at the top and bottom of your two vertical dividers. Carefully measure and mark your interior spacing on the bottom panel. Apply glue, position the dividers, square them up with a speed square, and drive the screws in.
Pro Tip: Cut two scrap pieces of wood to the exact width you want your cubbies to be. Use these as physical spacers between your dividers during assembly rather than relying solely on pencil marks. This guarantees absolute uniformity.
Phase 4: Attaching the Top and Trim
Place your top panel over the assembly. Because you drilled pocket holes at the top of your vertical dividers and side panels, you can simply screw upward into the bottom of the seat top, locking it securely in place without any visible screw heads on the seating surface.
If you used plywood for the carcass, the raw, layered edges of the wood will be exposed facing the front. You can hide these by applying iron-on edge banding (a thin strip of wood veneer with heat-activated glue) or by cutting 1x2 pine boards to create a traditional face frame. Attach a face frame using wood glue and a brad nailer.
Sanding, Prep, and The Finish Line
Do not rush the finishing process. A poorly prepped bench will look like a high school shop class project, while a meticulously sanded and finished bench will look like a custom built-in.
Wood Filler and Sanding Progression
Start by filling any brad nail holes, slight gaps in the face frame joints, or tear-out with a high-quality, stainable wood filler. Overfill slightly, as the filler shrinks as it dries.
Once dry, begin your sanding progression. Start with an 80-grit disc on your random orbital sander to knock down any hardened glue squeeze-out and level the wood filler. Move up to 120-grit to smooth the surface, and finish with 220-grit to polish the wood grain. Run your hand across the wood—it should feel like glass. Before applying any finish, thoroughly wipe down the entire piece with a tack cloth to remove microscopic dust particles.
Paint vs. Stain: Aesthetic Choices
Your entryway sees heavy traffic. If you plan to paint the bench, you cannot use standard interior wall paint (latex). It will remain slightly tacky and will peel the moment a wet boot rests against it.
Instead, opt for an oil-based primer followed by a high-quality urethane enamel or cabinet-grade paint. These level out beautifully, eliminating brush strokes, and cure to a rock-hard finish.
If you are staining, heavily condition the plywood first to prevent blotchiness. Apply your chosen stain, let it penetrate, wipe off the excess, and wait 24 hours. Follow up with at least three coats of a top-tier sealer like the Minwax Polycrylic Protective Finish. Sand lightly with 320-grit sandpaper between coats. This provides the armor your bench needs against melting snow, mud, and friction.
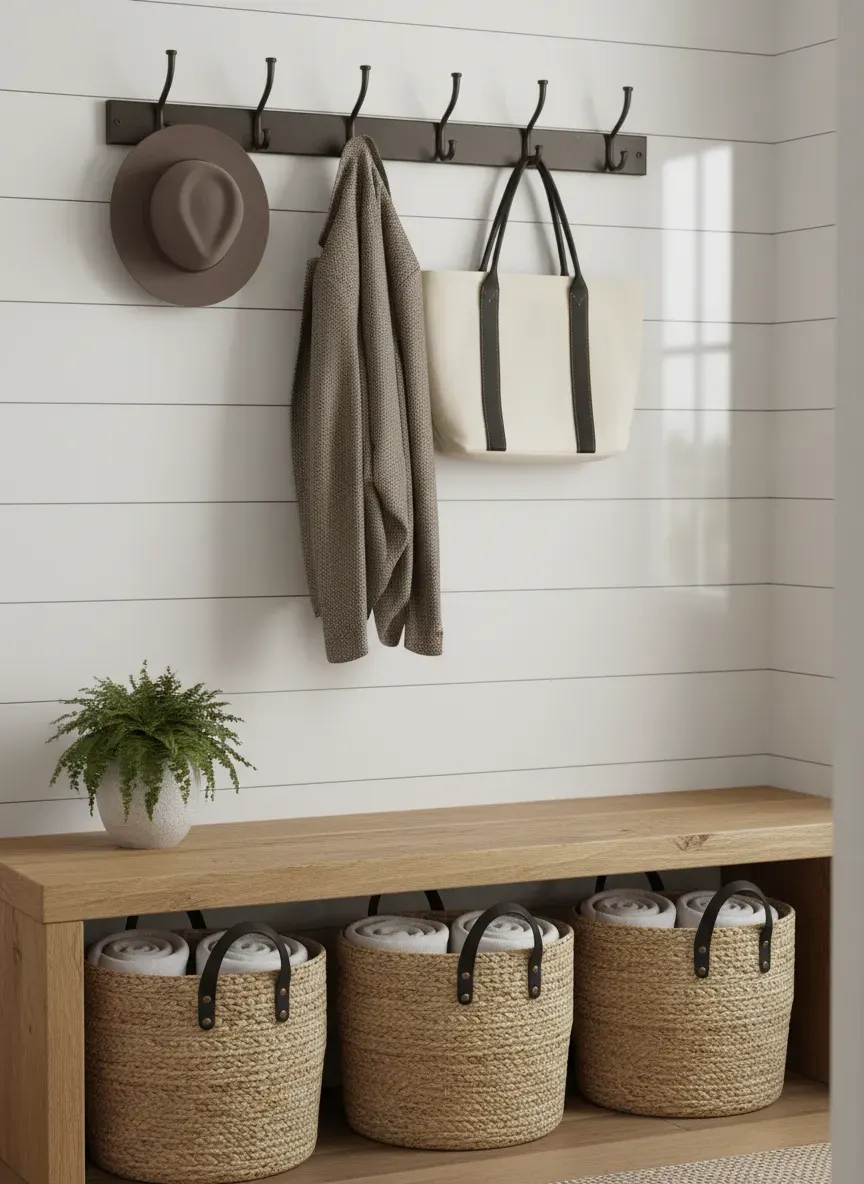
Elevating the Entryway Experience
A bench on its own solves the shoe crisis, but the vertical space above it is prime real estate. To maximize the utility of your weekend build, you need to think comprehensively about the “drop zone” ecosystem.
Baskets, Hooks, and Hardware
Install a piece of 1x4 trim horizontally on the wall about four feet above the bench to act as a hook rail. Mount heavy-duty, double-prong coat hooks every 12 to 15 inches. This gives jackets, scarves, and backpacks a dedicated home that isn’t draped over the bench seat.
For the smaller, easily misplaced items—sunglasses, outgoing mail, and car fobs—you’ll want a secondary tier of organization. Integrating the best wall-mounted key organizer directly adjacent to the bench ensures that the smallest, most vital items are caught immediately upon entry, preventing them from migrating to kitchen counters.
To hide visual clutter within the cubbies themselves, invest in fitted woven baskets or canvas bins. Slide these into the cubbies to hold out-of-season items, dog leashes, or winter gloves.
Integrating with Home Lifestyles
The beauty of custom building is that your cubbies don’t strictly have to hold shoes. Perhaps you use the entryway as a staging area for morning workouts. Sizing one of the cubbies slightly wider allows you to stash a yoga mat or easily tuck away a stealth home gym compact system right by the door for a quick driveway workout session without dragging equipment through the living room.
Common Pitfalls and How to Dodge Them
Even the most straightforward woodworking projects have hidden traps. Over my years of building custom storage, I’ve watched countless DIYers fall victim to the exact same mistakes. Here is how you bypass them entirely.
Scribing to Baseboards
You drag your beautiful, freshly painted bench into the house, push it against the wall, and realize there is a massive two-inch gap between the back of the bench and the drywall. The culprit? Your baseboards.
You have two choices. You can physically remove the baseboards on the wall where the bench will sit, allowing the bench to sit flush against the drywall (and then wrap new baseboard around the front of the bench to make it look built-in). Or, you can notch the back of the bench side panels with a jigsaw to precisely trace the profile of your existing baseboard. The latter takes patience and a contour gauge, but it preserves your home’s original trim.
The Uneven Floor Dilemma
No floor in the history of residential construction is perfectly level. If your bench rocks back and forth when you sit on it, do not panic. Do not start aggressively sanding down one leg to try and level it out.
Instead, install heavy-duty adjustable leveling feet on the bottom four corners of the bench carcass before you bring it inside. These discreet metal feet screw into the bottom panel and can be dialed up or down with an Allen wrench to compensate for dips in your tile or hardwood, granting you absolute stability.
Skimping on the Clear Coat
I briefly touched on finishes earlier, but it warrants repeating: the clear coat is the only thing standing between your hard work and a pair of salt-covered winter boots. Plywood is incredibly absorbent. If moisture from wet shoes penetrates the wood veneer, it will cause the layers to delaminate and swell.
Pay special attention to the bottom interior edges of the cubbies. This is where water pools. Apply an extra coat of Polycrylic specifically in these corners to create a watertight seal.
Sustaining the Organized Mudroom
Building the bench is just the architectural phase; maintaining the system requires a behavioral shift. You’ve provided the infrastructure. Now you must manage the inventory.
Seasonal Rotations
Cubbies are a finite resource. If you try to stuff winter snow boots into a cubby that already contains summer sandals and running shoes, the system collapses, and items will migrate back to the floor.
Implement a strict seasonal rotation policy. When the weather turns warm, wash the winter gear, place it in plastic storage bins, and banish it to the attic or basement. The mudroom bench should only hold the current season’s active footwear.
Routine Maintenance Checks
Every six months, take ten minutes to inspect the bench. Tighten the screws on your coat hooks above the bench, as these inevitably loosen from the repeated torque of heavy backpacks. Vacuum out the dust and dried mud that collects in the back corners of the cubbies. Wipe down the seat with a gentle wood cleaner to preserve the sheen of your topcoat.
A mudroom bench isn’t just a piece of furniture. It is the gatekeeper to your home. By taking the time to design, cut, and assemble this simple storage solution over a weekend, you effectively build a dam against the flood of daily clutter. You elevate the aesthetic of your entryway, reduce the stress of morning departures, and gain the immense satisfaction of knowing you built it with your own two hands.
Key Takeaways
- Customization is King: Building your own bench allows you to dictate exact cubby dimensions, ensuring your specific gear fits perfectly.
- Material Matters: Avoid framing lumber. Stick to ¾-inch cabinet-grade plywood for a flat, warp-free carcass and strong joinery.
- Hide the Fasteners: Utilize pocket hole joinery to secure boards from the inside out, leaving seamless exterior surfaces.
- Seal it Tight: Entryway furniture is exposed to snow, mud, and water. A minimum of three coats of protective polyurethane is required to prevent water damage.
- Think Vertically: A bench is just the base. Maximize utility by adding hook rails, upper shelving, and key organizers to the wall above.
The Bottom Line: Tackling a DIY mudroom bench with cubbies is an incredibly rewarding weekend project that requires minimal tools but yields massive organizational dividends. By focusing on precise measurements, quality plywood, and heavy-duty finishes, you can permanently eradicate entryway floor clutter and create a custom, built-in look for a fraction of retail cost.