How to Calculate the Perfect Workbench Height for Your Shop
Stop compromising your back and your craftsmanship. Discover the exact ergonomic formulas to calculate the perfect workbench height for your specific shop tasks.
Mar 24, 2026 - Written by: Linda Wise
I’ve personally found that the fastest way to ruin your passion for woodworking is standing at a bench that actively fights your anatomy. You spend months selecting the perfect kiln-dried maple, invest thousands in precision hand tools, and meticulously tune your shop’s lighting, only to hobble out of the garage after two hours because your lower back feels like a compressed accordion. The culprit is almost always staring you right in the face: your workbench height.
Most woodworkers default to a generic 34-inch bench height because that’s the standard dimension dictated by mass-market kitchen counters. This is a catastrophic ergonomic misstep. Cabinetry standards were developed for stirring soup and chopping vegetables, not for driving a No. 7 jointer plane through stubborn white oak or routing intricate dadoes requiring microscopic visual precision. Determining how to calculate the perfect workbench height for your shop requires an intimate understanding of your physical stature, your preferred tool ecosystem, and the biomechanics of force generation.
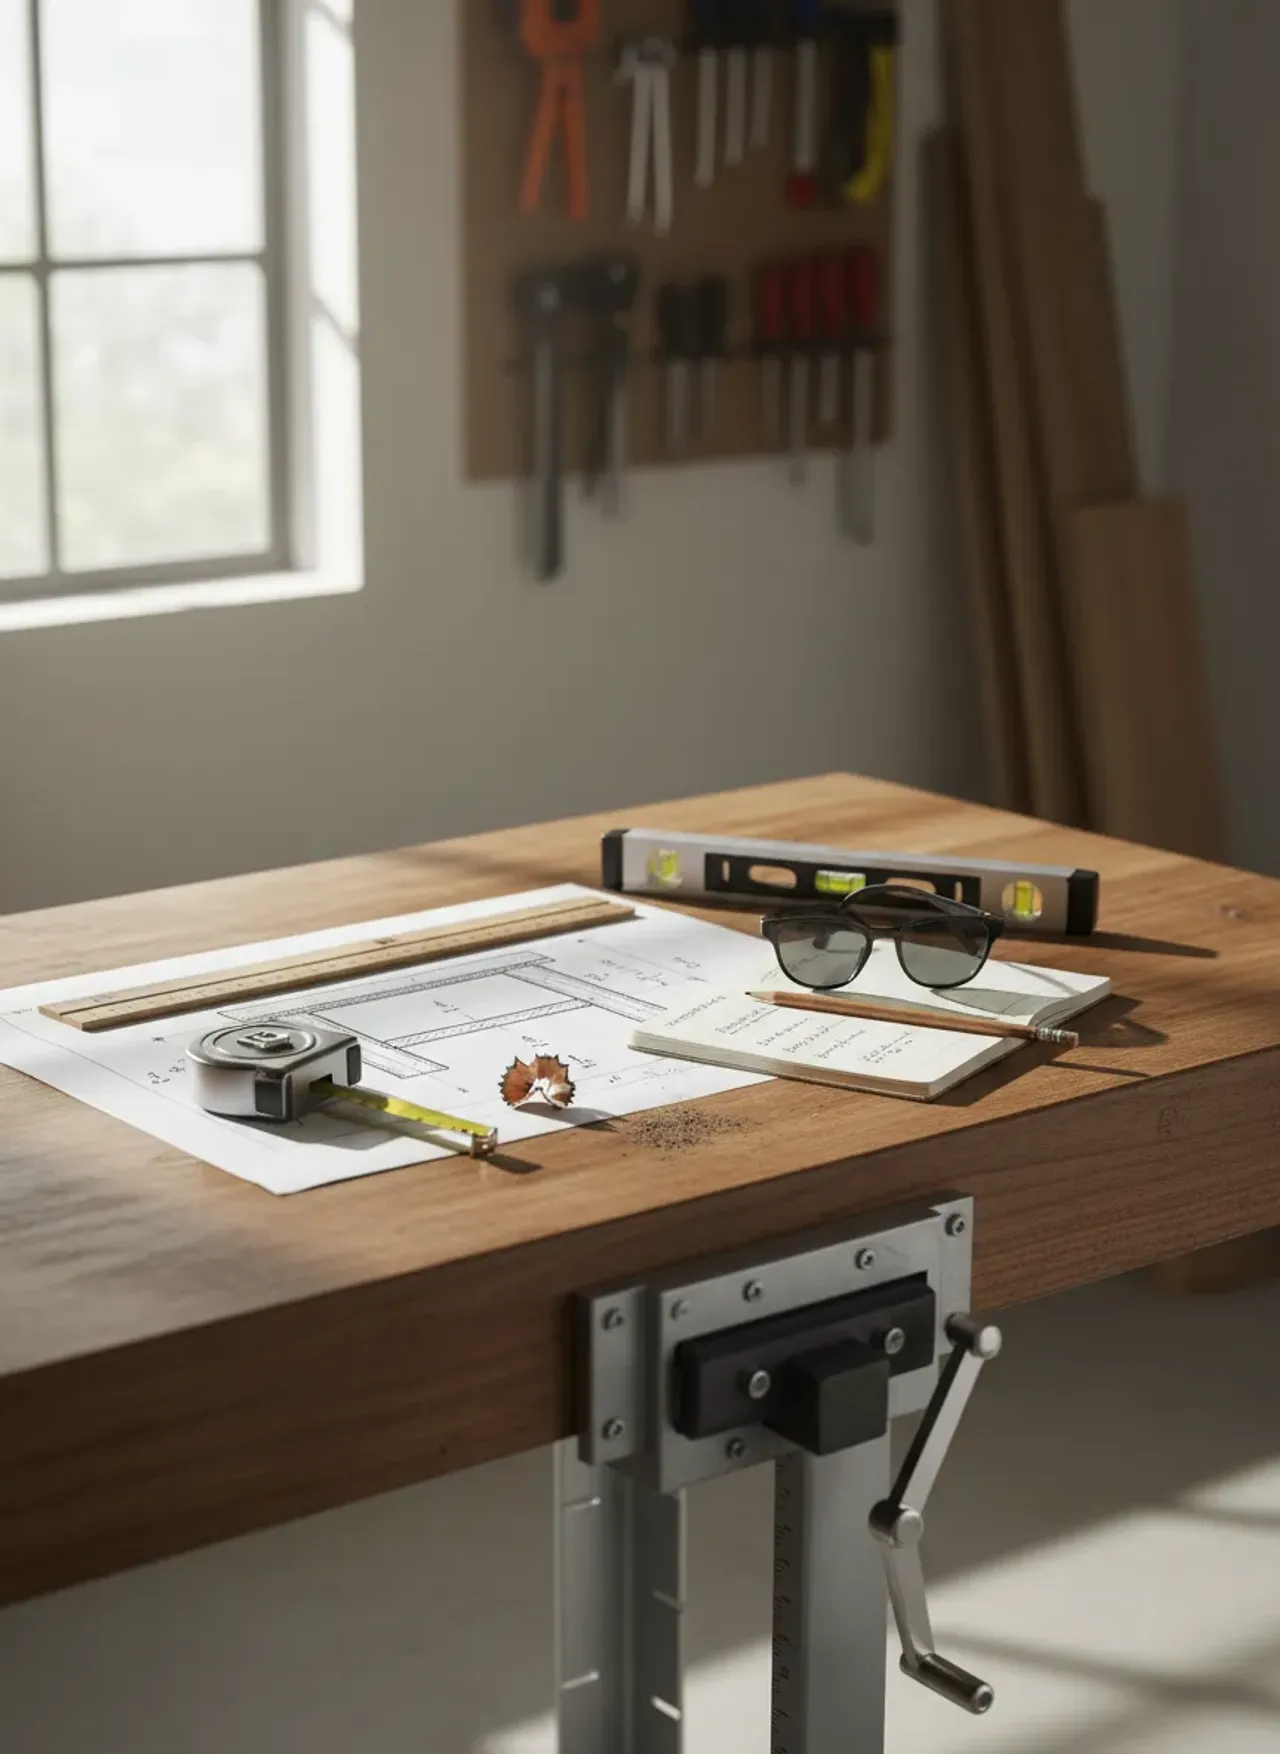
Before we dive into the anthropometric math and task-specific variations, here is a quick look at some of the most reliable workbench bases and adjustable setups I recommend for dialing in your shop layout.
Quick Comparison: Top Picks
| Product | Rating | Check Price |
|---|---|---|
| Sjobergs Elite 2000 Workbench | ⭐⭐⭐⭐⭐ | View on Amazon |
| Bora Centipede Workstand | ⭐⭐⭐⭐½ | View on Amazon |
| Kreg Universal Bench Legs | ⭐⭐⭐⭐⭐ | View on Amazon |
The Biomechanics of Woodworking: Why Workbench Height Dictates Craftsmanship
We need to treat shop time as an athletic endeavor. When you push a hand plane or bear down on a card scraper, the force does not originate in your triceps. The kinetic chain begins at your feet, transfers up through your hips, stabilizes in your core, and channels out through your shoulders. If your bench sits too high, you sever this chain. You end up relying entirely on localized upper-body strength, leading to rapid muscle fatigue, erratic tool control, and inevitable shoulder impingement.
Conversely, a bench positioned too low forces you into continuous lumbar flexion. The human spine is an engineering marvel, but maintaining a static, forward-leaning hinge while applying lateral force is the neurological equivalent of begging for a herniated disc. Just as you evaluate the ideal spacing to keep storage cabinets far apart for optimal spatial workflow, you must treat your workbench height as the foundational axis of your shop’s physical interface.
You’ll notice that true master craftsmen move with a fluid, rhythmic cadence. They use their body weight as a pendulum. A perfectly calibrated bench height enables this biomechanical synergy, allowing gravity to do the heavy lifting while your arms merely steer the cutting edge.
The Anthropometric Baselines: Rules of Thumb and Their Flaws
For generations, apprentices were taught a handful of quick physical hacks to determine their ideal bench stature. While these historical formulas offer an excellent starting trajectory, they should never be treated as absolute gospel.
The Pinky Knuckle Method
Stand completely upright wearing your standard shop footwear. Let your arms hang completely loose at your sides in a relaxed posture. The top of the bench should exactly meet your first pinky knuckle.
This generates a relatively low bench, usually somewhere between 32 and 34 inches for an average-height male. Historically, this was considered the gold standard for traditional hand-tool woodworking. The logic is sound: a lower bench allows you to lean your upper body over the work surface, dropping your center of gravity directly behind the tool.
The Wrist Crease Metric
Similar to the knuckle method, stand straight with arms at your sides, but bend your hands backward at the wrist so your palms face the floor. The benchtop should kiss the crease where your wrist meets your palm.
This formula typically yields a height about two inches taller than the pinky knuckle approach. I frequently recommend this baseline for hybrid woodworkers—those who split their time equally between power tools and hand tools. It provides just enough elevation to prevent severe stooping during layout tasks while remaining low enough to occasionally muscle a jack plane across a rough board.
Pro Tip: Never measure these baselines barefoot unless you plan to mill lumber in your socks. Always wear your thickest, most supportive shop boots, and account for the exact thickness of any anti-fatigue mats you intend to stand on.
Task-Specific Height Variations: One Size Rarely Fits All
The fantasy of the “do-it-all” universal workbench is a myth perpetuated by internet forums. The height required for delicate dovetail paring is entirely antithetical to the height required for flattening a slab. Here is the real kicker: your operational focus dictates your dimensioning.
Hand Tool Operations: The Low-Altitude Advantage
If you are a hand-tool purist relying on wooden-bodied jointers, heavy mallets, and wide chisels, you need gravity on your side. Hand planing requires aggressive forward and downward pressure. If your bench is too high, your elbows flair outward, severing your leverage and putting immense sheer stress on your rotator cuffs.
For heavy hand-tool work, target a height between 30 to 33 inches (depending on your overall stature). This feels uncomfortably low when you first stand next to it. However, the moment you lock a piece of rough-sawn ash between your bench dogs and take that first heavy shaving, the ergonomic efficacy becomes immediately apparent. Your legs drive the motion; your arms merely guide it.
Power Tools and Machine Operations: The Mid-Range Sweet Spot
Power tools operate on a fundamentally different paradigm. A random orbital sander, a biscuit joiner, or a track saw requires negligible downward physical force from the operator. The tool contains the motor; your job is precision guidance and visual monitoring.
If you use a low hand-tool bench for extensive routing or sanding, you will find yourself hunching over like a gargoyle just to see your cut lines. This sustained cervical flexion leads to brutal neck cramps. For power-tool-centric shops, a height of 36 to 38 inches is optimal. This elevation brings the workpiece closer to your focal plane, allowing you to maintain an upright, neutral spine while guiding the machinery.
Detail Work, Carving, and Assembly: Chasing the High Ground
Consider the meticulous acts of cutting dovetails, carving relief patterns, applying a French polish, or doing complex hardware installations. These tasks require microscopic visual acuity and highly localized, low-force hand movements.
For detail stations, you want the work surface shockingly high—often 39 to 42 inches, or roughly elbow height. Bringing the work up to your chest prevents you from folding your torso over the bench. Whether you’re sizing a delicate jewelry box or calculating 12 to 24 inches for finding the perfect cubby size for a custom built-in, precise measurements demand that your eyes remain close to the layout lines without compromising your posture.
Sub-Benches and Moxon Vises: Solving the Multi-Height Dilemma
So, how do you reconcile the need for a 32-inch planing bench and a 42-inch dovetail station if you only have room for one fixture in your garage? You modularize your elevation.
The smartest shop strategy is to build your primary, heavy-duty workbench to the lowest required height (the hand-tool height). You cannot easily make a tall bench shorter, but you can effortlessly make a short bench taller.
Enter the Moxon Vise and the tabletop sub-bench. A Moxon vise is a portable, twin-screw clamping apparatus that sits on top of your primary bench. It elevates your workpiece by 6 to 8 inches, instantly transforming a low planing bench into a high-altitude joinery and detail station. When you finish cutting your dovetails, you simply unclamp the Moxon vise, stow it under the bench, and reclaim your low surface for heavy assembly or surface prep.

Creating a Mock-up: The Only Foolproof Testing Method
Mathematical formulas and wrist-crease theories are fantastic starting points, but human anatomy is incredibly idiosyncratic. You might have a longer torso than average, or perhaps an old knee injury restricts your stance width. You cannot commit to cutting massive 6x6 timber legs based purely on an internet equation.
You must build a temporary mock-up.
- Procure Adjustable Sawhorses: Grab a pair of heavy-duty, height-adjustable sawhorses.
- Add Mass: Throw a thick sheet of MDF or a solid core door on top. Clamp it down so it doesn’t shift.
- Simulate Real Work: Set the contraption to your theoretical ideal height. Now, spend an entire Saturday working on this temporary rig.
- Perform the “Trifecta Test”: Plane a scrap board for 15 minutes. Route an edge profile for 15 minutes. Chop a mortise for 15 minutes.
- Micro-Adjust: If your lower back aches, raise the sawhorses an inch. If your shoulders burn, drop it an inch. Use scrap plywood shims under the sawhorse feet if you need half-inch increments.
This empirical testing phase might feel tedious, but it guarantees that your final build will fit your body like a bespoke suit.
Factoring in the Hidden Variables: Mats, Casters, and Footwear
The most devastating mistake I see novice woodworkers make is calculating their perfect height on a bare concrete floor, building the bench, and then altering their environment.
The Anti-Fatigue Mat Calculation
Concrete is brutal on the joints. Eventually, you will buy thick rubber anti-fatigue mats to stand on. High-quality mats average about 3/4 of an inch in thickness. If you build your bench to an exact 34-inch specification and then stand on a mat, your bench is now effectively 33.25 inches tall relative to your body. You have just unintentionally lowered your work surface.
The Caster Catastrophe
Many small-shop owners rely on mobile bases. Adding heavy-duty locking casters to a workbench will instantly add 3.5 to 5 inches to the overall height. If you design a 36-inch bench and then bolt 4-inch casters to the bottom, you suddenly own a 40-inch monstrosity that is entirely useless for hand planing.
When you’re building out the rest of your shop’s infrastructure—perhaps referencing a mudroom locker depth guide to build employee or personal gear storage—you must account for the actual footprint, including the base trim. The same rigorous foresight applies to your workbench mobility hardware.
If you must use casters, opt for retractable workbench step-down casters. These mount to the side of the bench legs rather than the bottom. When disengaged, the wooden bench legs sit flush on the floor, preserving your exact height calculation and ensuring maximum rigidity during heavy mallet strikes.
My Personal Formula: Factoring in Vises and Bench Dogs
We cannot discuss bench height without addressing the hardware that will actually secure your wood. The thickness of your benchtop and the specific mechanics of your vises heavily influence your working elevation.
If you plan to install a massive quick-release cast iron front vise, you need to ensure the benchtop is thick enough to support the mounting hardware without dropping the vise jaw too low. Furthermore, if you frequently use tall bench dogs or surface clamps, the actual “working surface” where the wood sits might be elevated an inch or two above the raw benchtop.
My personal calculation goes exactly like this:
- Base Measurement: Wrist crease height while wearing work boots.
- Minus 1 Inch: To allow for the thickness of my primary shooting board and bench hooks, which I use constantly.
- Plus 0.75 Inches: To offset the eventual addition of my anti-fatigue floor mat.
- Final Verification: I test this exact mathematical output on my sawhorse mock-up for 48 hours before committing to the final cut.

Accommodating Different Statures and Shared Shops
What happens when two people of vastly different heights share a workspace? A 6-foot-4 cabinetmaker and a 5-foot-2 luthier cannot comfortably utilize the same static bench.
If you are outfitting a communal shop, you must invest in height-adjustable bench frames. Today’s market offers incredibly robust hydraulic or hand-crank lifting mechanisms rated for over 1,000 pounds. These systems replace traditional wooden legs with heavy-gauge steel columns that can travel from 28 inches up to 45 inches with the turn of a handle.
While purists may scoff at metal legs on a traditional Roubo or Nicholson style top, the ergonomic salvation provided by on-the-fly height adjustment is a paradigmatic shift for shared environments. It also allows a single user to mechanically drop the bench for planing and raise it to chest height for carving, effectively achieving the “universal bench” dream through modern engineering.
Key Takeaways for Dialing in Your Height
- Ignore Kitchen Standards: 34 inches is a countertop baseline, not a universal woodworking law.
- Assess Your Tool Diet: Hand tools require lower benches for body-weight leverage; power tools require higher benches for visibility and spinal neutrality.
- Test Before You Cut: Always use a temporary sawhorse and plywood rig to physically test your proposed height under real working conditions.
- Build Low, Shim High: It is vastly easier to elevate a workpiece using a Moxon vise on a low bench than it is to comfortably plane rough lumber on a bench that is too tall.
- Account for the Environment: Factor in your boots, your anti-fatigue mats, and your mobility casters before finalizing your leg lengths.
The Bottom Line: Your workbench is the most critical tool in your entire shop. It is the canvas upon which every subsequent project will be crafted. Treating its height as an afterthought will fundamentally compromise the quality of your joints and the longevity of your spine. Take the weekend to test your measurements, refine your ergonomics, and build a foundation that actively supports your craftsmanship.
Once you have meticulously calculated and constructed your perfectly dimensioned workbench, you are going to be itching to actually put it to use. Having a dialed-in shop is only half the battle; the real joy comes from executing complex, beautiful projects without having to constantly second-guess your layout or your cut lists. If you want to maximize the potential of your new workspace, I highly recommend checking out Ted’s Woodworking. I’ve leaned on these resources heavily when mapping out intricate builds—it gives you instant access to over 16,000 detailed, step-by-step woodworking plans, covering everything from simple jigs to master-level heirloom furniture. Right now, you can grab the entire massive collection at a 75% discount. It is an absolute no-brainer for filling your project pipeline.
Click here to get instant access to all 16,000 plans and claim your 75% discount today.