Custom Mudroom Storage & Cabinets
Transform your home's entry with expertly designed custom mudroom storage and cabinets. Discover material choices, spatial planning, and hardware secrets.
Mar 12, 2026 - Written by: Linda Wise
Walk through your front door on a rainy Tuesday in November. What hits you first? If you are like most homeowners, it is a chaotic pile of damp coats, discarded backpacks, and muddy boots scattered across the floor like an obstacle course. The mudroom is the architectural airlock of your home—the transitional space where the raw elements of the outside world meet the sanctuary of your interior. When this space fails, the friction bleeds into the rest of your house.
I’ve personally found that relying on flimsy, off-the-shelf coat racks or generic shoe benches is a losing battle against the sheer volume of gear a modern family generates. You need infrastructure. Hardworking, intentionally designed infrastructure. Custom mudroom storage and cabinets aren’t just an aesthetic upgrade; they are a fundamental shift in how your household operates daily.
Before we strip down the anatomy of elite entryway millwork, here is a quick look at the hardware and accessories I constantly specify in my custom builds to guarantee longevity and function.
Quick Comparison: Top Picks
| Product | Rating | Check Price |
|---|---|---|
| Heavy Duty Cast Iron Coat Hooks | ⭐⭐⭐⭐⭐ | View on Amazon |
| Blum Soft-Close Cabinet Hinges | ⭐⭐⭐⭐⭐ | View on Amazon |
| Woven Seagrass Storage Baskets | ⭐⭐⭐⭐½ | View on Amazon |
The Psychology of the Drop Zone
To engineer a mudroom that actually works, we have to look closely at human behavior. People will always take the path of least resistance. If a hanger requires two hands and thirty seconds of fiddling to hang up a jacket, that jacket is ending up on the bench. Or worse, the floor.
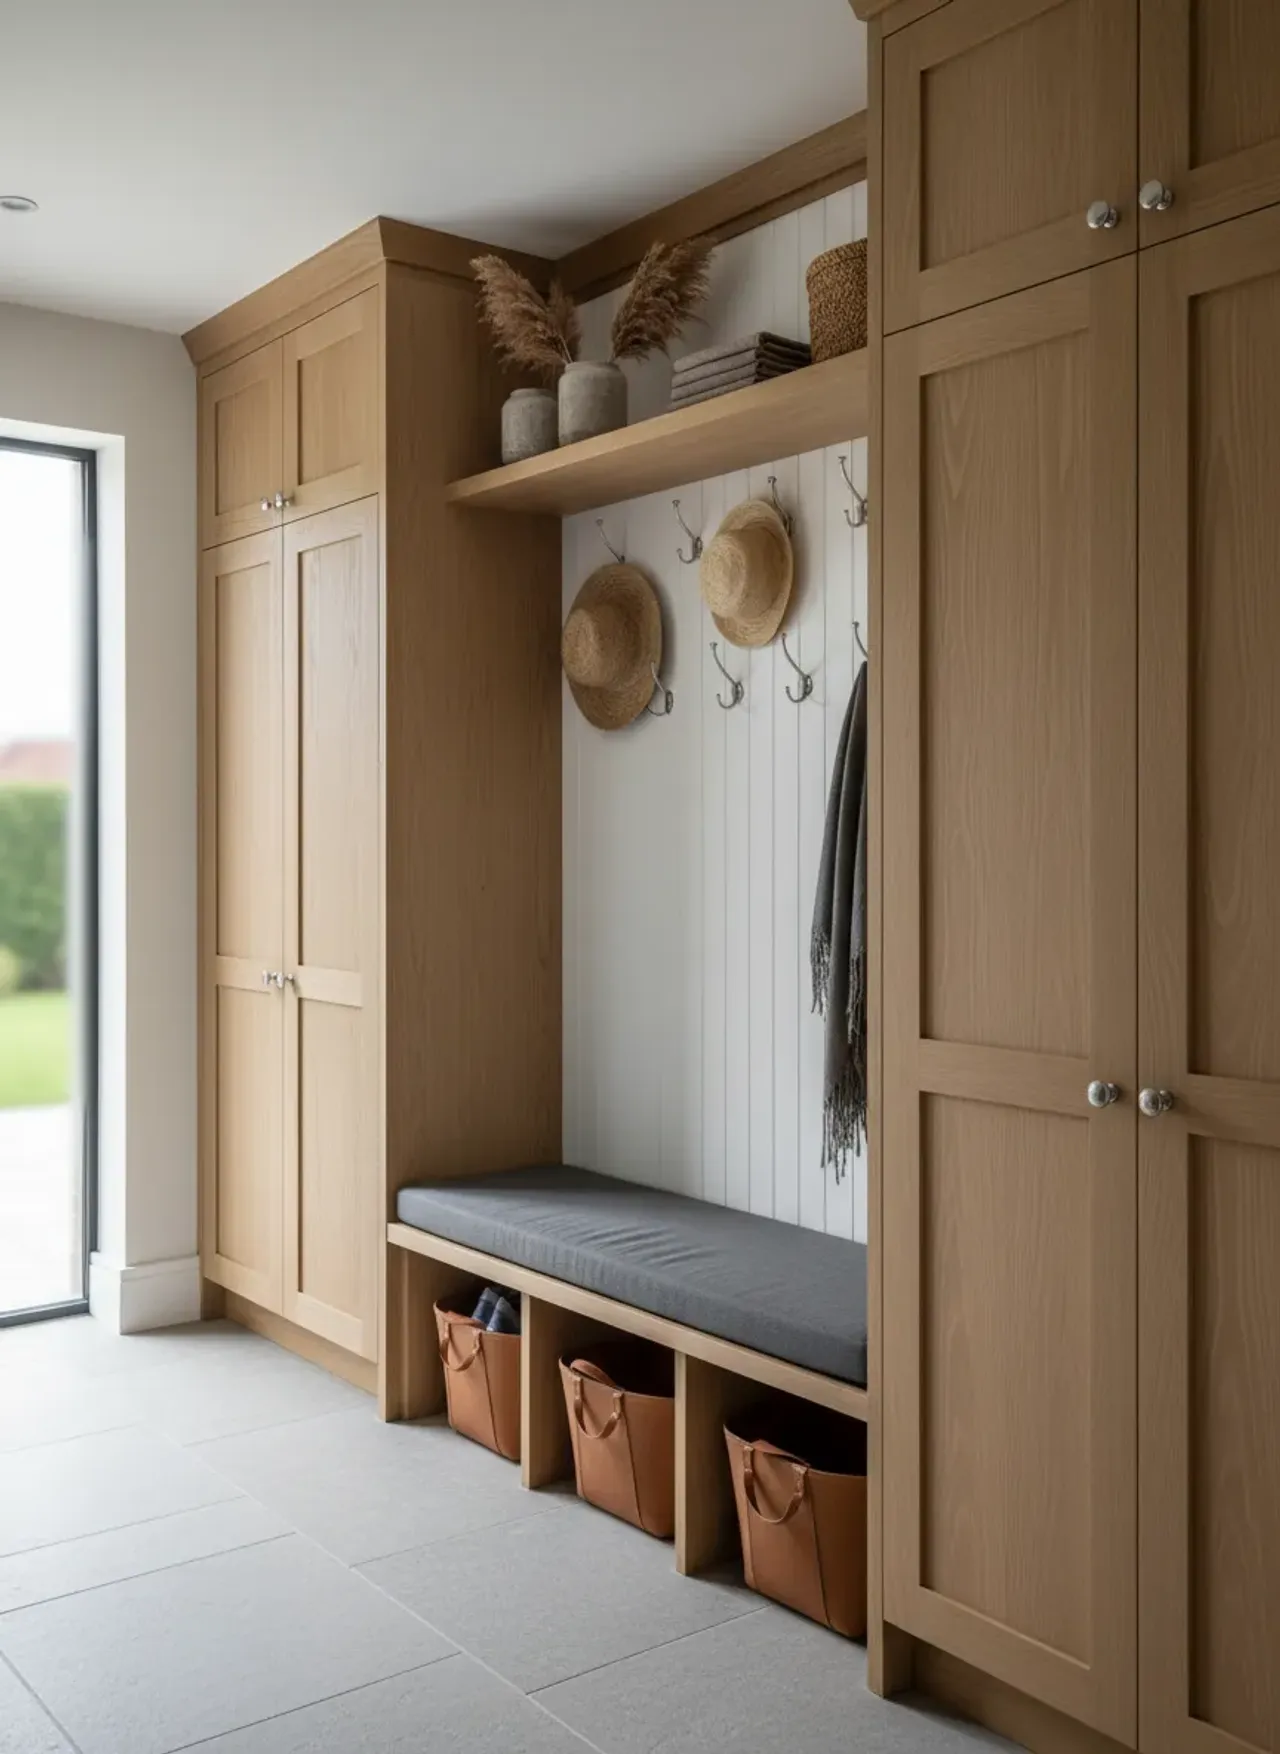
Custom cabinetry succeeds because it anticipates this laziness—or rather, this efficiency. By compartmentalizing the space into dedicated lockers, you eliminate the visual clutter that leads to cognitive fatigue. Every family member gets a vertical silo. Within that silo, there is a designated zone for footwear, a zone for heavy outerwear, and an upper cavity for out-of-season or infrequently used items.
We call this spatial friction reduction. When you design a custom system, you aren’t just building boxes; you are mapping out the precise trajectory of a wet umbrella, a lacrosse stick, and a pair of snow-covered boots.
Bespoke vs. Prefabricated: The True ROI
I get it. The allure of flat-pack furniture is strong. You can drive to a big-box store, drop a few hundred dollars, and assemble a row of lockers in a single weekend. But here is the real kicker: those units are constructed from low-density particleboard wrapped in a micro-thin paper veneer. Introduce a single puddle of melted snow, and that material swells, warps, and degrades within a single winter.
Custom mudroom cabinets are built to the exact idiosyncratic dimensions of your space. Houses are rarely square. Floors slope. Walls bow. A prefabricated unit pushed against a wavy wall creates ugly, dust-collecting gaps. A custom build is scribed perfectly to the drywall and baseboards, creating a seamless, built-in aesthetic that feels like an original architectural feature of the home.
Furthermore, bespoke builds maximize every fractional inch. Have a weird 9-inch gap between the door frame and the wall? A custom carpenter can turn that into an integrated umbrella stand or a pull-out vertical drawer for dog leashes. Prefab forces you to waste that space.
Key Takeaways for Going Custom:
- Scribing: Custom trim work hides wall imperfections and unlevel floors.
- Floor-to-Ceiling Utility: Custom cabinets push all the way to the ceiling, eliminating the awkward, dusty gap above standard units.
- Structural Integrity: True custom lockers are anchored directly to the wall studs, meaning they won’t tip over when a teenager inevitably climbs on the bench to reach the top shelf.
Dialing in Dimensions: The Ergonomics of Mudrooms
If the dimensions are off by even a few inches, the entire installation feels oppressive rather than helpful. Let’s break down the golden ratios of mudroom carpentry.
Bench Height and Depth
The foundation of any locker system is the bench. You want your bench height to sit squarely at 18 inches from the finished floor. This is the universal standard for comfortable seating—the exact height of a standard dining chair. If you drop it to 15 inches, adults will struggle to stand up. Push it to 21 inches, and kids’ feet will dangle awkwardly while they try to tie their shoes.
Depth is equally critical. A bench needs to be between 18 and 20 inches deep. Anything shallower feels like a precarious perch. Anything deeper, and you have to slide forward awkwardly just to stand up.
Locker Cavities
Above the bench, the vertical dividers create the individual lockers. If you want to avoid jackets spilling into the walking path and creating a claustrophobic hallway, getting your dimensions right is non-negotiable; I highly recommend diving into understanding optimal locker depth before you finalize your blueprints.
Typically, a locker should be at least 15 inches wide. Narrower than that, and a bulky winter parka will consume the entire cavity, leaving no room for a backpack. If you have the luxury of space, 20 to 24 inches per locker is the holy grail of mudroom design.
Pro Tip: Always specify a solid wood or high-quality plywood edge banding for the front of your locker dividers. This is a high-traffic impact zone. Backpacks and boots will constantly bash against these vertical edges, and cheap edge banding will chip off within months.
Material Science: Cabinetry That Survives Life
You wouldn’t build a boat out of cardboard, yet I constantly see homeowners installing MDF (Medium Density Fiberboard) base cabinets in mudrooms. This is a profound mistake.
Mudrooms are wet zones. Between dripping raincoats, snow-caked boots, and the occasional spilled water bottle, the floor level of this space is subjected to constant moisture. MDF is highly hydroscopic; it drinks water like a sponge. Once it swells, it cannot be repaired. It must be replaced.
The Plywood Mandate
For the base construction—especially the bench and the shoe cubbies—you must insist on cabinet-grade plywood. Baltic Birch is the industry gold standard here due to its dimensional stability and void-free core. Even if a puddle of water sits on a sealed plywood bench for a few hours, the structural integrity remains uncompromised.
For the upper cabinets, where moisture is less of a threat, high-quality MDF is acceptable and actually provides a superior, glass-smooth surface for painting. But anything within 24 inches of the floor requires real wood or exterior-grade plywood.
Paint and Finishing
Standard interior latex paint will not survive a mudroom. You need an industrial-grade enamel or an advanced alkyd formulation. Products like Benjamin Moore’s Scuff-X or Sherwin-Williams’ Emerald Urethane Trim Enamel cure to an incredibly hard, durable shell. They resist scuffs from rubber soles and can be scrubbed aggressively with household cleaners without dulling the finish.
Hardware: The Unsung Heroes of the Entryway
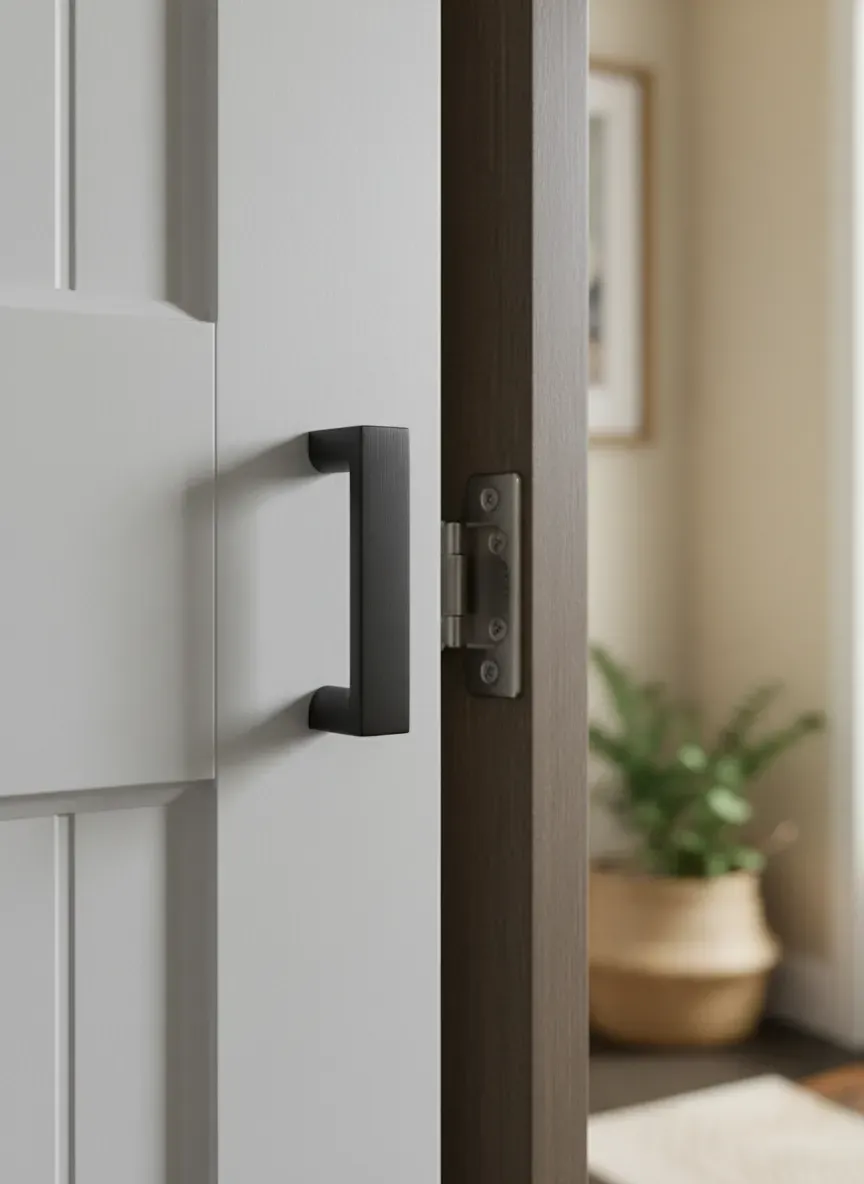
Hardware is where custom mudrooms differentiate themselves from amateur hour. The hinges, hooks, and drawer slides take an absolute beating.
If you are incorporating doors to hide the clutter (a brilliant strategy for upper storage), you need hinges that can handle aggressive use. I exclusively use Blum Soft-Close Cabinet Hinges in my builds. They feature integrated dampeners that prevent slamming—a crucial acoustic benefit in a busy household—and they offer six-way adjustability so you can keep the door reveals perfectly even as the house settles over the years.
The Hook Strategy
Don’t skimp on coat hooks. Flimsy zinc hooks will snap under the weight of a wet wool coat and a backpack loaded with textbooks. You need serious anchoring. I prefer Heavy Duty Cast Iron Coat Hooks fastened directly into the solid wood backing of the locker.
But it isn’t just about the strength of the hook; it is about the geometry of the arrangement. If you mount them too closely, the space becomes a tangled mess of fabric. Finding that sweet spot requires determining the ideal spacing for mudroom hooks so bulky winter parkas don’t obscure the items hanging right next to them. Staggering the heights—placing a row of hooks at 40 inches for kids and backpacks, and another row at 65 inches for long adult coats—drastically multiplies your usable volume.
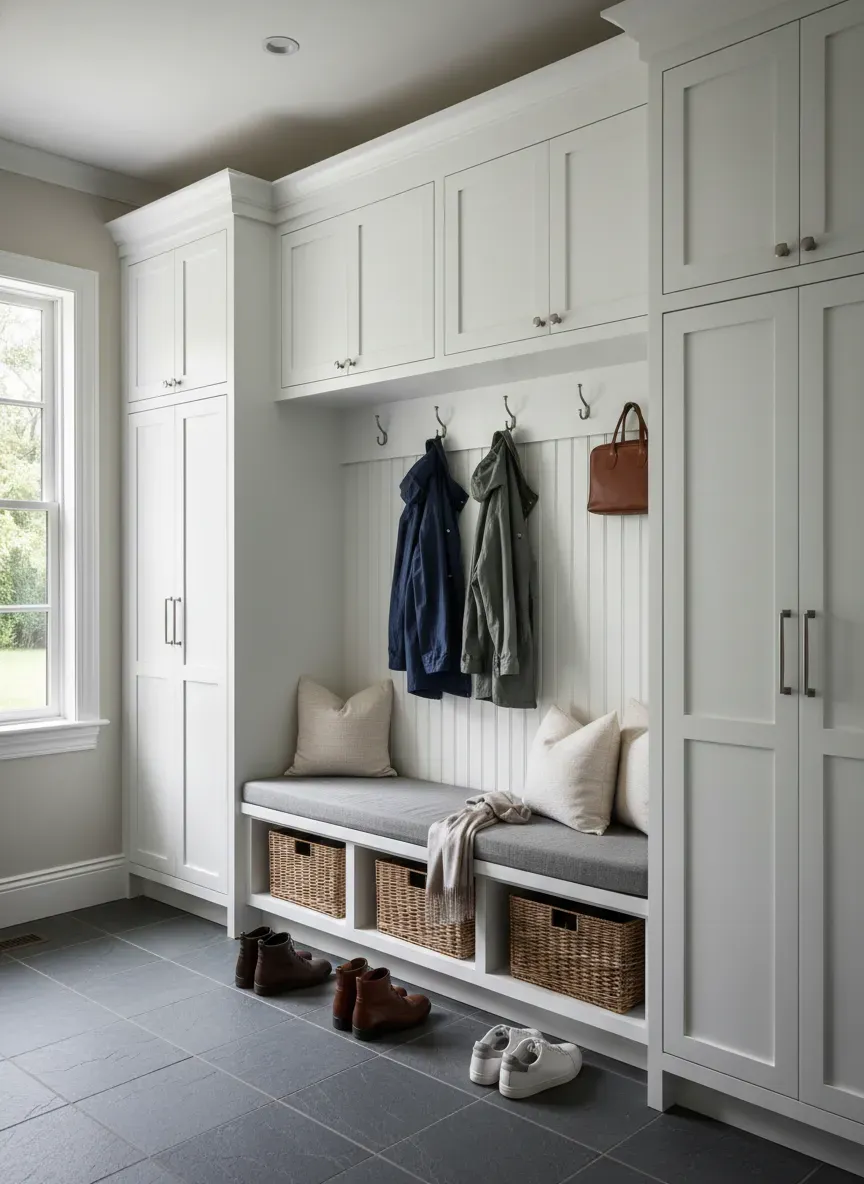
Managing the Mess: Open vs. Closed Storage
One of the most heavily debated topics in custom mudroom design is the ratio of open cubbies to closed cabinets.
Open storage is undeniably faster. You toss your shoes under the bench, hang your coat on the hook, and walk away. For children, open storage is virtually mandatory. If you put a door between a seven-year-old and their shoe cubby, that door will be left open 100% of the time, effectively blocking the hallway.
However, open storage means your family’s clutter is on permanent display.
The Hybrid Approach
The most successful designs utilize a hybrid methodology.
- The Base: Open cubbies at floor level for daily-driver footwear.
- The Midsection: Open lockers with heavy-duty hooks for daily outerwear and bags.
- The Upper Tier: Ceiling-height cabinets with solid doors.
Those upper cabinets are prime real estate for seasonal rotation. In July, they hold winter hats, gloves, and scarves. In December, they hide baseball mitts, sunscreen, and beach towels.
To keep the upper open shelves looking tidy, standardize your containment. A row of identically sized Woven Seagrass Storage Baskets adds incredible warmth and texture to the space while hiding the visual noise of loose accessories. The natural fibers contrast beautifully against crisp, freshly painted cabinetry.
Integrating Modern Lifestyle: Tech and Pets
A mudroom built in the 1990s was just a place for coats. A custom mudroom designed today needs to be a highly integrated command center.
Hidden Charging Stations
We all have devices that need charging, but we don’t want a tangle of white cords cluttering the kitchen island. During the framing phase of your custom mudroom, have your electrician run outlets to the inside of a specific cabinet or drawer. This becomes the dedicated charging drop-zone for tablets, laptops, and smartwatches. You walk in the door, plug in your device, and shut the door on the digital world.
Custom Pet Integration
If you have a dog, the mudroom is invariably their domain. Custom cabinetry allows you to build pet infrastructure directly into the architecture of the room. Consider a pull-out bottom drawer that houses heavy stainless steel food and water bowls. When guests come over, you simply slide the drawer shut. I have even designed custom open cavities beneath the bench specifically sized for a plush dog bed, giving the family pet a secure, cave-like retreat that doesn’t trip up foot traffic.

Ventilation and Moisture Control
We have established that wet gear is the enemy of millwork, but it is also the enemy of indoor air quality. A poorly ventilated mudroom quickly develops a distinct, locker-room odor.
When designing shoe cubbies, particularly deep ones, ensure there is adequate airflow. Avoid sealing the back of the shoe bench flush against the wall if possible, or incorporate subtle architectural venting into the toe kick.
Pro Tip: If your mudroom features an HVAC supply vent, do not let your carpenter block it with the new cabinetry. Have an HVAC technician reroute the ductwork through the base of the cabinets and install a custom toe-kick register. This actually pushes warm air directly across the floor where damp shoes are sitting, drastically accelerating the drying process.
Execution Pitfalls: Where DIYers and Pros Stumble
Even with a flawless design on paper, the installation phase is fraught with hazards. Here are the most common ways a custom mudroom build goes sideways:
Ignoring Baseboards and Crown Molding
You cannot simply push a cabinet against a wall that has existing baseboards. The cabinet will lean backward. A true custom install requires either removing the room’s baseboards and running them around the new cabinetry, or carefully coping the cabinet base to match the profile of the molding. The same applies to the ceiling. A beautifully built locker system looks unfinished if it doesn’t seamlessly integrate with the room’s existing crown molding.
Outlet Obstruction
Take a close look at the wall where you intend to build. Are there light switches? Thermostats? Outlets? Building over these is a massive code violation and a functional nightmare. Before a single piece of wood is cut, you must plan to either relocate these electrical boxes to an adjacent wall or pull them forward and integrate them into the side panels of the new cabinetry.
The Beadboard Trap
Beadboard or shiplap backing is a classic, timeless look for the rear wall of a locker system. But many people make the mistake of installing the beadboard paneling first, and then attaching the hooks directly to it. Standard beadboard is thin—often only 1/4-inch thick. It has zero structural holding power. The screws will inevitably rip out under the weight of a heavy coat.
You must either locate the wall studs behind the beadboard and precisely mount your hooks into the framing, or install a solid 3/4-inch wood horizontal cleat across the back of the lockers specifically designed to anchor the hooks.
Lighting the Drop Zone
A dark mudroom is an uninviting mudroom. Because these spaces are often situated in hallways or windowless transitional corridors connecting the garage to the kitchen, artificial lighting is paramount.
Overhead recessed lighting is standard, but custom cabinetry opens the door for integrated LED strip lighting. Routing a shallow channel into the underside of the upper cabinets or the top shelf of the lockers allows you to install low-voltage LED strips. This casts a warm, functional wash of light directly down the back panel of the lockers, illuminating the coat hooks and bench area without glaring into your eyes.
Pair these LEDs with a motion sensor switch. When you stumble through the door with an armful of groceries in the dark, the mudroom automatically comes to life, guiding you safely into the home.
The Bottom Line
The Bottom Line: Custom mudroom storage and cabinets represent one of the highest-yield investments you can make in your home’s daily functionality. By moving away from flimsy, temporary solutions and embracing purpose-built millwork, you permanently eliminate entry chaos.
Success lies in the details. It is about demanding waterproof materials near the floor, dialing in the ergonomic dimensions of the bench, securing heavy-duty hardware to solid framing, and designing a space that perfectly reflects the specific rhythms of your family’s life. Do it right once, and your mudroom will serve as an effortless, beautiful transition zone for decades to come.