The Essential Tools Checklist for Installing Any Wall-Mounted Entryway Organizer
Stop relying on cheap plastic anchors. This comprehensive guide covers the professional-grade tools and hardware you need to install entryway organizers that actually stay on the wall.
Feb 16, 2026 - Written by: Linda Wise

There is a distinct, sickening sound that haunts the nightmares of homeowners and DIY enthusiasts alike. It’s a crash, followed by the slide of wood against drywall, usually happening at 2:00 AM. It is the sound of an entryway organizer—loaded with heavy winter coats, backpacks, and keys—ripping out of the wall because the installation relied on hope rather than physics.
I have been there. I have stared at the gaping holes in my plaster, wondering where I went wrong.
The reality is that most entryway organizers come with a small plastic baggie containing two screws and two flimsy plastic plugs. If you take nothing else from this guide, let it be this: throw that bag away. Installing a load-bearing unit in a high-traffic zone requires a toolkit that respects the forces of gravity and leverage.
This isn’t just about putting holes in a wall; it’s about structural integrity. Whether you are dealing with pristine drywall, temperamental plaster, or stubborn brick, the right tools bridge the gap between a “forever fixture” and a midnight disaster.
Phase 1: Precision Layout and Diagnostics
Before you even look at a drill, you need to understand the landscape of your wall. An entryway organizer needs to be perfectly level and centered, but more importantly, it needs to be anchored into something substantial.
The Stud Finder (That Actually Works)
Knocking on the wall is an old carpenter’s trick, but it’s unreliable for mounting heavy storage. You need x-ray vision. A standard magnetic stud finder is okay, but for an entryway where you might be drilling near electrical lines for sconces or doorbells, you want an electronic density scanner.
I’ve stopped using single-sensor units entirely. They give you a “maybe” reading. For a project this critical, I highly recommend checking out the Franklin Sensors ProSensor 710. Instead of a single light, it uses a row of LEDs to show you the entire width of the stud instantly. knowing the center versus the edge of the stud is the difference between a bolt that holds 200lbs and one that strips out immediately.
The Leveling Ecosystem
A crooked organizer is visually agonizing. While a standard 24-inch bubble level is a staple, entryways are tricky. You are often trying to align the organizer with a door frame, a piece of wainscoting, or a bench below.
Pro Tip: Never trust your floor or your ceiling to be level. In 90% of houses, they aren’t. Always level the organizer relative to gravity, not the surrounding architecture, unless the visual discrepancy is massive.
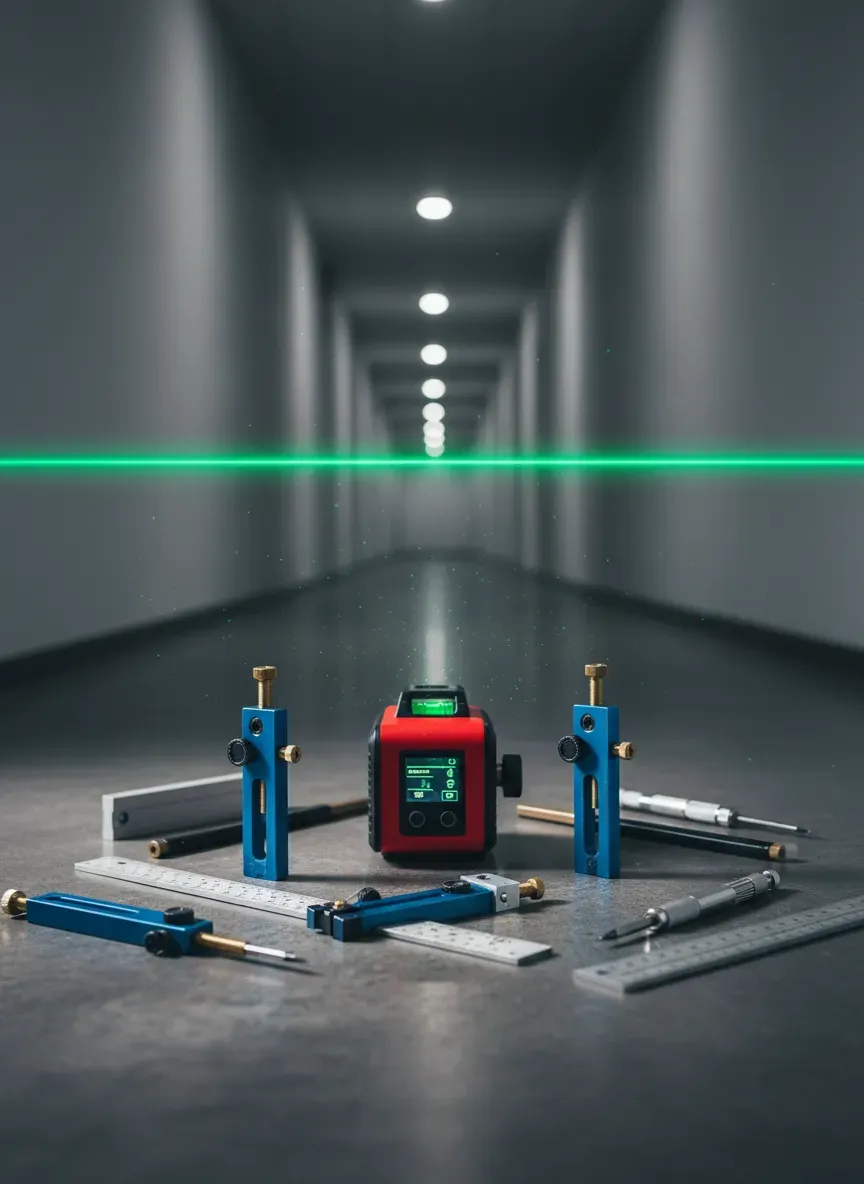
For the ultimate hands-free experience, a laser level is indispensable. It projects a bright red or green line across the entire wall, allowing you to step back and visualize the placement before making a mark. The Huepar Self-Leveling Laser Level is a fantastic entry point into professional layout tools without the contractor price tag. It allows you to align multiple hooks or shelves perfectly without juggling a spirit level and a pencil.
Marking Tools
Forget the fat carpenter’s pencil. You need precision. A mechanical pencil or a dedicated scribe tool allows you to mark the exact center of the mounting holes. If you are drilling through a bracket, a thick pencil tip won’t reach the wall, leading to “guesstimated” drilling locations.
Phase 2: The Penetration Arsenal
Once your layout is mapped, you need to create the pilot holes. This is where the texture and material of your wall dictate your tooling.
The Power Drill vs. Impact Driver
You can get away with a standard cordless drill for 90% of this work. However, if you are driving 3-inch lag bolts into a solid pine stud, a standard drill might stall or twist your wrist. An impact driver provides the rotational torque necessary to drive long fasteners without stripping the head.
- The Drill: Used for creating the hole (removing material).
- The Driver: Used for sinking the fastener (applying force).
If you only have one tool, use a drill with a variable clutch. Set the clutch low when tightening screws to avoid cracking the wood of your organizer or crushing the drywall.
Drill Bits: Material Matters
Using a dull bit is a recipe for wandering holes and blown-out plaster.
- Brad Point Bits: If you are drilling through the wood backer of the organizer itself to create new mounting points, use these. They have a sharp tip that bites instantly, preventing the bit from “walking” across the finish.
- Black Oxide / Titanium Bits: These are your standard general-purpose bits for drywall and wood studs.
- Masonry Bits: If you have a brick wall or are mounting into a chimney breast, you need carbide-tipped masonry bits and a drill with a “hammer” function.
The Pilot Hole Doctrine
Never drive a screw into a stud without a pilot hole. When you force a screw into wood, it displaces the fiber. If the screw is thick enough, that displacement splits the stud. A pilot hole removes just enough wood to make room for the screw’s shaft while leaving enough material for the threads to grab.
Phase 3: The Anchoring Hierarchy
This is the most critical section of this guide. The hardware defines the weight limit. You must match your anchor to your wall type.
Scenario A: Hitting the Stud (The Gold Standard)
If you can line up your mounting holes with the studs, do it. It is infinitely stronger than any drywall anchor.
- Tool: Ratchet set or Impact Driver.
- Hardware: 2.5 to 3-inch structural screws or Lag Bolts. Do not use drywall screws; they are brittle and have low shear strength (the ability to resist snapping sideways).
Scenario B: Hollow Drywall (No Studs)
Sometimes the studs just aren’t where you need them. In this case, plastic conical anchors are useless. They pull right out.
- Hardware: Toggle Bolts (specifically SnapToggles). These fold flat to go through the hole, then flip open behind the wall to brace against a large surface area of the drywall. They can hold upwards of 80lbs each.
- Alternate: If you want the easiest install with massive holding power, look at the TOGGLER SnapSkru Self-Drilling Drywall Anchors. They drill their own hole and lock tightly into the gypsum.

Scenario C: Plaster and Lath (Old Homes)
If your home was built before 1950, you likely have plaster over wood lath. This material crumbles easily.
- Strategy: You must drill carefully to avoid cracking the plaster keys behind the wall.
- Tool: Masonry bit (used without hammer mode) cuts through plaster cleaner than a twist bit.
Phase 4: Fastening and Finishing Tools
You’ve drilled the holes and inserted the anchors. Now comes the moment of truth.
The Torque Control Factor
When tightening the final screws, I always switch to a manual screwdriver for the last few turns. Power tools have no feeling. You need to feel the fastener tighten against the wall. One extra rotation with a power drill can strip a plastic anchor or crack the wood of your beautiful new organizer.
Spacers and Shims
Walls are rarely perfectly flat. When you tighten a flat board against a bowed wall, the board will either bend or the mounting will fail.
- The Fix: Keep a pack of composite shims handy. If you see a gap behind the organizer as you tighten, slide a shim in to fill the space. This ensures the screw is pulling the unit tight against a solid backing, rather than bending the unit itself.
This attention to detail is vital when considering ergonomic height considerations for your installation. If the unit is warped because of a bowed wall, the hooks might sit at odd angles, affecting usability.
Phase 5: Clean-Up and Safety (The Forgotten Essentials)
Installation creates dust. Drywall dust is particularly insidious—it is fine, abrasive, and gets everywhere.
- Dust Catchers: You can buy dedicated drill dust collectors, or simply use a folded Post-it note stuck to the wall directly under the drilling site. It catches 90% of the debris.
- Vacuum with HEPA filter: Do not wipe drywall dust with a wet rag; it turns into mud and stains the paint. Vacuum it first.
Ladder Logic
Don’t stand on a dining chair. Just don’t. You need a sturdy 2-step ladder. Installing an organizer requires you to apply horizontal pressure while drilling. If you are balancing on a chair, your push-force is unstable. Stability is key, especially when you are scaling your hardware to the unit’s dimensions, which might require reaching higher than expected.
The “Nice-to-Have” vs. “Must-Have” Breakdown
To help you prioritize your budget, here is how I categorize the toolkit.
Must-Have (Non-Negotiable):
- Reliable Tape Measure (stiff standout).
- Torpedo Level (24-inch).
- Power Drill.
- Stud Finder (Deep scan).
- Hammer.
- High-quality Toggle Bolts or Lag Screws.
Nice-to-Have (Luxury/Efficiency):
- Laser Level.
- Impact Driver.
- Magnetic Wristband (holds screws while you work).
- Digital Angle Finder.
Troubleshooting: When Things Go Wrong
Even with the best checklist, houses have surprises.
1. Hitting a Metal Plate: If you start drilling and hit something hard and metallic that isn’t a pipe, stop immediately. You likely hit a nail protection plate, which means there is electrical wiring or plumbing behind it. Move your mounting location. This often requires re-evaluating the spatial footprint of your installation.
2. The Spinning Anchor: You inserted a drywall anchor, but as you turn the screw, the anchor just spins in the wall. It hasn’t bitten.
- The Fix: Remove it. Do not try to save it. You now have a hole that is too big. Upgrade to a larger toggle bolt that can span the widened gap.
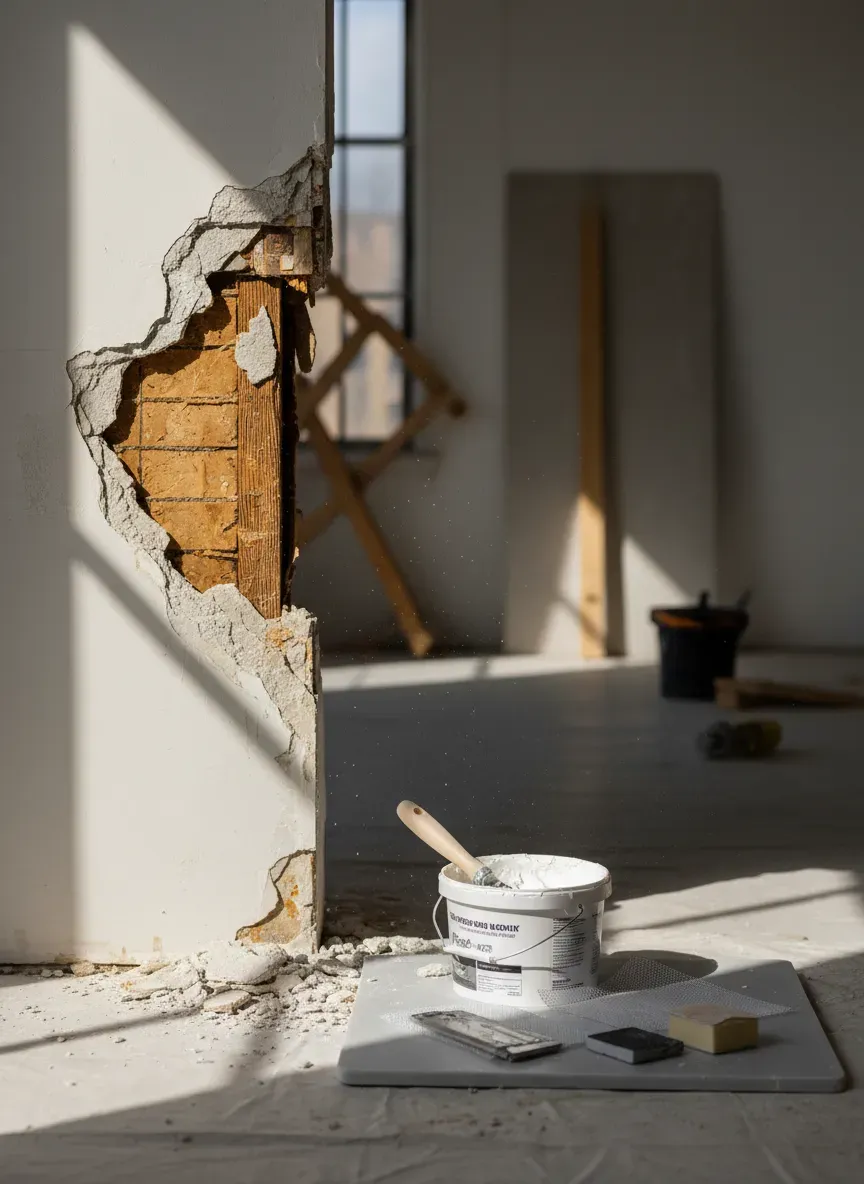
3. Crumbling Plaster: You drilled a hole, and a chunk of wall the size of a dinner plate feels loose.
- The Fix: You need to stabilize the wall before mounting. This involves injecting construction adhesive behind the loose plaster and using plaster washers to pull it back to the lath. Wait 24 hours before attempting to mount the organizer again.
Final Thoughts on Longevity
Mounting an entryway organizer seems like a trivial Saturday afternoon task, but the physics involved are deceptive. You aren’t just hanging a picture frame; you are installing a cantilevered shelf that will be subjected to dynamic loads—coats being yanked off, heavy bags being dropped, and kids hanging on hooks.
The difference between a professional installation and a DIY fail is rarely skill; it is almost always tool selection. By ensuring you have the right anchors, the right bits, and the diagnostic tools to understand what is behind your paint, you ensure that your entryway storage remains exactly where you put it: on the wall, not on the floor.
The Bottom Line: Don’t skimp on the prep work. Spend 80% of your time measuring, marking, and selecting anchors, and the actual installation will take five minutes and last fifty years.