How to Find Your Perfect Workbench Height (And Save Your Back)
Stop suffering from shop-induced lower back pain. Discover the biomechanics, expert testing methods, and ergonomic secrets to finding your exact ideal workbench height.

Mar 25, 2026 - Written by: Linda Wise

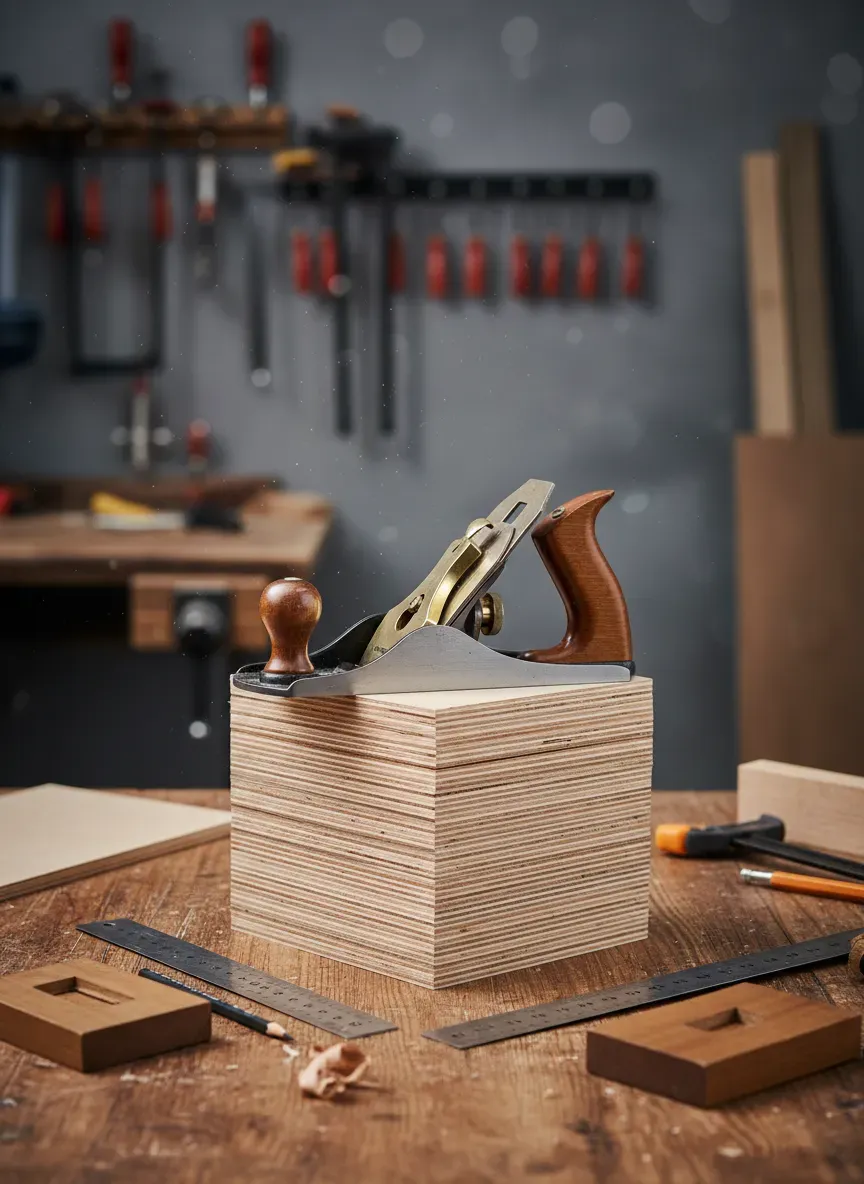
I vividly remember the exact moment my L4 vertebra decided it had endured enough. I was three hours into flattening a gnarly slab of curly maple with a No. 7 jointer plane. My bench, a beautiful but woefully inadequate inherited piece, was sitting at a standard 34 inches off the floor. I am six-foot-one. Every pass of the iron required a microscopic but devastating hunch in my lumbar spine. The next morning, I couldn’t tie my boots.
That was the day I realized your workbench is not just a piece of shop furniture. It is a highly specialized ergonomic apparatus.
Finding your perfect workbench height isn’t about looking up a standard measurement on the internet and cutting your lumber to match. It is a deeply personal, biomechanical equation that hinges on your height, your arm length, the primary tools you use, and the specific projects you build. Get it right, and you can work for ten hours straight, entering that elusive flow state where the wood seems to yield effortlessly to your tools. Get it wrong, and you are literally paying for your hobby in chiropractic bills.
Before we dissect the exact methodologies for calculating your bespoke bench height, here is a look at a few adjustable and highly-rated manufactured options that allow you to dial in your ergonomics right out of the box.
Quick Comparison: Top Picks
| Product | Rating | Check Price |
|---|---|---|
| Kreg KWS1000 Mobile Project Center | ⭐⭐⭐⭐⭐ | View on Amazon |
| Seville Classics UltraHD Lighted Workbench | ⭐⭐⭐⭐½ | View on Amazon |
| Bora Centipede 4x4 Work Stand | ⭐⭐⭐⭐½ | View on Amazon |
The Biomechanics of the Woodworker’s Back
To understand why a half-inch discrepancy in bench height can trigger massive muscle fatigue, we have to look at the kinematic chain of the human body.
When you stand at a bench, your body forms a triangle of force. Your feet are the base, your hips are the fulcrum, and your shoulders/arms deliver the kinetic energy. If your bench is too low, you are forced into spinal flexion. Your lower back muscles—specifically the erector spinae—have to fire continuously just to keep your torso from collapsing forward under the pull of gravity.
If your bench is too high, the dynamic reverses. You lose the mechanical advantage of your body weight. Whether you are bearing down on a random orbital sander or pushing a hand plane, a high bench forces your anterior deltoids and triceps to do all the work. Your shoulders creep up toward your ears, leading to agonizing tension in your trapezius muscles and neck.
I’ve personally found that the sweet spot is a state of neutral buoyancy. Your spine remains relatively straight, a slight hinge occurs naturally at the hips, and gravity assists your downward pressure without demanding an isometric hold from your lower back.

The “Rules of Thumb” (And Why They Fail)
If you crack open any vintage woodworking manual, you will inevitably stumble across a few historical adages regarding bench height. Let’s examine the two most pervasive myths and completely dismantle them.
The Pinky Knuckle Rule
This classical doctrine states that if you stand perfectly straight with your arms hanging relaxed at your sides, the top of the workbench should perfectly align with your pinky knuckles.
Why it fails: This measurement was standardized in the 18th and 19th centuries. Back then, woodworkers were primarily using massive wooden body hand planes and doing heavy stock prep by hand. A lower bench allowed them to lock their elbows and thrust their entire body weight behind the plane. Unless you are exclusively an 18th-century period reproduction furniture maker who strictly avoids electrons, this height will be excruciatingly low for modern tasks like routing, intricate layout, or assembly.
The Wrist Crease Rule
A slightly more modern variant suggests bringing the bench up to the crease of your wrist.
Why it fails: It ignores the actual thickness of the materials and tools you are working with. A benchtop might hit your wrist crease perfectly, but the moment you clamp a three-inch-thick slab to it and set a router on top, your working surface has suddenly elevated by almost ten inches.
Task-Specific Height Parameters
Your ideal height is inextricably linked to your primary operations. A luthier carving delicate violin arching requires a vastly different setup than a timber framer cutting massive mortises. Here is how different disciplines dictate different elevations.
1. The Power Tool and Assembly Dominant Shop (34 to 38 inches)
If your shop time is dominated by domino joinery, track saws, random orbital sanders, and massive cabinet assembly, you generally want a taller bench. Power tools do the physical cutting for you; your job is merely to guide them with precision. You don’t need body-weight leverage.
Furthermore, assembly requires visual inspection. Say you’re building out custom entryway cabinetry and trying to gauge the right dimensions for your boxes. Referencing a solid mudroom locker depth guide will dictate how much bench real estate you actually need, but the height determines whether you can reach the back of that cabinet to drive a pocket screw without contorting your spine into a pretzel. A taller bench brings the work closer to your focal point, reducing neck crane.
2. The Hand Tool Purist Shop (29 to 33 inches)
Hand tool woodworking is fundamentally an athletic endeavor. When you are traversing a board with a jack plane or chopping out a row of dovetail waste, you need to recruit your leg drive and core.
A lower bench allows you to position your center of gravity over the workpiece. It transforms your arms into rigid struts, transferring the power generated by your lower body directly into the cutting edge. If you try to aggressively hand-plane on a 36-inch bench, your arms will fatigue in under five minutes.
3. The Detail, Carving, and Layout Shop (38 to 42+ inches)
For marquetry, relief carving, or fine layout work with marking knives and precision squares, the bench should be startlingly high. Some carvers prefer their workpieces at chest level. When precision is the only metric that matters, bringing the work within inches of your eyes prevents the insidious “turtle neck” posture that destroys cervical discs.
Pro Tip: If your shop is multi-functional, bias your main bench height toward the physical, heavy-duty tasks. It is infinitely easier to artificially raise a workpiece for detail work (using a tabletop Moxon vise or a carving stand) than it is to lower a heavy workbench for hand planing.
The Empirical Testing Method: Finding Your Baseline
Do not guess your bench height. Do not rely on math alone. You must prototype it. Here is the foolproof, step-by-step methodology I use whenever I am consulting on a custom shop build.
Step 1: The Sawhorse Foundation Set up two sturdy sawhorses. Throw a cheap piece of MDF or plywood across them. This is your sacrificial testing surface.
Step 2: The Plywood Stack Gather a collection of scrap 3/4-inch plywood offcuts, 2x4s, and shims. You are going to use these to micro-adjust the height of your testing surface.
Step 3: The Simulation Mimic your actual workflow. Clamp a piece of scrap wood to your makeshift bench. Grab your most frequently used tool—whether that’s a No. 5 jack plane, a heavy plunge router, or a block of wood representing a sanding block.
Start working. Pay acute attention to your body.
- Are your shoulders shrugging upward? Remove a layer of plywood.
- Do you feel a pulling sensation in your lower back? Add a layer of plywood.
- Are your elbows locking out comfortably?
Step 4: The Endurance Test Once you find a height that feels initially comfortable, you aren’t done. You need to work at that exact height for at least 45 minutes. Micro-fatigue takes time to manifest. What feels acceptable for a thirty-second test might prove unbearable after an hour of continuous movement.
When mapping out your workspace, figuring out the ideal spacing far apart for your bench dog holes or T-tracks is crucial, but equally important is the physical footprint of your stance. Make sure you are testing your bench height with your feet spread exactly as they would be during heavy work. A wider stance naturally lowers your hips, effectively changing your relative bench height.
Adjustable vs. Fixed Benches
The modern woodworking industry has recognized the ergonomic dilemma we face, leading to an explosion of adjustable height solutions.
Hydraulic and Scissor-Lift Benches: These are the gold standard for ultimate flexibility. With a crank or an electric motor, you can drop the bench to 28 inches for heavy planing, and raise it to 42 inches for detail work. The downside? Cost and rigidity. Heavy hand-tool work introduces massive lateral forces. Many adjustable benches suffer from “racking” (side-to-side wobble) under heavy lateral loads.
The Fixed Monolith: A traditional Roubo or Nicholson bench, constructed from hundreds of pounds of laminated dense hardwood, will outlive you. It will not vibrate. It will not rack. But you are locked into the height you cut the legs at.
This is why many hybrid woodworkers opt for a heavy, fixed-height traditional bench for joinery and hand-tool work, accompanied by a secondary, adjustable-height assembly table (like the Bora Centipede or Kreg Mobile Project Center) for power tool tasks and finishing.
Modifying an Existing Bench
What if you already own a bench, and reading this has made you realize it’s the root cause of your chronic backaches? You don’t necessarily need to burn it and start over.
To Lower a Bench:
This is the easiest modification, though it requires a bit of bravery.
- Remove the hardware: Strip the bench of any under-mounted vises or heavy tools.
- Brace it: Flip the bench upside down.
- The Cut: Use a track saw or a meticulously clamped straight edge with a circular saw to trim the legs. Do not rely on a hand saw unless your technique is flawless; a wonky cut will leave your bench rocking with a permanent limp. Caution: Cut off half of what you think you need to. You can always take more off. Putting it back on is a nightmare.
To Raise a Bench:
Adding height cleanly requires a bit of engineering.
- Heavy-Duty Casters: Adding locking polyurethane casters can instantly raise a bench by 3 to 5 inches while adding mobility. Ensure you buy double-locking casters (which lock both the wheel rotation and the swivel mechanism) to prevent the bench from skating away while you work.
- Plinth Blocks: For a permanent solution, mill blocks of dense hardwood. Drill a deep recess into the top of the block to accept the bottom of the bench leg, effectively creating a mortise and tenon joint that lifts the entire assembly.
The Holy Trinity of Shop Ergonomics
You can calculate your bench height down to the millimeter, but if you ignore the surrounding environment, your back will still suffer. Workbench height is merely one pillar of the ergonomic trinity.
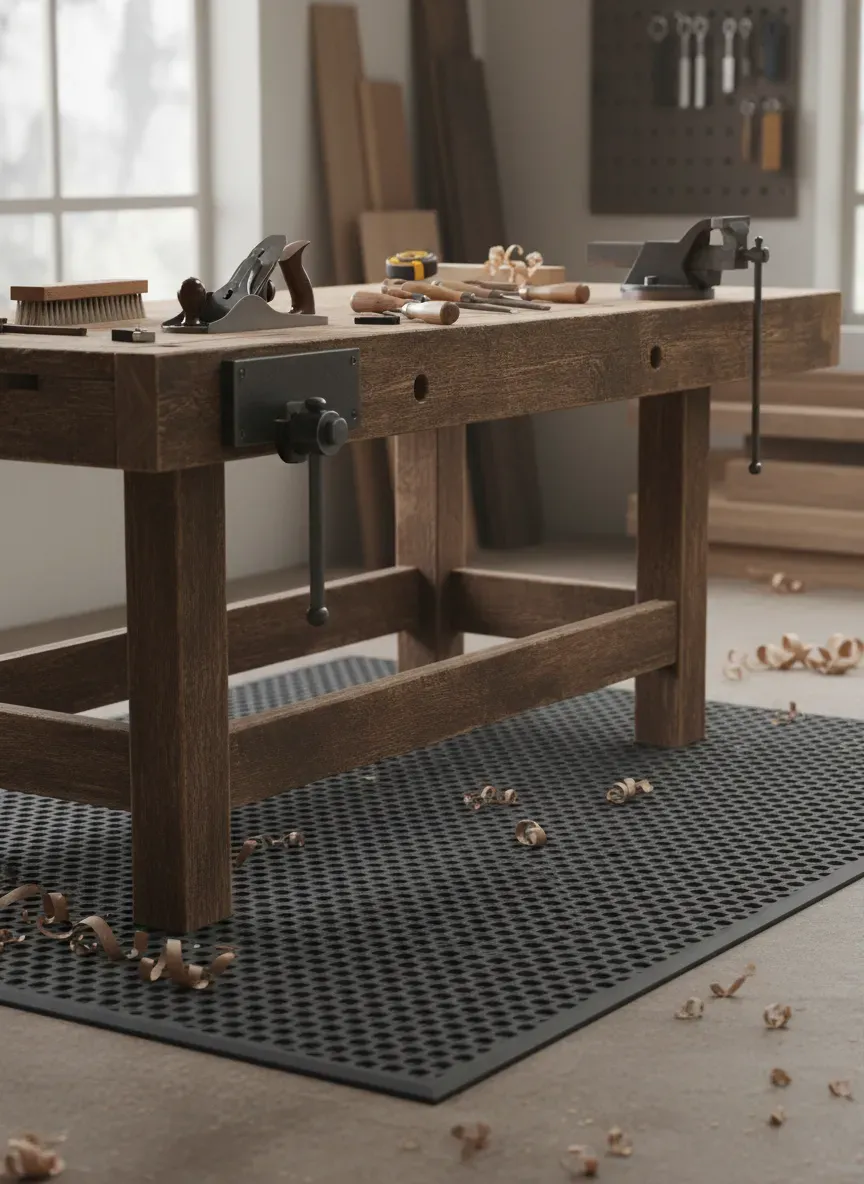
1. Anti-Fatigue Mats
Concrete floors are ruthless. Standing on an unyielding slab sends shockwaves up your tibia, through your knees, and straight into your lumbar spine with every step. High-quality, 3/4-inch thick polyurethane anti-fatigue mats are non-negotiable. Here’s the real kicker: When calculating your bench height using the empirical plywood method, you absolutely must stand on the exact matting you plan to use in the shop. A thick mat will elevate your body by nearly an inch, completely altering your bench math.
2. Proper Shop Footwear
Stop wearing blown-out running shoes or cheap flip-flops in your shop. You are essentially doing light industrial manufacturing. You need footwear with a rigid shank, ample arch support, and a wide toe box to allow for natural foot splay during heavy pushing. I keep a dedicated pair of high-quality wedge-sole work boots in my shop. They never see the mud outside; they exist solely to support my skeletal structure on the concrete.
3. Task Lighting
What does lighting have to do with back pain? Everything. If your shop is dimly lit, you will subconsciously lean forward, craning your neck and breaking your neutral spinal alignment to get a better view of your layout lines or cutting edge. Flooding your benchtop with bright, shadowless LED task lighting allows you to stand upright, keeping your head centered over your shoulders where it belongs.
Key Takeaways: Your Ergonomic Checklist
- Ditch the Dogma: Ignore the “pinky knuckle” rule. Your body and your specific tools dictate the height.
- Prototype First: Never cut your bench legs until you’ve spent an hour working on a mocked-up surface at that exact height.
- Account for Add-ons: Factor in the height of your anti-fatigue mats, your work boots, and the thickness of the benchtop jigs you frequently use.
- Prioritize the Heavy Work: If you do a mix of hand and power tool work on a fixed bench, set the height to favor the heavy hand-tool operations. You can easily elevate small pieces for detail work, but you cannot easily lower a bench for heavy planing.
The Bottom Line Your workspace should adapt to your physiology, never the other way around. A workbench that is meticulously tuned to your specific biomechanics ceases to be a mere table. It becomes an extension of your body, a silent partner in your craft that allows you to focus entirely on the wood, rather than the agonizing throb in your lower back.
Ready to put your newly perfected workbench to use?
I’ve personally found that having the right bench is only half the battle; the other half is having the right projects to build on it. If you want to eliminate the frustrating guesswork of design and immediately start creating stunning furniture, you need to look at Ted’s Woodworking.
It is an absolute goldmine containing over 16,000 step-by-step woodworking plans, covering everything from intricate jewelry boxes to massive outdoor pergolas. Whether you’re breaking in a brand new custom bench or looking to upgrade your entire shop layout, having a massive, reliable archive of blueprints is a game-changer. You’ll notice that following professional, detailed schematics drastically cuts down on expensive lumber mistakes. Right now, you can grab the entire collection at a massive 75% discount. Give your back the right bench, and give your mind the right plans.