The Golden Rules of Workbench Design: Building a Bench That Lasts
Discover the architectural secrets of building a woodworking bench that outlasts you. Learn about mass, workholding, and material selection from a master craftsman.
Mar 25, 2026 - Written by: Linda Wise

I’ve personally found that the moment a woodworker transitions from building on a table to working with a true bench, their entire methodology shifts. A proper workbench is not a piece of furniture. It is not merely a flat surface to rest your coffee cup or assemble flat-pack cabinets. A workbench is a three-dimensional clamping device. It is an active participant in your craft.
When you push a No. 7 jointer plane across a piece of gnarly white oak, your bench needs to absorb the kinetic energy of that strike without shifting a fraction of a millimeter. If your bench racks, wiggles, or scoots across the floor, you are bleeding energy into the room instead of transferring it into the cutting edge of your tool. Here’s the real kicker: building a bench that achieves this level of monolithic stability doesn’t require mystical skills or an infinite budget. It requires a strict adherence to a few fundamental laws of physics and geometry.
Whether you are a hand-tool purist or a hybrid woodworker leaning heavily into power tools, the architecture of your primary workstation dictates the quality of your output. We are going to break down the anatomical necessities of a generational workbench, stripping away the modern gimmicks to focus on what actually holds stock secure.
Quick Comparison: Top Picks
| Product | Rating | Check Price |
|---|---|---|
| Yost Heavy Duty Front Vise | ⭐⭐⭐⭐⭐ | View on Amazon |
| Kreg Bench Dogs (4-Pack) | ⭐⭐⭐⭐½ | View on Amazon |
| Sjobergs Scandi Woodworking Bench | ⭐⭐⭐⭐⭐ | View on Amazon |
The Core Philosophy of a Lifelong Workbench
Before we cut a single mortise or laminate our first slab, we must align our expectations with reality. A workbench is a sacrificial tool. It will get gouged by errant chisels, stained by spilled dye, and drilled into by overzealous Forstner bits. Treating it like a precious heirloom defeats its entire purpose.
Mass is Your Greatest Ally
In the realm of hand-tool woodworking, inertia is the ultimate goal. When you impart lateral force onto a piece of wood—whether you are aggressively scrubbing a rough board or chopping a deep mortise—that energy must be met with equal or greater resistance. If your bench weighs 100 pounds, it will dance across the concrete floor of your shop. If it weighs 400 pounds, it will stand resolute.
You achieve this mass primarily through the thickness of your top and the scale of your base components. A benchtop should rarely be less than three inches thick; four or five inches is preferable. This isn’t just about weight. A massive top provides the necessary depth for holdfasts to grip securely through friction, and it resists the inevitable cupping and bowing that plagues thinner laminated surfaces. The legs, similarly, should be substantial. A 5x5-inch solid leg provides an incredibly rigid anchor point for the heavy stretchers that will tie the undercarriage together.
Navigating the Historic Styles: Roubo, Nicholson, and Moravian
You’ll notice that modern woodworking benches fall broadly into a few historical categories, each solving the problem of workholding in a slightly different manner. Understanding these lineages helps you draft a blueprint tailored to your specific workflow.
The French Roubo
Popularized by André Jacob Roubo in the 18th century, this style is characterized by its massive, flush-mounted front legs and impossibly thick slab top. The genius of the Roubo lies in coplanarity. The front edge of the top is perfectly flush with the front face of the legs. This allows you to clamp long boards, doors, or panels directly to the front of the bench, using the leg as a vertical registration surface. It is the undisputed king of rigidity, though its sheer weight makes it nearly impossible to move once assembled.
The English Nicholson
The Nicholson bench, or the English joiner’s bench, takes a different approach to rigidity. Instead of relying purely on a thick slab top, it utilizes wide, deeply set aprons (often 10 to 12 inches wide) that run the entire length of the front and back. These aprons act like the steel I-beams of a skyscraper, providing immense torsional rigidity. The top itself can be relatively thin—often just a single layer of two-inch stock—because the aprons handle the structural load. The front apron is frequently riddled with dog holes, allowing for highly versatile surface clamping.
The Moravian Workbench
If you need a bench that can be broken down and transported, the Moravian design is a masterpiece of kinetic engineering. It features heavily splayed legs connected by a continuous tusk tenon stretcher. As the bench undergoes vibration and lateral force, the wedged tusk tenons actually pull the structure tighter together. It provides the mass and stability of a Roubo but can be disassembled into four manageable pieces in under five minutes.
Dimensional Geometry: Height, Depth, and Ergonomics
A bench that forces you to hunch over will destroy your lumbar spine within a week. Conversely, a bench that sits too high will rob you of your body weight when trying to leverage a hand plane.
Dialing in the Perfect Height
The standard advice you’ll hear parroted across the internet is the “pinky-knuckle rule.” Stand straight, drop your arms to your sides, and measure from the floor to your pinky knuckle. For a woodworker of average height, this usually lands between 33 and 35 inches.
I’ve personally found this rule to be an excellent starting point, but it requires nuance. If you use predominantly wooden body hand planes, which are tall, you might want your bench an inch lower. If your work consists mostly of routing, intricate carving, or fine dovetail joinery, leaning over a low bench will strain your neck. Many hybrid woodworkers intentionally build their benches an inch taller than the traditional hand-tool height to accommodate a mix of power tool usage and fine detailing.
Pro Tip: If you are unsure about your ideal working height, build the bench two inches taller than you think you need. Work on it for three months. If your shoulders ache from lack of leverage, you can easily saw an inch off the legs. You cannot easily glue that inch back on.
Width and Depth: The Reach Zone
A common rookie mistake is assuming that a wider bench is a better bench. The impulse to build a massive 36-inch deep surface often stems from confusing a workbench with an assembly table.
Your workbench only needs to be deep enough to support the width of your typical project components and allow you to reach across it comfortably. For most humans, this maximum functional depth is around 24 inches. Anything deeper becomes a dead zone that inevitably collects tools, coffee cups, and offcuts, effectively pushing your workspace further away from you. Much like configuring the ideal cabinet depth for your mudroom storage, your workbench depth is dictated by human biomechanics rather than raw floor space. A 20 to 24-inch depth allows you to reach the opposite side to secure a clamp without straining your lower back.
Material Selection: Hardwood vs. Softwood Debates
The internet is rife with tribalism regarding bench materials. One camp insists that only hard maple or European beech is worthy of a serious bench, while the other champions the humble 2x12 construction lumber found at the local big-box store.
The truth lies in understanding the mechanical properties of wood.
Southern Yellow Pine vs. Hard Maple
Hard maple is dense, heavy, and highly resistant to denting. It makes an objectively beautiful, durable workbench. However, it is also fiercely expensive, difficult to plane flat by hand, and unforgiving on dropped tools.
Southern Yellow Pine (SYP) or Douglas Fir, on the other hand, are heavy softwoods. They possess an incredibly high strength-to-weight ratio. Because they are slightly softer than maple, a dropped chisel will dent the bench rather than snapping the high-carbon steel edge of your tool. Furthermore, softwoods are significantly cheaper. You can build a massive, 300-pound SYP workbench for a fraction of the cost of a hardwood equivalent.
The Myth of the “Indestructible” Top
Do not fall into the trap of thinking your benchtop needs to be invincible. Wood is undeniably hygroscopic. It breathes, swells, and contracts across its grain as seasonal humidity shifts, meaning your workbench design must accommodate this inevitable movement. Your benchtop is going to get scarred. When it becomes too unlevel or heavily damaged, you simply take a No. 7 jointer plane and resurface it. A pine bench is a joy to resurface; flattening a massive slab of hard maple is a grueling cardiovascular workout.
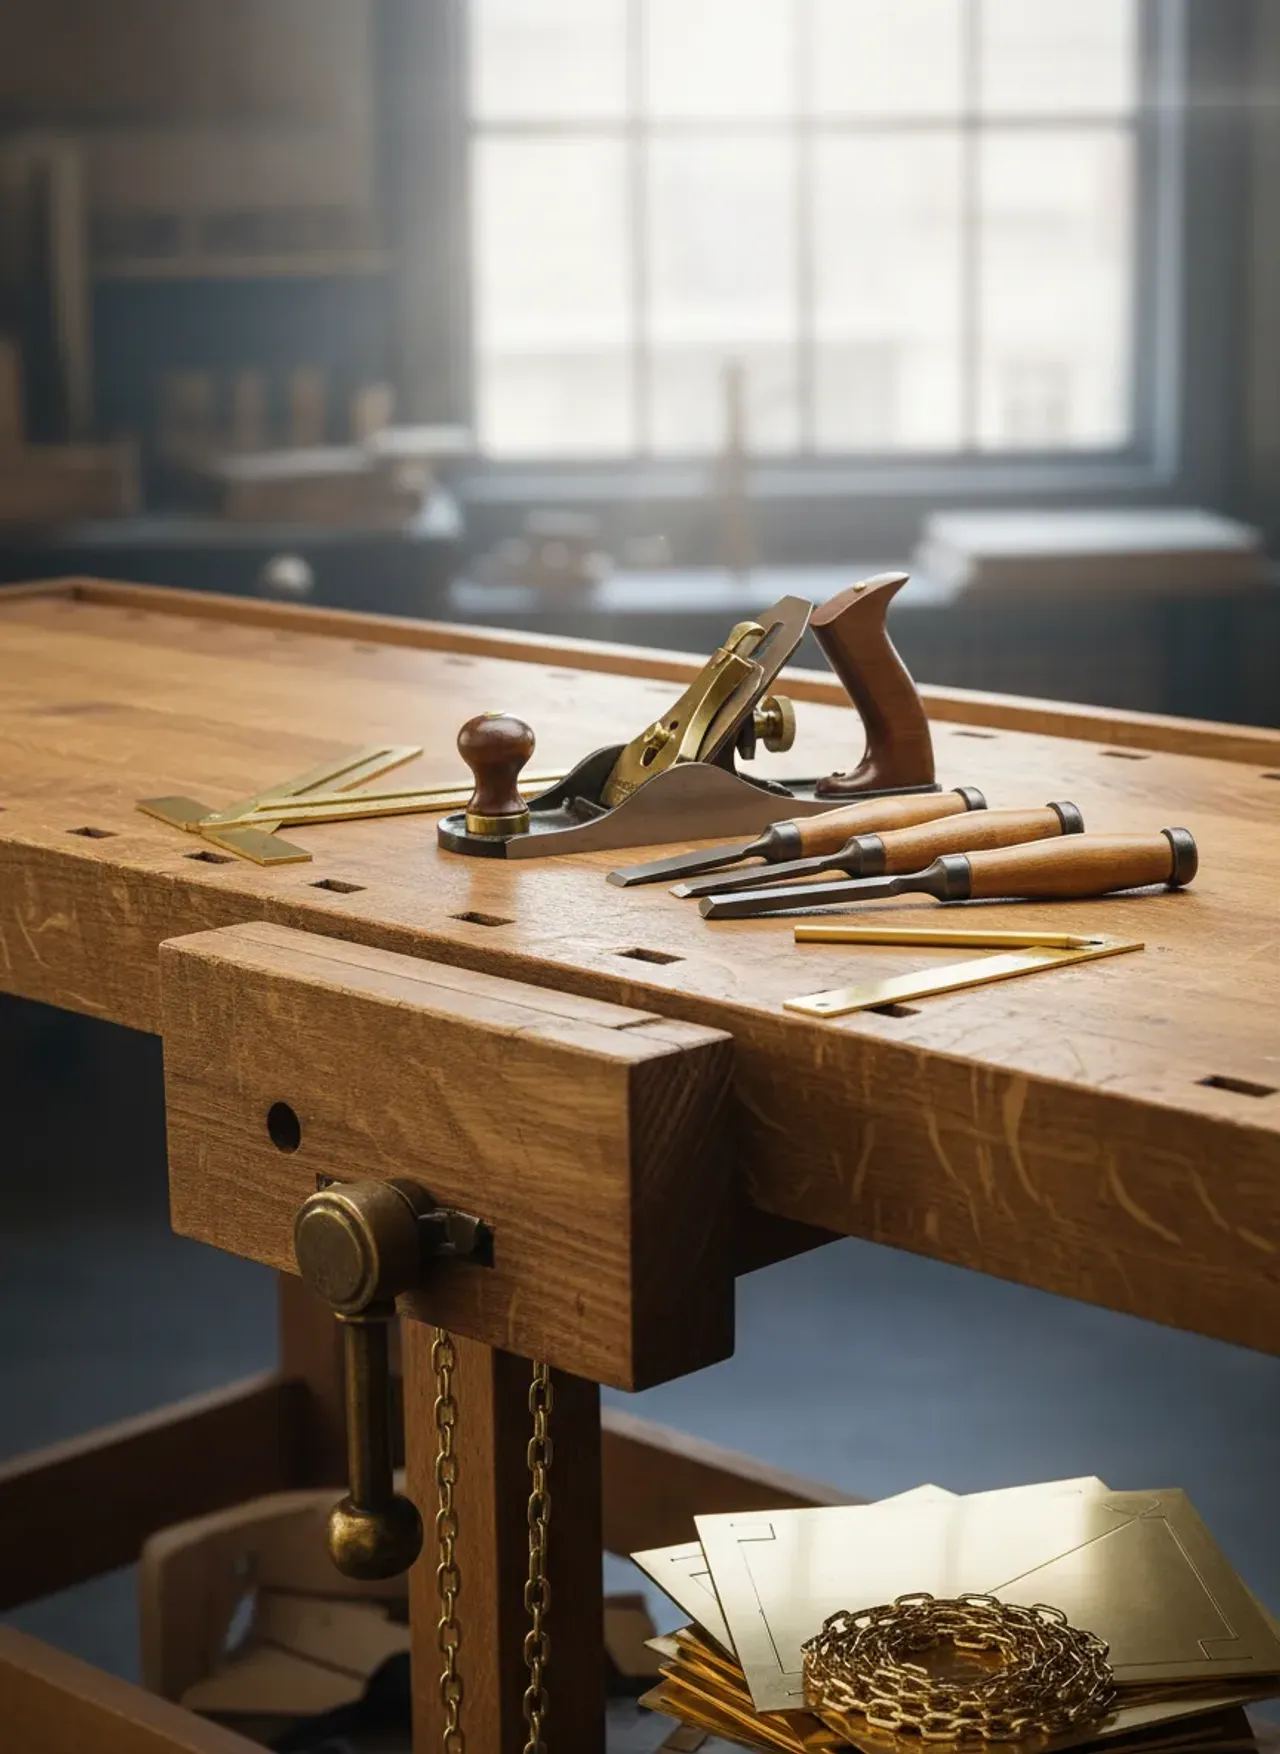
Workholding: The Heartbeat of the Bench
A massive, flat surface is useless if you cannot secure your workpiece to it swiftly and immovably. Workholding is the interface between you and the wood.
The Vise Hierarchy
Most traditional benches employ two primary vises: a face vise (for holding boards horizontally on edge) and a tail vise (for holding boards flat on the benchtop).
The Leg Vise: For the face vise position, the leg vise is arguably the most mechanically advantageous design ever conceived. Because the pivot point is near the floor, and the clamping screw is positioned just below the benchtop, it exerts tremendous, even pressure across the face of the chop. Modern iterations utilize a crisscross mechanism—a heavy steel scissor joint—that supports the weight of the massive wooden chop and keeps it perfectly parallel to the bench leg without the need for a traditional parallel guide pin.
The Wagon Vise: For securing stock flat on the top, a wagon vise (a specific type of tail vise) is unparalleled. Instead of the entire end of the bench moving, a small wooden block containing a dog hole travels within the benchtop itself, driven by an embedded screw. This traps the workpiece between the moving dog and a stationary dog in the benchtop, preventing any lateral shifting while planing.
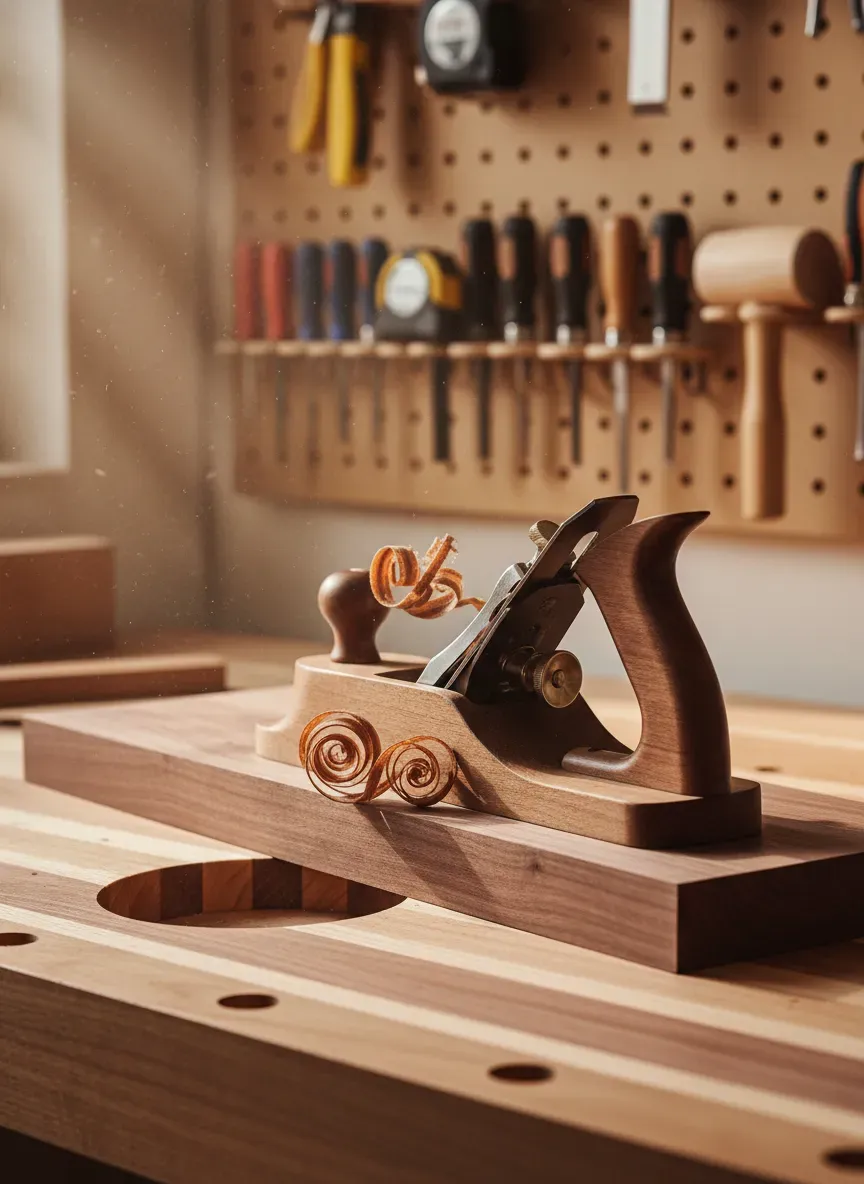
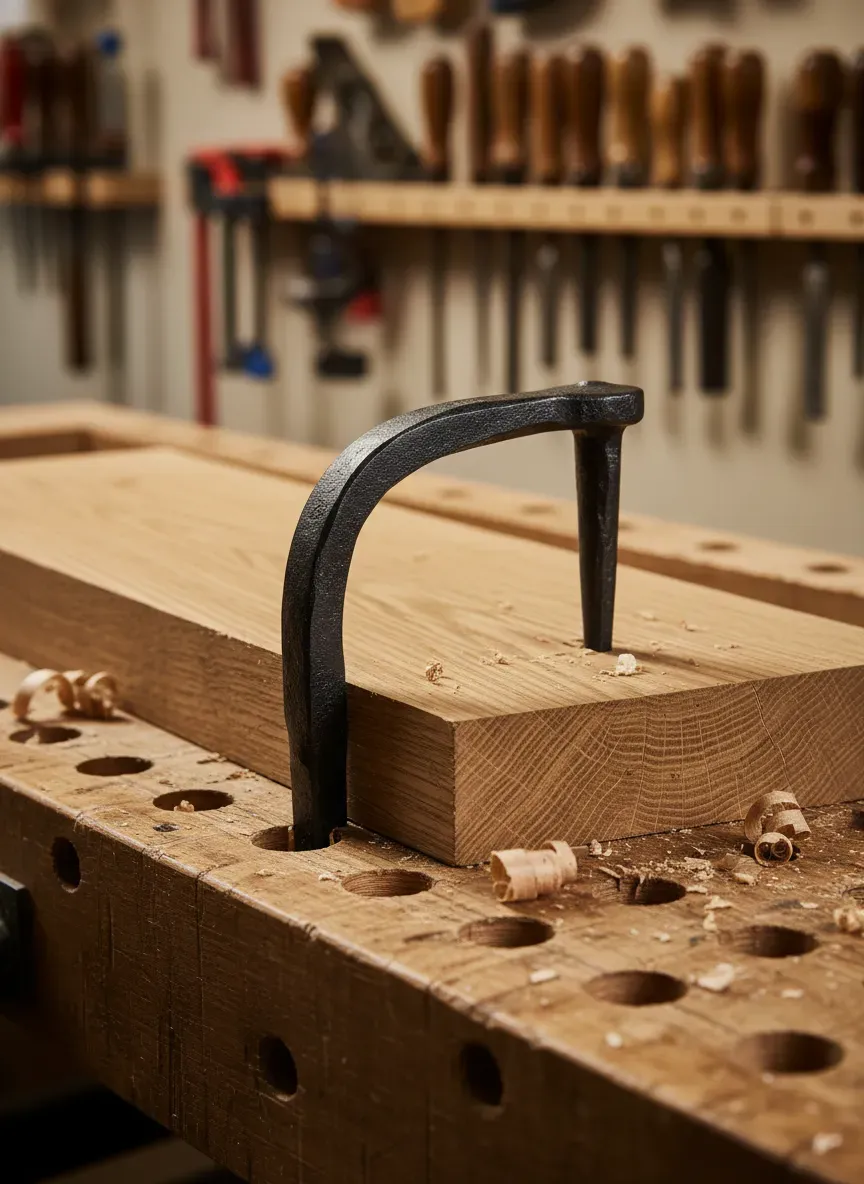
The Magic of Dog Holes and Holdfasts
Dog holes are vertically bored holes—typically 3/4-inch in diameter—that run in a grid pattern across the benchtop and down the front legs. They accept bench dogs (small wooden or metal pegs) and holdfasts.
A traditional iron holdfast is a marvel of ancient engineering. It is simply a heavy iron hook with a smooth shaft. You drop the shaft into a dog hole, position the pad over your workpiece, and strike the top of the hook with a heavy mallet. The shaft wedges itself in the hole, utilizing directional friction to lock the wood down with hundreds of pounds of force. A swift tap on the backside of the shaft instantly releases it.
When you’re laying out your grid, the ideal spacing between dog holes usually lands right around 3 to 4 inches. This measurement isn’t arbitrary; it ensures that your holdfasts can reach any point on the benchtop, and that your tail vise only needs to travel a few inches to engage the next dog hole, saving you tedious winding.
Structural Integrity and Joinery
If you assemble your workbench base with pocket screws and drywall screws, it will fail. The racking forces generated by a hand plane or a heavy handsaw are relentless. The joinery must be robust enough to withstand decades of violent, rhythmic motion.
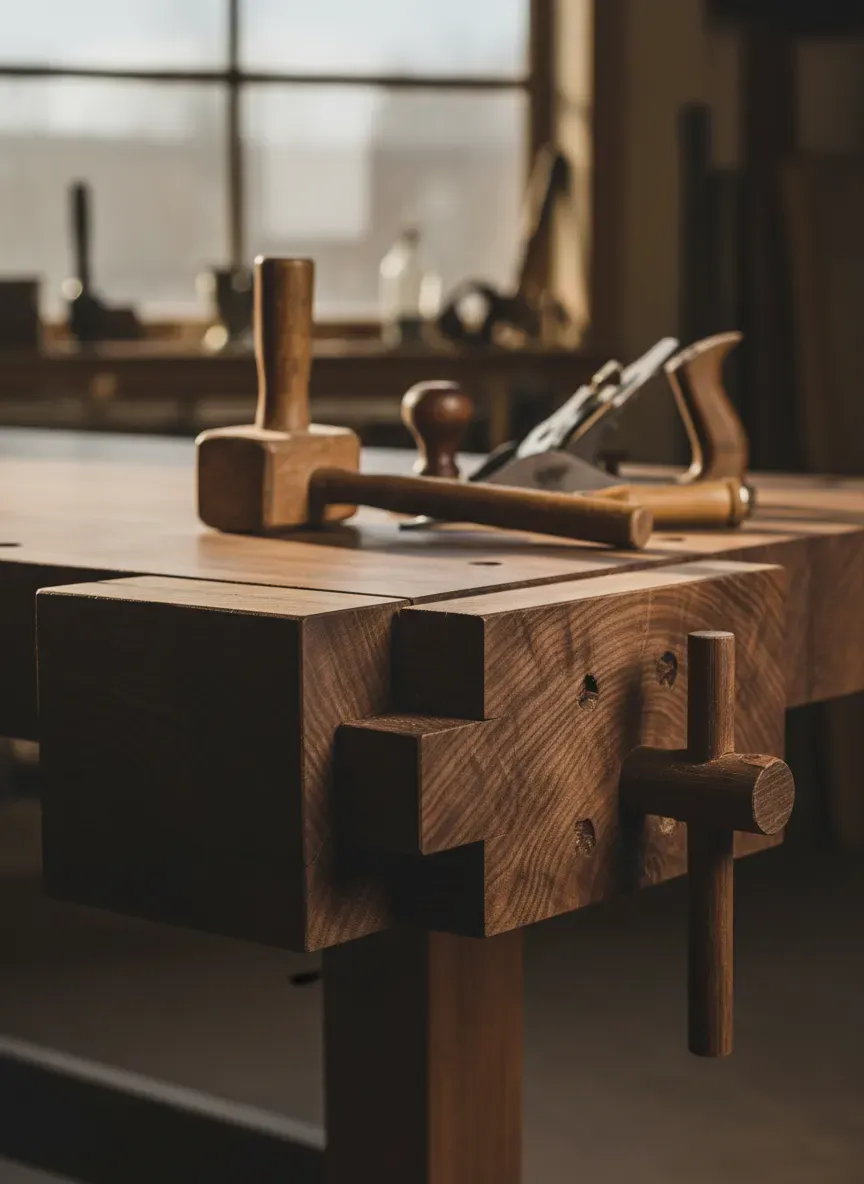
Mortise and Tenon Dominance
The base of your workbench should be constructed using massive mortise and tenon joints. The stretchers (the horizontal members connecting the legs) must terminate in thick tenons that seat deeply into the legs. This creates a mechanical interlock that physically cannot rack unless the wood itself shears in half.
Drawboring for Perpetual Tension
To ensure these joints never loosen, even as the wood undergoes seasonal humidity cycles, you should employ a technique called drawboring.
Drawboring involves drilling a hole through the mortise walls, then drilling a corresponding hole through the tenon cheek—but deliberately offsetting the tenon hole slightly closer to the shoulder. When you drive a stout, dry hardwood peg through the assembly, the peg has to bend slightly to navigate the offset holes. This mechanical distortion pulls the tenon violently into the mortise, permanently locking the joint in a state of high tension. It requires no clamps, and realistically, it doesn’t even require glue. It is a technique that has kept timber-framed barns standing for centuries, and it will certainly keep your workbench rigid.
Key Takeaways for Structural Design:
- Scale Up: Use 5x5 inch stock for legs, and minimum 2x4 inch stock for stretchers.
- Flush is Functional: Ensure the front face of your legs is perfectly coplanar with the front edge of your benchtop for superior clamping.
- Avoid Hardware: Rely on tight wood-to-wood joinery (mortise, tenon, drawbore) rather than lag bolts, which will eventually wallow out their holes and introduce slop.
- Keep it Low: Position the lower stretchers just high enough off the floor to allow your feet to tuck under the bench comfortably.
Finishing and Maintenance: A Working Surface
Once the final peg is driven and the top is planed dead flat, the impulse to apply a thick, glossy finish is strong. Resist it.
Why Less is More
A glossy film finish, like polyurethane or spar varnish, creates a slick, frictionless surface. This is the exact opposite of what you want. You want your workpiece to grip the benchtop. Furthermore, film finishes will crack and chip under the abuse of holdfasts and chisels, looking terrible within a few months.
The only finish a workbench requires is a penetrating oil. Boiled linseed oil (BLO), pure tung oil, or a simple oil-wax blend are perfect. These finishes seep into the wood fibers, offering a modicum of protection against glue drips and moisture without altering the tactile friction of the raw wood. When the bench gets too scarred, you simply plane it flat, wipe on another coat of oil, and get right back to work.
The Bottom Line: Your workbench is the single most important tool in your shop. If you invest the time to build it with mass, rigid joinery, and thoughtful workholding, it will elevate the accuracy and enjoyment of every project you build upon it for the rest of your life.
Building a workbench of this caliber requires precise planning, clear dimensions, and a solid grasp of joinery techniques. If you’re looking to bypass the frustrating trial-and-error phase of drafting your own bench from scratch, you need reliable blueprints.
I frequently get asked where to find professional-grade, step-by-step schematics that actually make sense. I highly recommend checking out Ted’s Woodworking. You get access to over 16,000 meticulously detailed woodworking plans, including an incredible variety of heavy-duty traditional workbenches, tool cabinets, and shop fixtures. They are currently offering a massive 75% discount, making it an absolute no-brainer for anyone looking to seriously upgrade their shop capabilities and build a bench that will outlast them. Don’t guess on your bench dimensions—build it right the first time.