5 Diy Entryway Storage Projects (ranked by Skill, Hours, and Cost)
Five DIY entryway storage projects ranked by cost, hours, and skill level, with materials, steps, and honest difficulty ratings—plus 50+ entryway storage ideas.
Feb 1, 2026 · Linda Wise
15 min readFive DIY entryway storage projects, ranked by the math that matters: cost, hours, tools, and ‘will my spouse forgive me’.
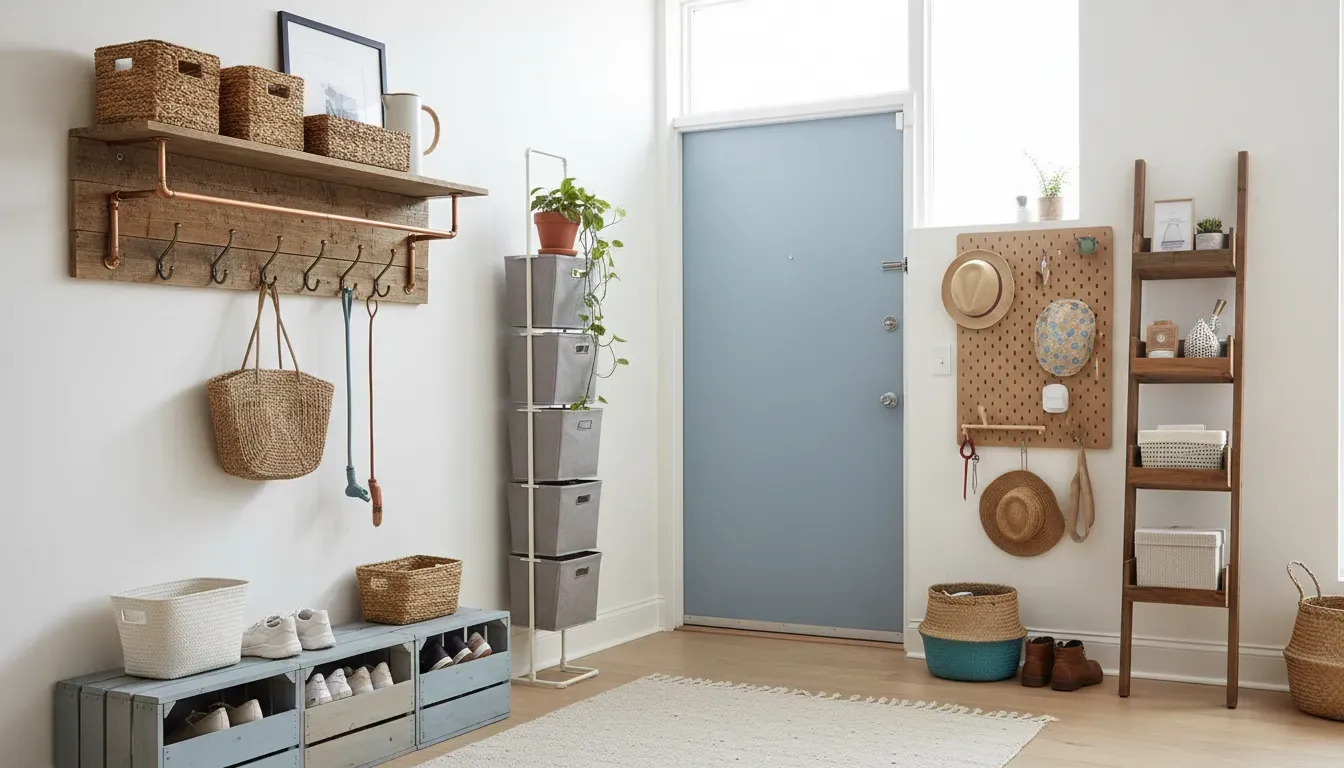
The entryway is the room everyone sees first and furnishes last, which is exactly why it is the best room to build for. A weekend of honest work turns a shoe pile and a coat tree into a landing strip that looks like it cost a thousand dollars — for the price of one decent dinner out. Every project below is built from hardware-store materials, uses tools a normal human owns or can borrow, and comes with honest difficulty tags. No fake angles, no ‘just a quick cut’ nonsense.
Here is the whole lineup, ranked by cost, hours, and skill level:
| Project | Skill | Hours | Cost | Drunk-tool risk |
|---|---|---|---|---|
| Project 1: Floating Shelf + Hook Rail | Easy | 2–3 | $30–45 | 3 |
| Project 2: Bench With Hidden Bin | Medium | 4–5 | $40–60 | 4 |
| Project 3: Pegboard Wall | Medium | 3 | $35–55 | 5 |
| Project 4: Shoe Tray Upgrade | Easy | 1–2 | $15–25 | 2 |
| Project 5: The Built-In Look | Hard | 8+ | $80–120 | 7 |
Each project comes with a ‘drunk tool’ risk rating. Project 4 is a two. Project 5 is a seven.
5 DIY Entryway Storage Projects (ranked: skill / hours / cost)
The five projects below are ordered by difficulty, not ego. Start at one and climb; by the time you hit Project 5 you will actually be good enough for it.
Project 1: The Floating Shelf + Hook Rail
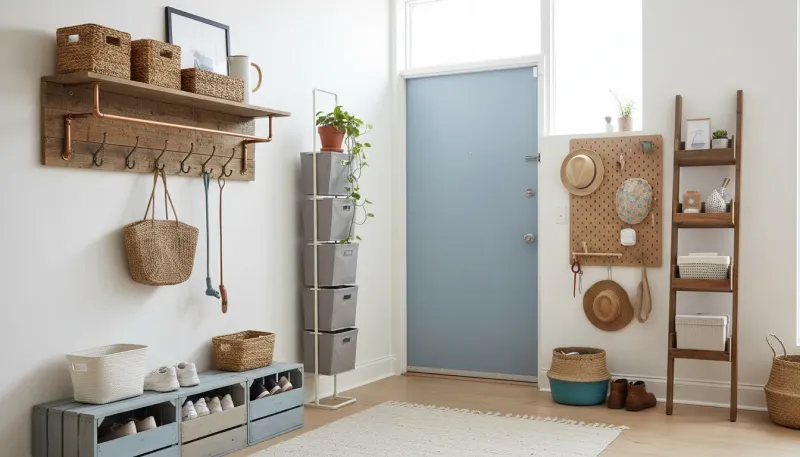
The simplest project on the list delivers the biggest visual win: one floating shelf with a row of hooks beneath it becomes a coat station, bag drop, and catch-all surface that reads as furniture.
Materials: 1x6 pine or a reclaimed board (2–6 ft), two floating-shelf brackets with toggle hardware, three to five coat hooks, stain or paint, a level, a stud finder. Time: 2–3 hours. Skill: Easy. Difficulty tag: Beginner. Drunk-tool risk: 3.
- Finish the board first. Sand, stain, and seal while it is on the workbench; finishing on the wall is how you end up painting your floor.
- Find the studs. Mark them, and anchor the brackets with the hardware that matches your wall — toggles for hollow drywall, screws for studs.
- Level the brackets, then set the shelf in place and let the chemistry of physics hold it.
- Screw the hooks into the wall 6 to 8 inches apart, centered under the shelf, and keep the heavy hooks at the ends.
Project 2: Bench With Hidden Bin
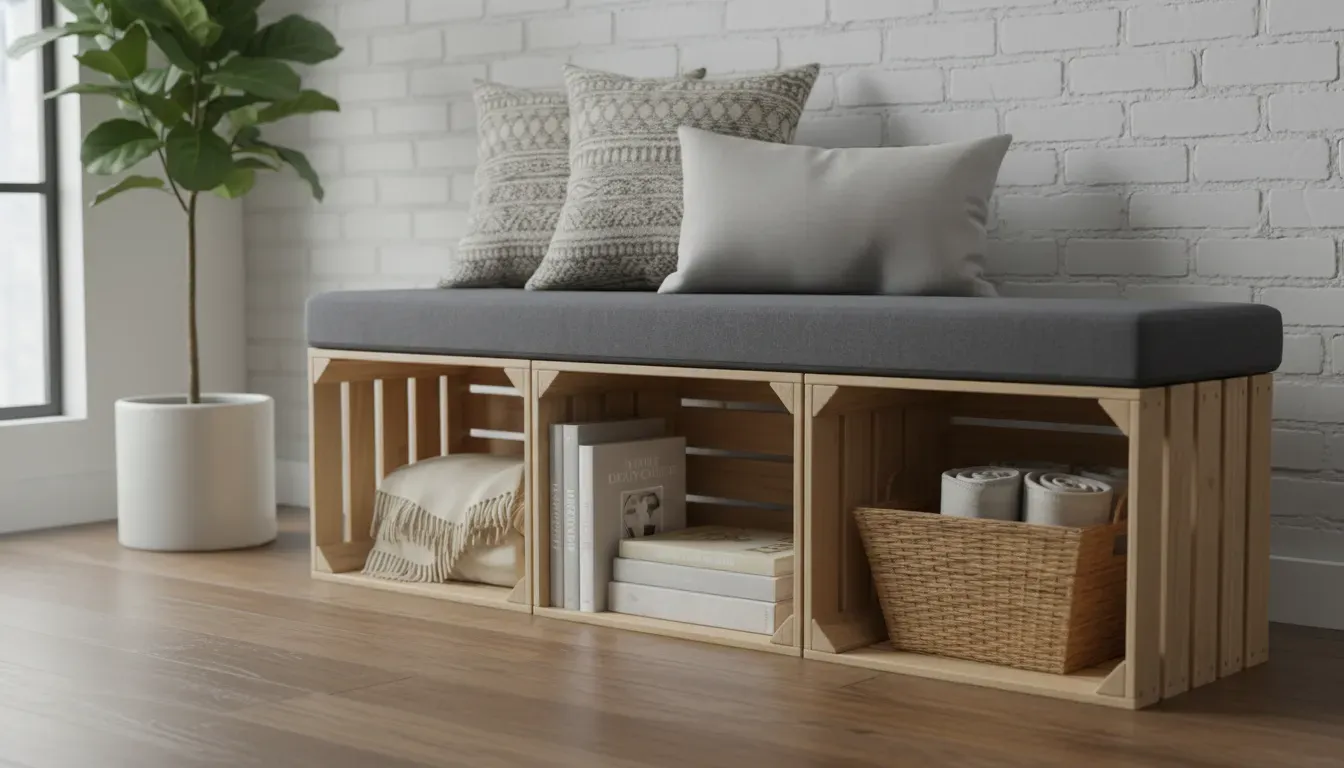
Every entryway needs a place to sit, and every bench wants to hold something. This version combines a sturdy base with a hidden bin under the seat, so shoes vanish while the bench does bench things.
Materials: Two wooden crates or a reinforced plastic crate base, a 3/4 in plywood seat, 2 in upholstery foam, canvas drop cloth, a staple gun, zip ties, a hinged drop-lid bin if you skip the crates. Time: 4–5 hours. Skill: Medium. Difficulty tag: Intermediate. Drunk-tool risk: 4.
- Build the base. Zip-tie or screw the crates together side by side so they act as one unit — this is the frame, so make it rigid.
- Cut the seat from plywood to overhang the base by half an inch on all sides.
- Upholster the top. Foam on plywood, canvas pulled taut, stapled from the center out — the gift-wrap corner trick makes a professional edge.
- Add the hidden bin. A drop-lid bin fits behind the front slats of the crates, or build a simple plywood box with a piano hinge and a leather pull. Shoes go in the bin, seat stays clear.
Project 3: Pegboard Wall
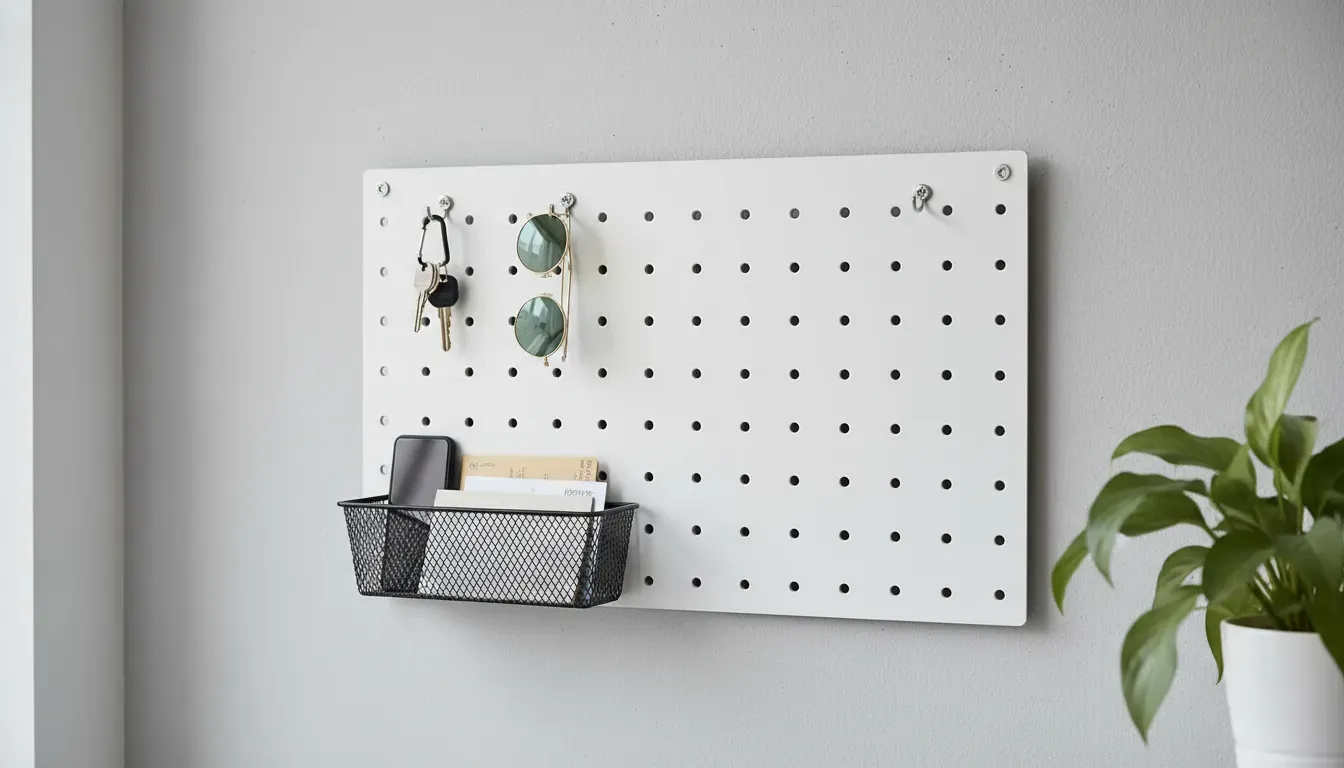
A styled pegboard is the most adjustable storage surface ever made: hooks, baskets, and tiny shelves move in seconds, so the board adapts to every season without a new build.
Materials: One pegboard sheet (2x4 ft, cut to fit), 1x2 furring strips, paint, a foam roller, assorted pegboard hooks, two small wire baskets, optional small shelf. Time: 3 hours. Skill: Medium. Difficulty tag: Intermediate. Drunk-tool risk: 5.
- Frame the back. Glue and screw furring strips around the board’s perimeter so hooks have clearance behind the holes.
- Paint both sides with a foam roller — thin coats keep paint out of the holes, and a color-matched wall paint makes the board disappear.
- Mount it with heavy-duty adhesive strips on the furring strips or screws into studs, depending on the wall’s temper.
- Accessorize with intent. Keys on hooks, sunglasses in a basket, mail in the second basket, and a small shelf for the plant that makes it all look like a designer’s.
- Leave room to grow. The whole point is rearrangeable, not maxed-out.
For a full tour of what this surface can do — grids, baskets, shelf brackets, the works — see our guide to customizable pegboard entryway storage systems.
Project 4: Shoe Tray Upgrade
The least glamorous project is the one you will use twice a day: turn a cheap boot tray into a proper entryway shoe station that catches slush, mud, and identity crises.
Materials: One commercial-grade boot tray (18 x 30 in or bigger), two half-inch riser blocks or furniture feet, spray paint or appliance epoxy, a textured non-slip mat, optional grip-tape. Time: 1–2 hours. Skill: Easy. Difficulty tag: Beginner. Drunk-tool risk: 2.
- Prep the tray. Degrease it, then paint with spray enamel made for plastic or metal — two light coats beat one heavy sag.
- Raise it. Screw the riser blocks to the underside so water and grit fall through instead of pooling under the shoes.
- Line the floor of the tray with the non-slip mat so dripping soles don’t slide.
- Place it beside the door with the daily pairs on top and the hour-arrivals in a basket alongside.
Project 5: The Built-In Look (without built-ins)
This is the weekend-eater: two painted columns, a floating shelf across the top, and a couple of coats of patience, which together read as custom millwork. Worth every hour of the seven-drunk-tool risk.
Materials: Two 4-ft columns of 3/4 in plywood or MDF, one 6-ft floating shelf kit, crown molding off-cuts, paint, wood filler, a level, toggle anchors, and a calm disposition. Time: 8+ hours across a weekend. Skill: Hard. Difficulty tag: Advanced. Drunk-tool risk: 7.
- Build the columns — square boxes with a keder or shaker profile; paint them before install.
- Anchor to the wall. Toggle anchors rated for the bracket kit, then level the shelf with the patience of a monk.
- Tuck the columns against the wall, shim them plumb, and screw them to the shelf brackets from inside.
- Crown the top with the molding off-cuts and fill every seam with wood filler; sand and touch up.
- Load it like a display — coats at a glance, bags in the baskets, keys in a tray, and the whole wall doing a very convincing impression of a $4,000 built-in.
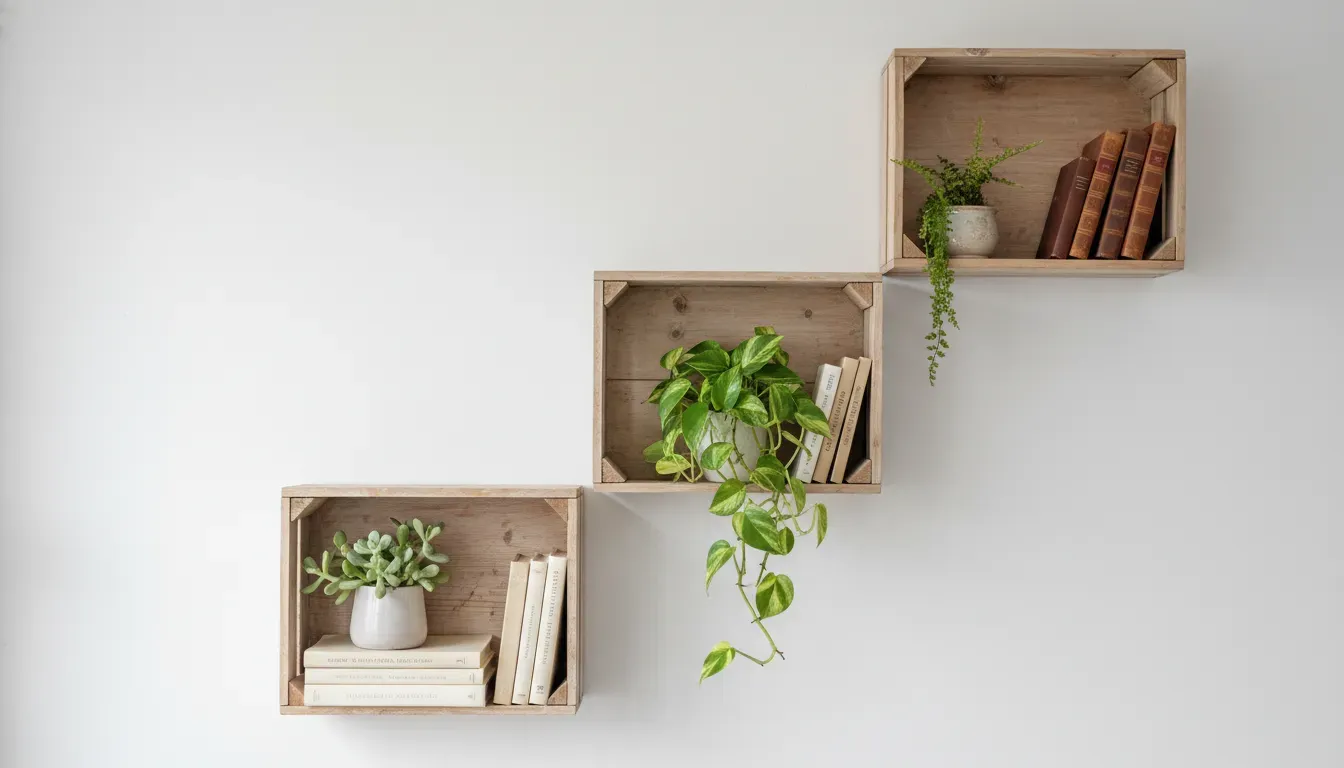
Five projects, one weekend each, zero regrets. Start with the shoe tray on a Saturday morning and end with the built-in look by Monday, and every single project will still be working — and still be honest about what it took to build. If the itch for more extends past these five, there is a whole library of project-shaped entryway storage ideas in our 15 genius entryway storage ideas roundup — pick your next one, and go make some sawdust.
Weekend bench builders: for bench-specific step-by-steps sized to a single weekend, see our DIY entryway benches with storage weekend projects for beginners. If you’re planning a full wall of built-ins rather than a freestanding bench, start from the ultimate blueprint for built-in entryway organization. And if flat-pack is more your speed than raw lumber, our IKEA Pax hack for high-end built-in entryway organization turns wardrobe boxes into bespoke-looking mudroom cabinetry.
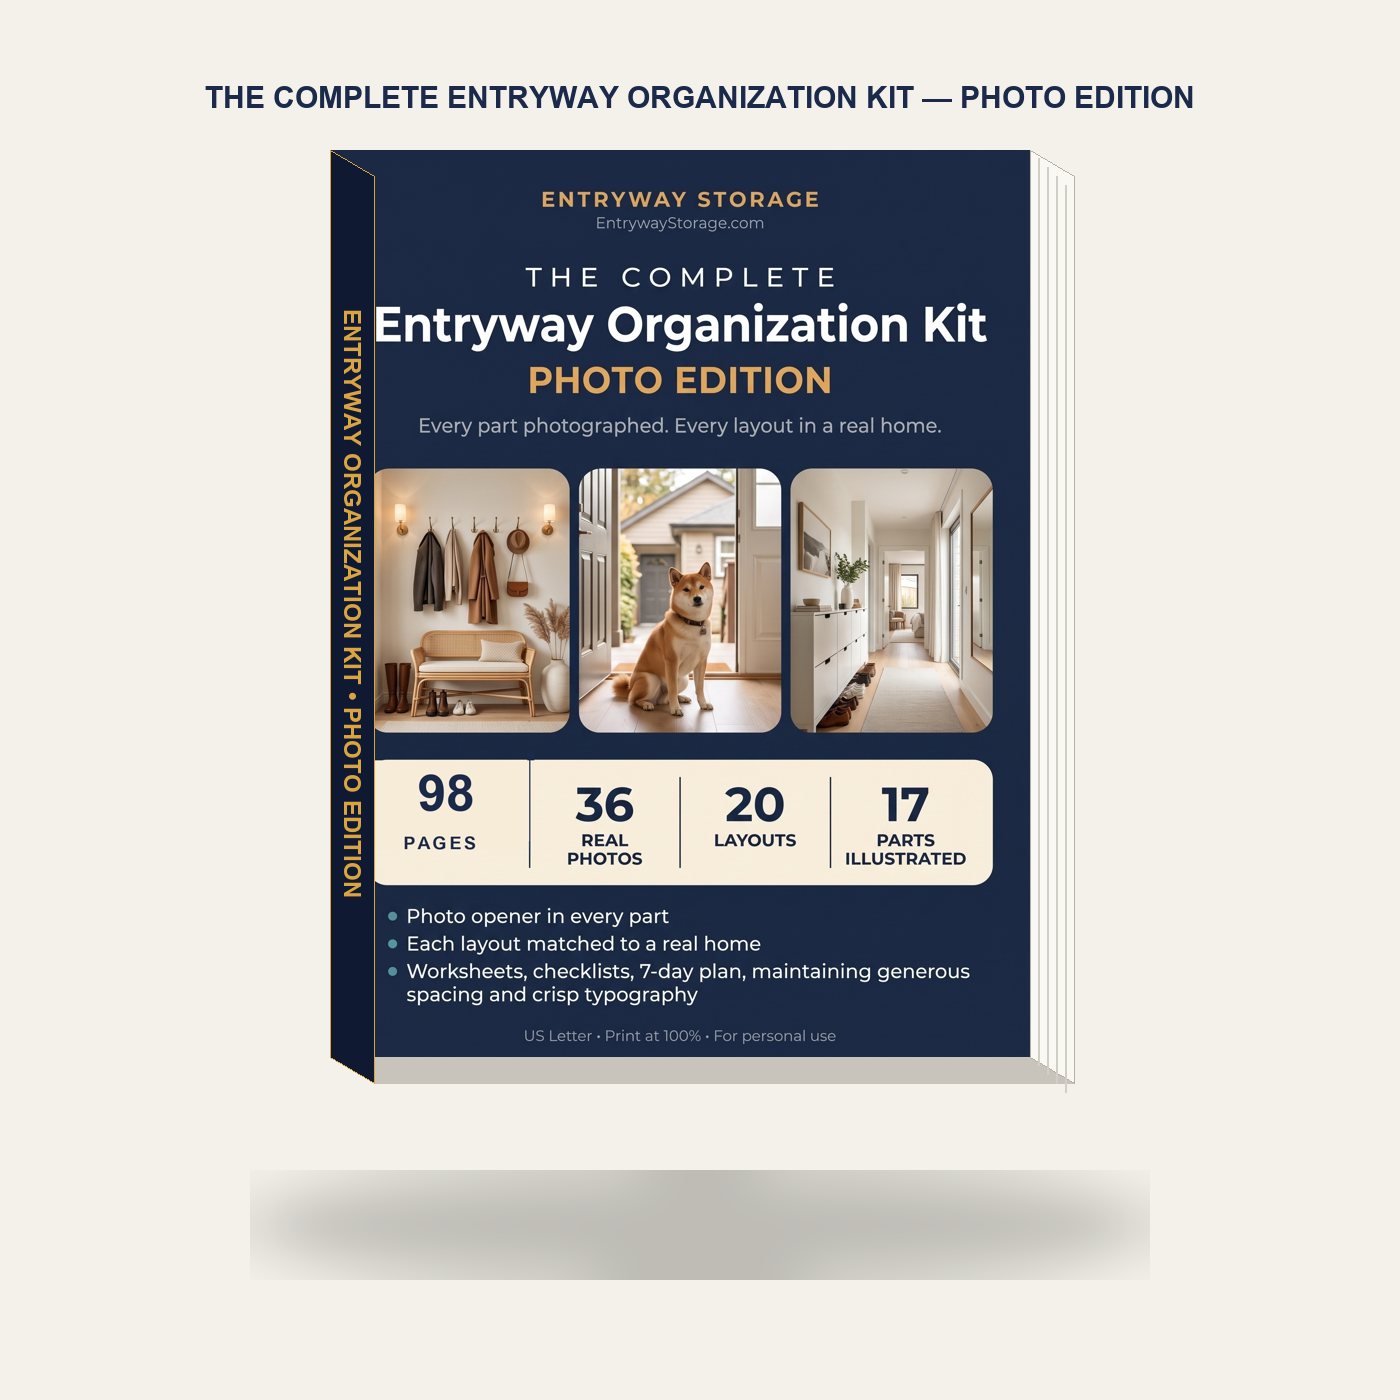
Stop Guessing Measurements. Build Your Dream Entryway with Confidence.
Transform awkward hallways, cramped foyers, and cluttered mudrooms into organized sanctuaries. Includes 20 CAD floor plans, facing real-home photo spreads, the 36-Inch Clearance Rule, the Shoe Pairs Formula, and 7 printable worksheets.
Core Edition ($17.99) · Flagship Photo Edition v5 ($39.99)
