
Entryway Pegboard: Customizable Pegboard Entryway Organizer Ideas & Kits
An entryway pegboard turns a flat wall into hooks, shelves, and baskets you can rearrange in minutes. Compare boards, mounting, and rental-friendly kits.
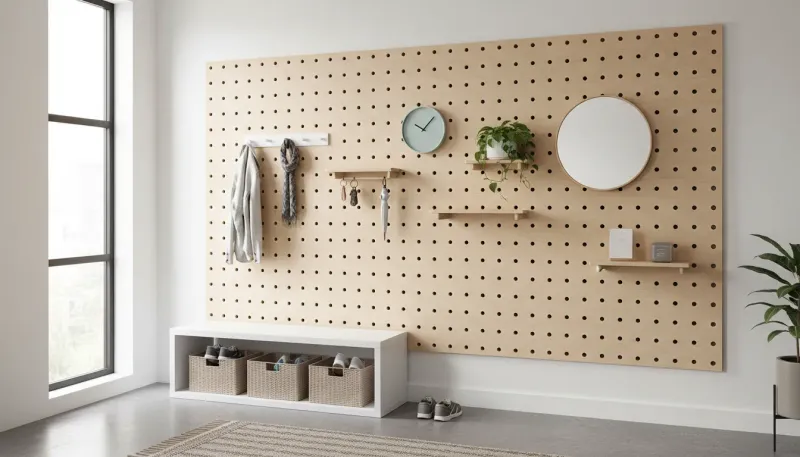
Feb 2, 2026 · Linda Wise
15 min readAn entryway pegboard is a customizable wall system that turns any flat wall into coat hooks, shelf brackets, baskets, and shoe racks — rearranged in minutes.
It’s the same material that organized your grandfather’s workshop, promoted to the front hall. The idea is beautifully simple: a perforated board, a set of accessories that clip in wherever you put them, and a wall that reorganizes itself when your life changes. New dog? Add a leash hook. Baby arrives? Move the baskets down. The pegboard is the only entryway storage system I know that changes its mind with you.
Why Pegboards Work in Entryways
Three reasons, in order of importance.
1. Zero floor footprint. A console table eats 14 to 18 inches of hallway depth. A pegboard eats nothing — it hugs the wall and converts dead vertical space into active storage. In a corridor under 36 inches wide, that’s the difference between a working entryway and a narrow tunnel lined with furniture.
2. Everything has a visible home. Drawers hide clutter; pegboards display it. That visibility is a feature: when every coat, bag, and hat is on a hook, the “drop zone” reads as tidy, and a seasonal mess is instantly obvious. You can’t pretend a pegboard is organized when it isn’t.
3. It scales and reconfigures. A fixed coat rack is a promise you made in January. A pegboard is a system that admits seasons change. In the summer, the heavy coat hooks come off and the plant shelf goes up. That’s the whole pitch.
Entryway Pegboard Ideas (hooks + shelf + basket combos)
Here’s the zoning pattern I install in virtually every home, top to bottom:
The archive zone (high): the top quarter of the board holds rarely-touched items — seasonal hats, holiday decor, the helmet you use twice a week. It’s out of sight and out of the way.
The reach zone (eye level to waist): this is where your daily system lives. Keys on a small hook or magnetic strip closest to the door, sunglasses and wallets in shallow baskets, mail standing in a wire letter sorter. This band gets the most valuable accessories you own — label nothing, but be consistent.
The load zone (waist to knee): heavy equipment lives here — backpacks on double U-hooks, coats on deep pegs, umbrellas in a tall wire bin. Leave vertical clearance under the coat hooks so hems don’t pool on the floor.
Sneakers on the second row, backpacks on the third, hats on the top — it’s a tool wall for humans.
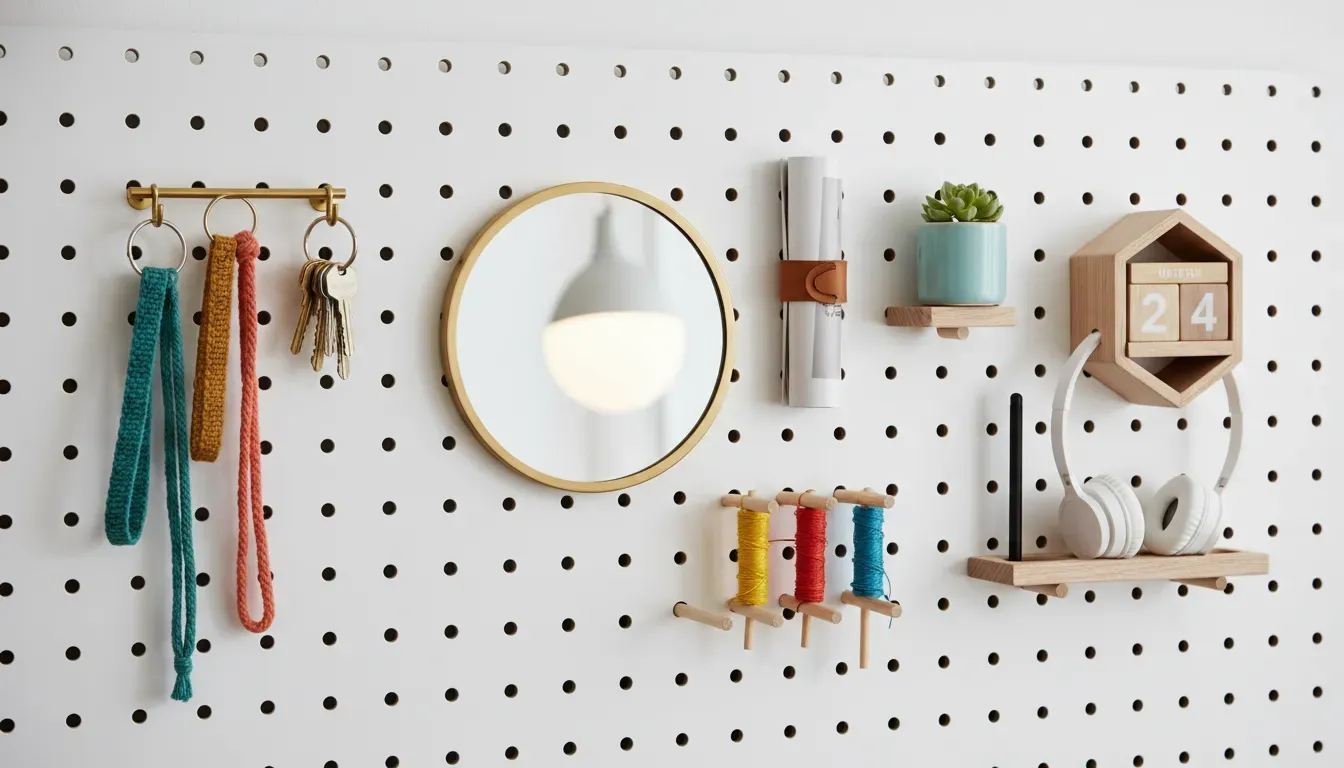
Shelf brackets turn the board into a display surface: a small walnut shelf for a plant, a photo, or a ceramic dish of loose change. Wire or fabric bins work like drawers on the wall — perfect for gloves, beanies, leashes, and outgoing mail. Specialty hooks round out the kit: ring holders for scarves, double-prong hooks for headphones, and J-hooks for purses.
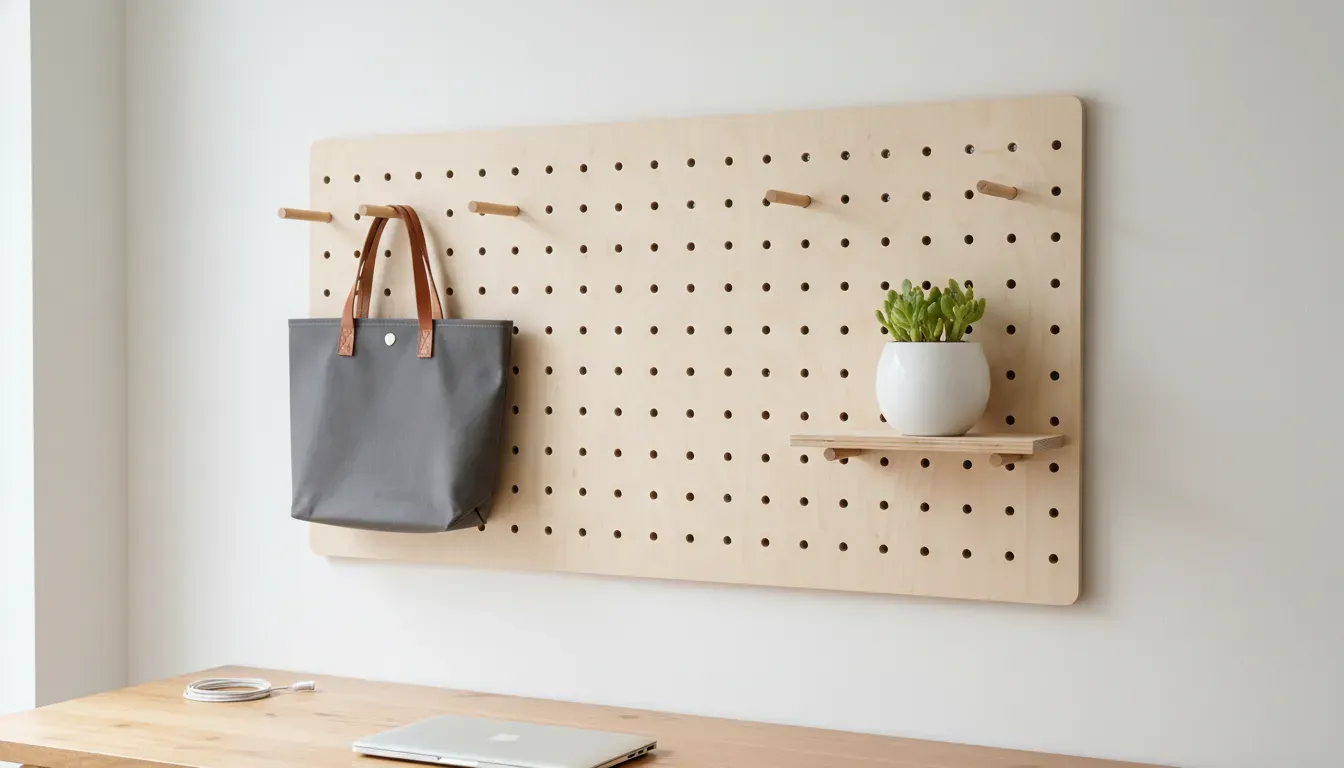
As for kits: a starter pack of mixed hooks and baskets runs about 40–55, a 4’ x 2’ hardboard sheet from the hardware store 60–90. You can build a complete entryway pegboard organizer for under 150–250 with accessories.
Pegboard vs. Wall Rail Systems
If you’ve browsed entryway storage lately, you’ve seen the rails: slim horizontal aluminum tracks with accessories that slide or clip along the top. Both are flexible; they differ in how far they’ll bend.
Coverage. A pegboard covers a full rectangle of wall — a rail covers a single line with hanging depth below it. For coats, bags, baskets, and a shelf, the pegboard wins on capacity. For a narrow strip by the door, the rail wins on elegance.
Look. A rail on a clean plaster wall reads almost invisible — architectural, precise, very Scandinavian. A pegboard reads intentional: it announces itself as a system. Painted to match the wall, a board disappears behind your coats; styled in walnut and brass, it becomes furniture.
Practicality. Rails clip accessories in place with a positive click; pegboard hooks are friction-fit and can pivot if a loaded bag swings into them. Heavy winter coats are better on a rail or a deep peg than on a shallow friction hook. For households with big coats and kids’ backpacks, I’d choose the pegboard every time — but a rail is the right call where the wall is narrow and the aesthetic is everything.
How to Mount a Pegboard (spacers are the secret)
Here’s the detail that catches everyone: standard pegboard accessories hook behind the board, into a recess. Mount the board flush to the wall and the hooks won’t seat — they’ll bind on the drywall and pop out under load.
The spacer rule: the board needs an air gap roughly the thickness of your hook shank — typically 3/4 to 1 inch. The professional move is a frame of furring strips (1x2 or 1x3 pine) screwed to the wall at the board’s perimeter and through its center, with the pegboard fastened to the frame. Bonus: the air gap also lets damp coats dry instead of trapping moisture against the wall.
Steps:
- Find the studs and mark them. A loaded pegboard easily exceeds 50 pounds — drywall anchors alone are not enough.
- Build the spacer frame with furring strips at the perimeter, plus one vertical strip through the middle (or two for a wide board). Level it.
- Screw the frame to the studs, using toggle bolts in any position that misses a stud.
- Attach the pegboard to the frame with pan-head screws at each corner and along the strips — the screw heads must not poke past the board face.
- Accessorize from the top down, heavy items first, then test: give every loaded hook a firm downward tug. If a hook rotates or lifts, move it to a fresh hole.
Metal pegboards often ship with standoffs built into the frame — if yours has them, skip the furring strips and use the hardware provided.
Rental-Friendly Pegboard Options (no heavy drilling)
Renting doesn’t mean you forfeit the wall system. Three tiers of damage-control:
Tier 1 — adhesive mounting (up to ~5 pounds). Smaller plastic pegboard panels hold keys, sunglasses, leashes, and light mail on heavy-duty adhesive strips. Skip the pull-off strips that call it a day after six weeks; use rated mounting tape, and remove with heat and dental floss when you move out. No coats — this tier is cosmetic storage.
Tier 2 — drill a modest hole pattern (the sweet spot for most renters). A freestanding wall system’s screw holes are tiny and patchable, and a 1/4-inch spackle touch-up is invisible behind a filled pegboard hole. Mount the spacer frame with four or five screws, keep the board painted to match, and your deposit survives — I’ve done this in three rentals.
Tier 3 — the leaner (zero holes). Build or buy a framed pegboard on a floor base, lean it against the wall like a tall mirror, and add rubber grips so it can’t skid. It holds real weight but steals about 6 inches of floor depth, and anything hanging on the top row wobbles.
One rule governs all three tiers: whatever you mount, you must be willing to remove. A pegboard earns its keep in rentals precisely because it’s reversible.
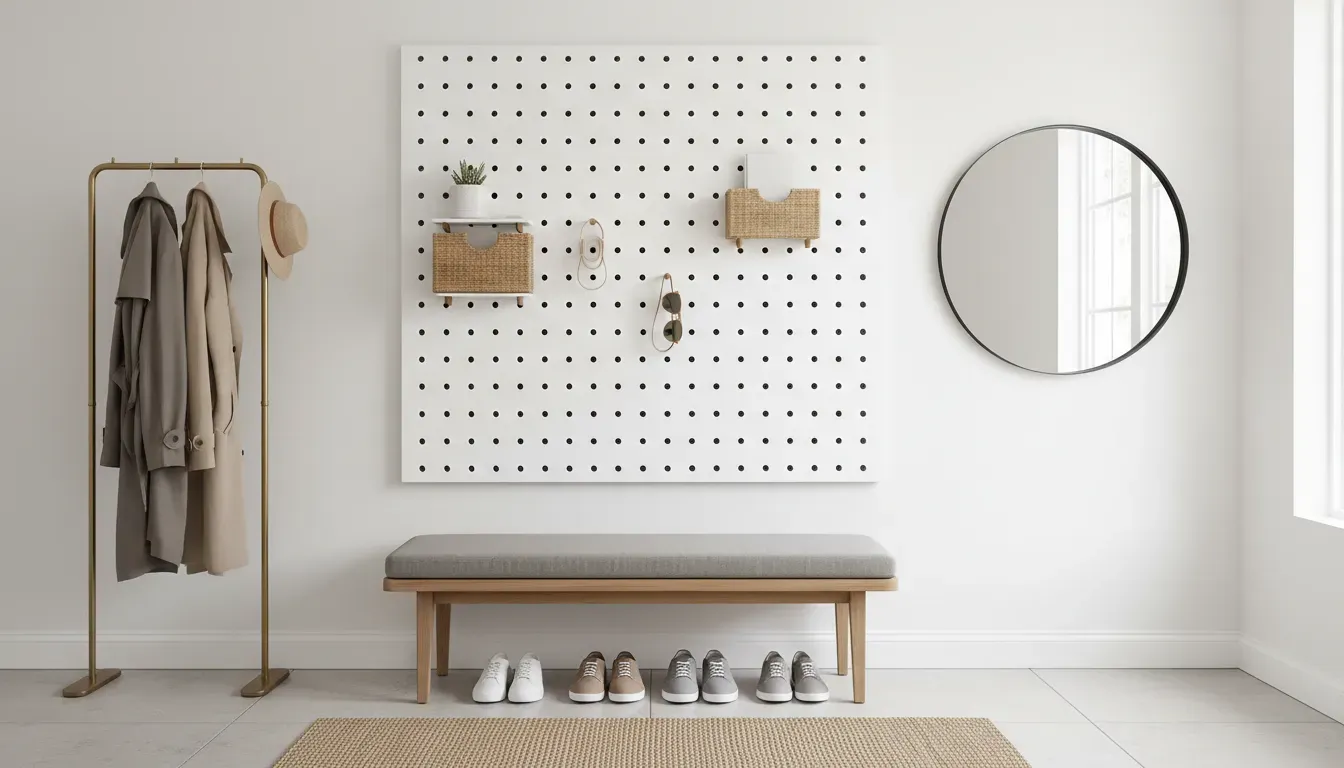
Whichever route you take — a $15 hardboard sheet with furring strips, a powder-coated metal panel, or a no-drill leaner — the system is the same. Fill the wall with a border-to-border organizer, keep the daily things in the reach zone, and let the board rearrange itself when your household does. That’s a wall that works for you instead of a wall that waits for you.
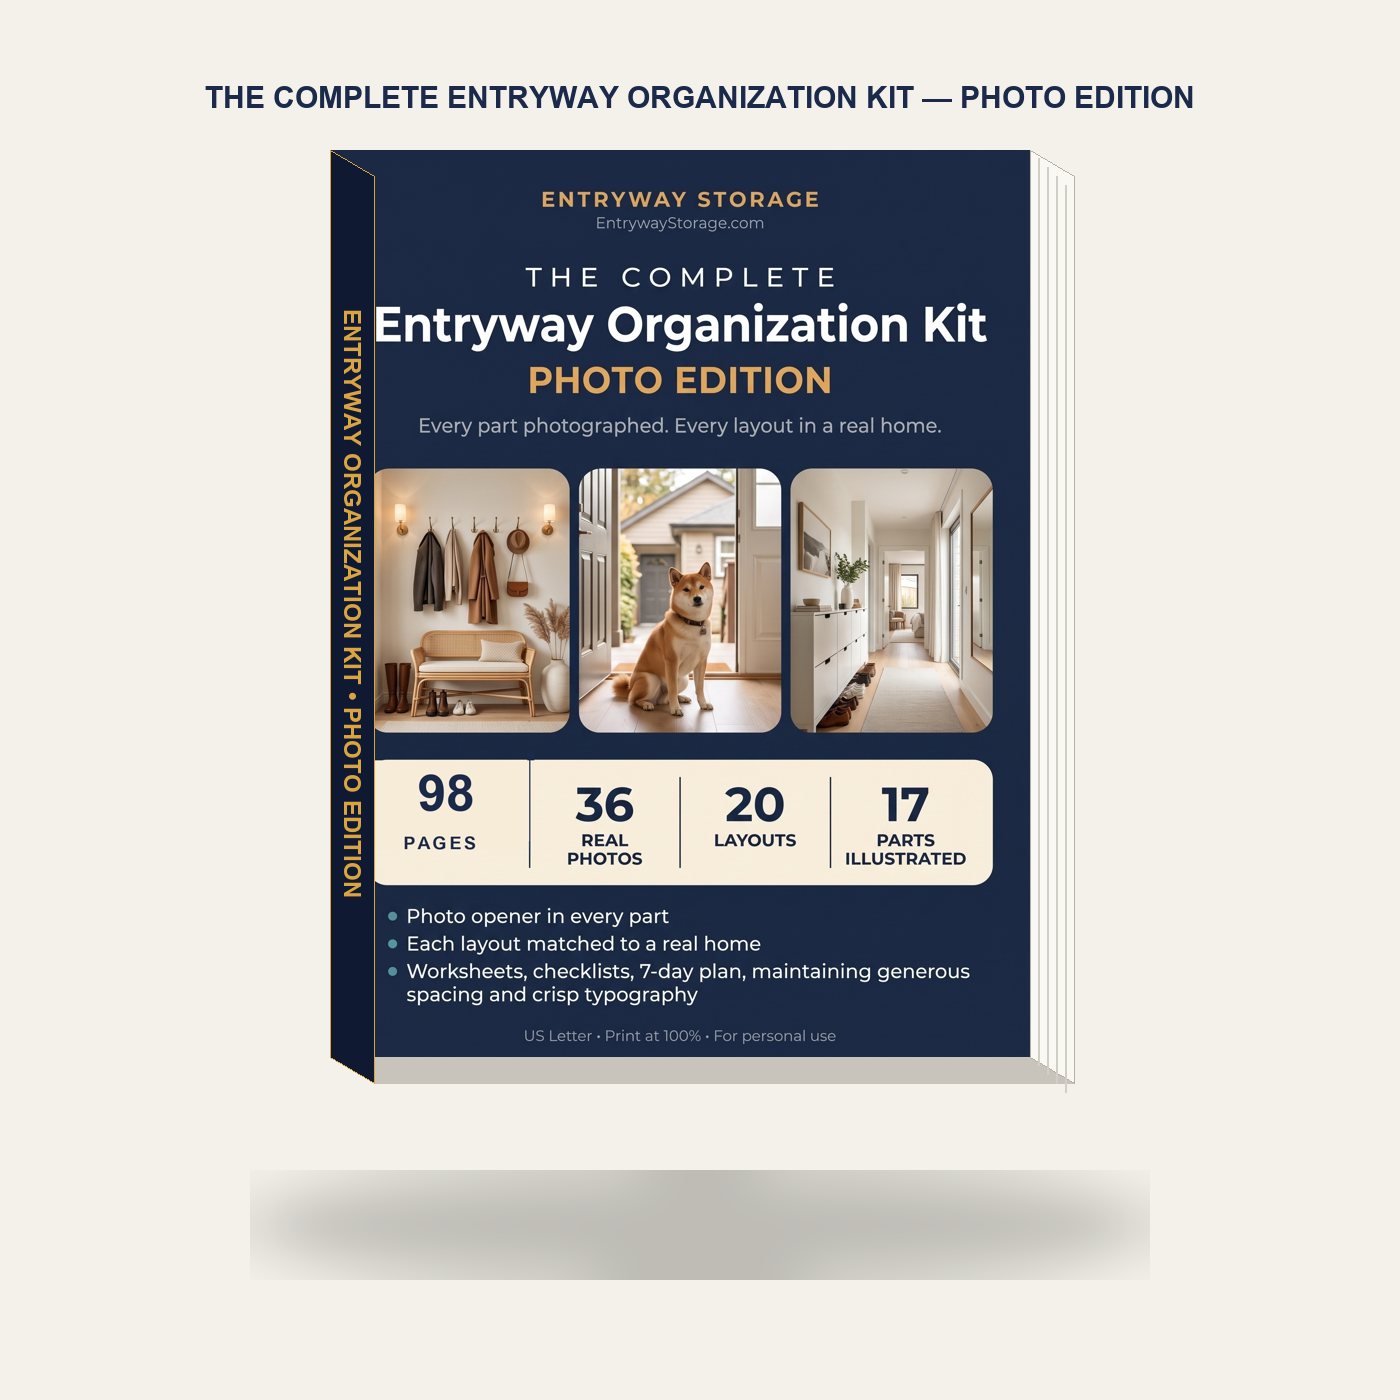
Stop Guessing Measurements. Build Your Dream Entryway with Confidence.
Transform awkward hallways, cramped foyers, and cluttered mudrooms into organized sanctuaries. Includes 20 CAD floor plans, facing real-home photo spreads, the 36-Inch Clearance Rule, the Shoe Pairs Formula, and 7 printable worksheets.
Core Edition ($17.99) · Flagship Photo Edition v5 ($39.99)
Frequently Asked Questions
What is an entryway pegboard?
An entryway pegboard is a perforated wall panel — hardboard, plywood, or metal — with clip-in hooks, shelves, baskets, and racks that turn a flat wall into customizable coat, bag, and shoe storage you can rearrange in minutes without new tools.
Can I mount a pegboard without hitting studs?
Yes, if you use heavy-duty toggle bolts or threaded drywall anchors rated for 50+ pounds, because a loaded pegboard easily exceeds that. The professional method is a frame of furring strips screwed to the studs, with the board attached to the frame.
How much does a pegboard entryway organizer cost?
A complete entryway pegboard organizer runs $15–120: a 4x2 hardboard sheet costs $10–15, a starter hook-and-basket accessory kit $20–35, a 32-inch metal panel $40–55, and a wooden dowel pegboard kit $60–90.
Do pegboard hooks hold heavy winter coats?
Yes, when you use deep double hooks or heavy-duty pegs fitted into a board that is itself anchored to wall studs. Shallow friction-fit hooks are for keys and light bags; reserve the load-bearing positions for coats and backpacks.
