The Best Paint and Sealants for High-Traffic DIY Entryway Organization Finishes
Stop your DIY entryway projects from chipping and peeling. We test and review the elite paints and industrial-grade sealants that withstand mud, moisture, and daily chaos.

Feb 20, 2026 - Written by: Linda Wise

You spent three weekends measuring, cutting, and assembling. You have navigated the headache of uneven floors and out-of-square walls. Your DIY entryway storage unit looks pristine in raw wood. Then, six months after finishing, disaster strikes. The paint on the bench is peeling where people sit. The cubbies are scuffed with dark rubber marks from boots. The finish feels tacky when the humidity rises.
I have seen this tragedy play out more times than I care to count.
The entryway is not a bedroom. It is a combat zone. It faces a barrage of wet umbrellas, gritty mud, dropped keys, and the constant friction of denim and canvas. Using standard wall paint—or worse, a cheap generic primer—is a recipe for failure.
If you want a finish that looks like it came out of a high-end factory and wears like iron, you need to step away from the standard latex aisle. We are going to dive deep into the chemistry of durability, the specific products that professionals swear by, and the application techniques that separate the amateurs from the artisans.
The Chemistry of Durability: Why Standard Paint Fails
Before we grab a brush, you need to understand the enemy. In a high-traffic zone, you are fighting three specific forces: abrasion, blocking, and moisture.
Standard latex wall paint is designed to be flexible. It needs to expand and contract with your drywall. However, that flexibility makes it soft. When you put a heavy bag on a latex-painted shelf, the paint compresses. Over time, it tears.
Then there is “blocking.” Have you ever painted a door, closed it, and found it stuck the next day? That’s blocking. The paint hasn’t cured hard enough to resist sticking to itself or other objects. For hall trees and mudroom lockers where doors and heavy coats interact, poor blocking resistance is a nightmare.
The Hardness Hierarchy
To survive the entryway, we need a coating with a high tensile strength and a hard shell. We are looking for:
- Alkyd Enamels: The old-school oil-based gold standard, though modern versions are often water-borne alkyds (hybrids).
- Urethane-Modified Acrylics: These contain the easy cleanup of water-based paint but the toughness of polyurethane.
- 2K Polyurethanes: Two-component systems involving a hardener. Overkill for most, but indestructible.
Pro Tip: Never use “chalk paint” for an entryway bench unless you plan on sealing it with an industrial-grade topcoat. Wax finishes look beautiful on a bedroom dresser but will surrender immediately to a wet muddy boot.
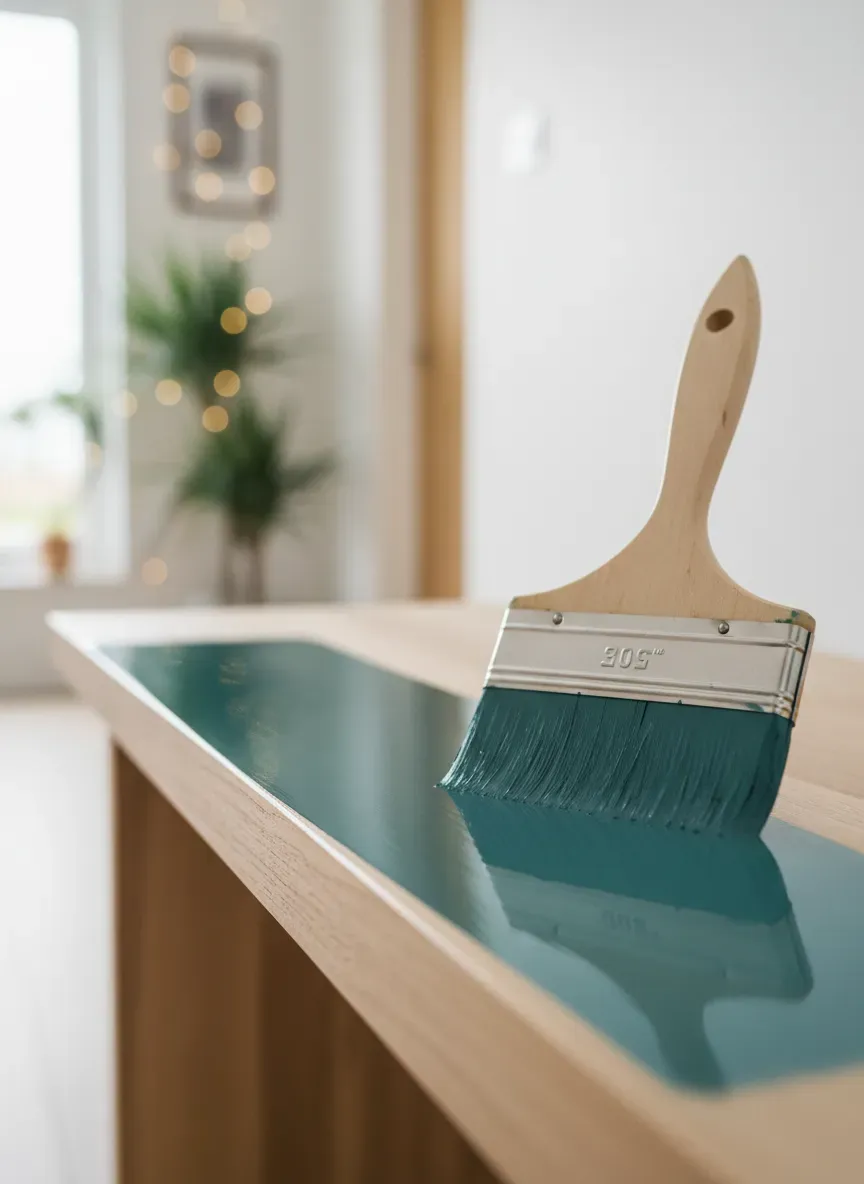
The Titans of Paint: What to Buy
Let’s get specific. I have tested dozens of coatings in high-abuse environments. Here are the formulations that actually hold up.
1. Waterborne Alkyds (The Hybrid Heroes)
This is where the industry has moved. You get the leveling and hardness of an oil paint without the headache-inducing fumes or the need for mineral spirits during cleanup.
The secret sauce here is the curing process. As the water evaporates, the alkyd resins cross-link with oxygen. This creates a tight, enamel shell.
If you want the best experience, I highly recommend checking out the Benjamin Moore Advance Waterborne Interior Alkyd. It flows out like melted butter, leaving fewer brush marks, and cures to a factory-like hardness. However, patience is key; it takes a full 30 days to reach maximum hardness.
2. Urethane Enamels
If you are impatient or dealing with extreme moisture (like a mudroom in the Pacific Northwest), urethane-fortified acrylics are your best friend. The urethane acts as a built-in armor.
Sherwin Williams Emerald Urethane Trim Enamel is a heavyweight in this category. It dries faster than the alkyds and resists yellowing. It’s perfect for those bright white lockers that need to stay white.
3. Cabinet-Specific Coatings
There are niche products specifically designed for refinishing kitchen cabinets that work wonders on entryway furniture. They are formulated to resist hand oils, which are surprisingly acidic and damaging to standard paint.
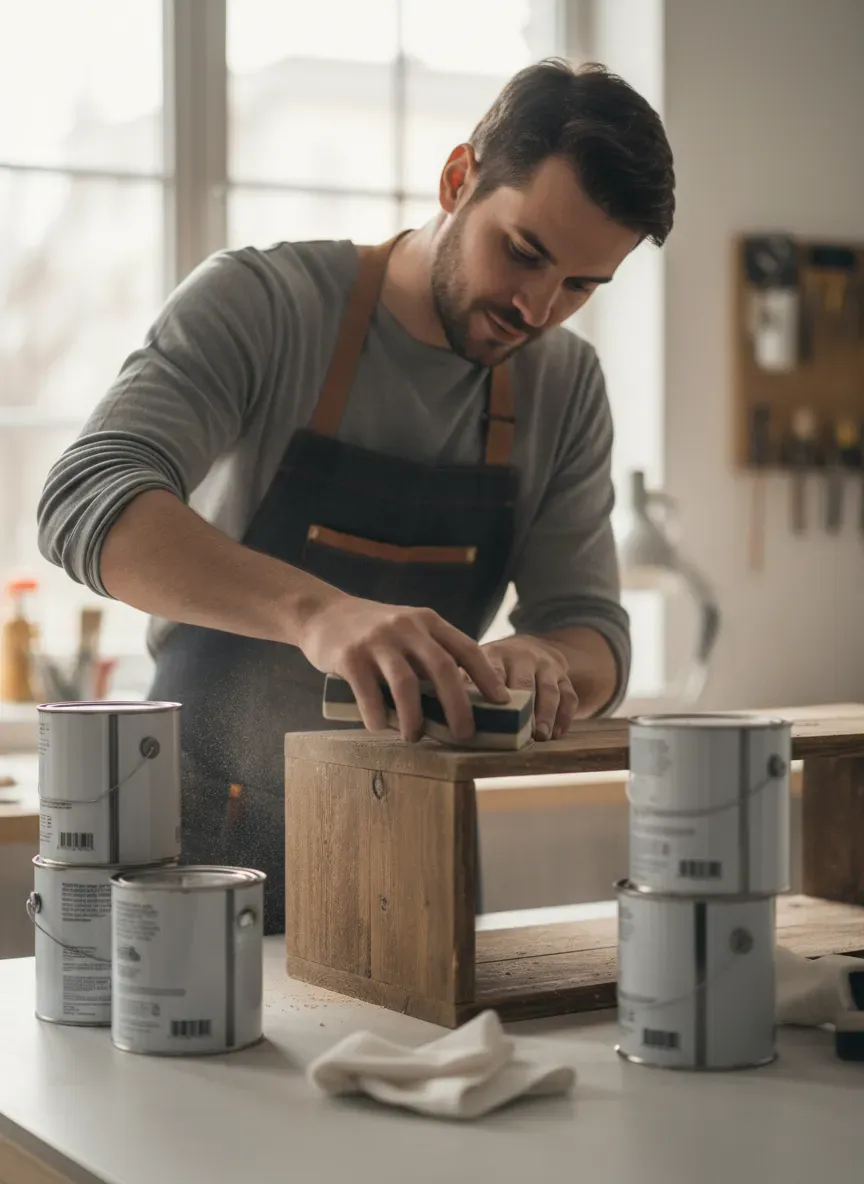
The Foundation: Priming is Not Optional
You cannot build a skyscraper on a swamp, and you cannot put expensive enamel on raw wood without a bridge. Wood is porous. It drinks the first liquid that touches it. If that liquid is your $90-a-gallon topcoat, you are wasting money.
For raw wood or MDF (Medium Density Fiberboard), which is common when constructing custom built-in entryway organization layouts, you need a high-build, sandable primer.
The MDF Problem
MDF is a sponge. If you use a water-based primer on the cut edges of MDF, they will swell and look like fuzzy cardboard. You will never get a smooth finish.
For these projects, I rely heavily on shellac-based primers. They seal the odors, stop tannin bleed from wood knots (which will turn your white paint yellow over time), and dry in 45 minutes.
For the ultimate adhesion and stain-blocking capability, I always keep a gallon of Rust-Oleum Zinsser BIN Shellac-Based Primer in my workshop. It is thin, smelly, and messy, but it bonds to surfaces that other primers slide right off of. It creates a glass-smooth surface for your enamel.
The Shield: Sealants and Topcoats
Here is a controversial opinion: If you use a high-quality alkyd or urethane enamel, you often do not need a clear topcoat on vertical surfaces (like the sides of your lockers). The paint itself is the protection.
However, for horizontal surfaces—the bench seat, the cubby shelves—a clear coat is mandatory. This is where the abrasion happens.
Polyurethane vs. Polycrylic
There is massive confusion here. Let’s clear it up.
- Oil-Based Polyurethane: Creates an amber glow. Extremely durable. Takes forever to dry. If you put this over white paint, it will look yellow. Only use this over stained wood where you want that warm, vintage look.
- Water-Based Polyurethane: Crystal clear. Dries fast. Low odor. Modern formulations are 95% as tough as oil.
- Polycrylic: A brand name often used to describe water-based protective finishes. Generally less durable than a dedicated “floor-rated” water-based poly.
For high-traffic benches, look for a “High Performance” water-based topcoat. You want something with UV stabilizers (to prevent fading from that open front door) and high solids content.
My absolute go-to for rock-hard protection is the General Finishes High Performance Water Based Topcoat. It stacks beautifully, doesn’t blue over dark colors, and feels silky smooth to the touch.
The Matte vs. Gloss Debate
Gloss finishes are easier to clean but highlight every imperfection in your build. Matte finishes hide dings but can be harder to scrub without “burnishing” (polishing) the spot.
The Sweet Spot: Satin or Semigloss. It offers enough sheen to wipe away mud splatters but isn’t so shiny that it looks like plastic.
Application Techniques: Brushing vs. Spraying
You have the right product. Now, how do you apply it without it looking like a landlord special?
The Spray Advantage
If you can, spray. HVLP (High Volume Low Pressure) sprayers lay down a finish that no brush can match. It atomizes the paint, allowing it to settle in a perfectly flat film. This is particularly crucial for intricate designs, such as mid-century modern entryway benches with storage where brush marks on tapered legs would ruin the aesthetic.
The Brushing Reality
Most of us are painting in a hallway, not a spray booth. You can still achieve near-spray results with the right technique.
- The Brush: Use a high-quality nylon/polyester blend sash brush. A 2.5-inch angle sash is the most versatile tool you will own.
- Floetrol is Magic: If you are using water-based paint, add a conditioner like Floetrol. It slows down the drying time, allowing the brush marks to “level out” before the paint hardens.
- The “Tipping Off” Method: Apply the paint to a section. Then, without adding more paint, lightly drag the tip of the bristles over the wet surface in one continuous stroke. This aligns the pigments and eliminates ridges.
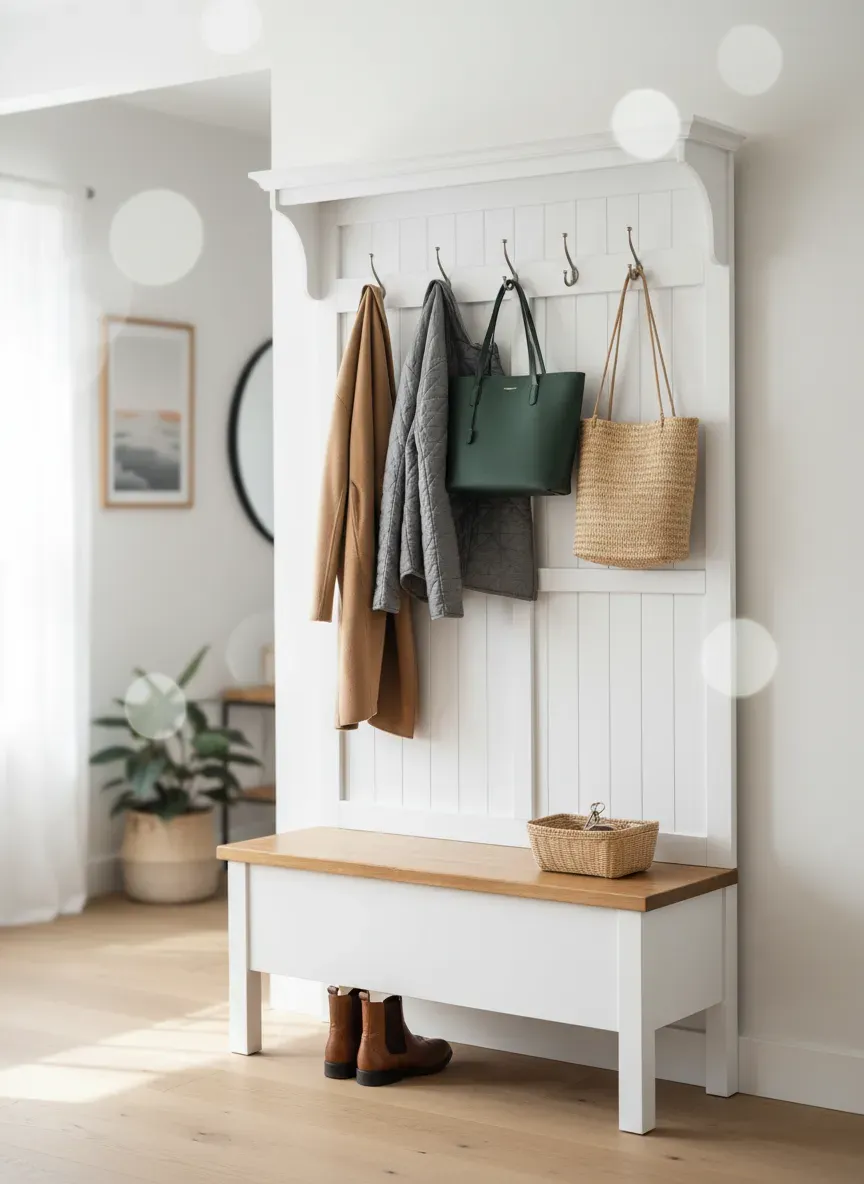
Specific High-Traffic Scenarios
Not all entryways are created equal. Your strategy should shift based on your specific environment.
The “Mudroom” Scenario (High Moisture)
If your entryway is essentially a mudroom where snow boots and wet raincoats live, moisture resistance is your priority. Wood swells when wet. If water gets into the joints of your bench, the paint will crack.
- Strategy: Caulk every single joint before painting. Use an elastomeric caulk that stretches.
- Finish: Use an exterior-grade paint or a marine-grade spar varnish for the bench top. Spar varnish is flexible and designed to handle the expansion of wood in humid environments.
The “Drop Zone” Scenario (High Impact)
This is where keys, coins, and backpacks land. Impact resistance is key.
- Strategy: More coats. Three coats of topcoat is the minimum.
- Material Choice: Consider leaving the bench seat as stained wood rather than painted. Stained wood hides scratches significantly better than paint. A scratch in white paint reveals brown wood; a scratch in brown wood just looks like… wood.
This is especially true for those styling coastal charm woven entryway benches, where the interplay between natural textures and painted surfaces defines the look. You want the painted portions to resist the scratching that can occur from wicker baskets sliding in and out of cubbies.
Troubleshooting Common Failures
Even with the best plans, things go wrong. Here is how to handle the most common issues I see in DIY finishes.
1. The Paint Feels Sticky (Blocking)
You painted the shelves, waited a day, put a heavy box on it, and now the box is stuck.
- The Cause: You rushed the cure time. Dry to the touch does not mean cured.
- The Fix: Remove items. Point a fan at the unit. Wait 7-10 days. If it is still tacky, you may need to apply a coat of clear water-based polyurethane to seal the sticky paint.
2. Bleed-Through
Yellow or pink stains are seeping through your white paint.
- The Cause: Tannins from the wood knots.
- The Fix: Stop painting. Spot prime the stains with shellac-based primer (Zinsser BIN). Let it dry. Then recoat. Latex primer will not stop tannins.
3. Fish Eye
The paint is separating into little craters as you apply it.
- The Cause: Contamination. Usually silicone (from furniture polish) or oil.
- The Fix: Sand it down. Clean meticulously with TSP (Trisodium Phosphate) or a degreaser. Seal with shellac before trying again.
Maintenance: Keeping the Finish Alive
The work isn’t done when the paint dries. High-traffic finishes require care.
The 30-Day Rule: Treat your new finish like a newborn baby for the first month. Do not scrub it. Do not put heavy objects on it. The chemical hardening process is still happening deep inside the paint film.
Cleaning: Never use harsh chemicals or magic erasers on painted furniture. They act like sandpaper. Use warm water with a drop of dish soap and a microfiber cloth.
Key Takeaway: If you chip the paint, fix it immediately. Moisture will get under the chip and cause the surrounding paint to flake. Keep a small baby food jar of your custom color labeled in a drawer for quick touch-ups.
The Final Coat
Creating a professional finish on your entryway organization projects is 20% product selection and 80% patience. It is tempting to skip the sanding between coats or to buy the cheaper primer. But when you are staring at a pristine, unblemished bench three years from now, you will be glad you invested in the industrial-grade enamel and the high-performance topcoat.
Your entryway sets the tone for your entire home. It deserves a finish that is as resilient as it is beautiful. So, grab that sandpaper, crack open a can of the good stuff, and give your project the armor it needs to survive the chaos of daily life.
The Bottom Line: Do not compromise on the chemistry. Use urethane-modified alkyds for color, shellac for priming, and high-performance water-based poly for horizontal surfaces. Your future self will thank you.