Building a Built-In Entryway Organization System on a $500 Budget
Stop tripping over shoes. Learn how to construct a high-end, custom built-in entryway mudroom for under $500 using stock materials and smart design hacks.
Feb 18, 2026 - Written by: Linda Wise

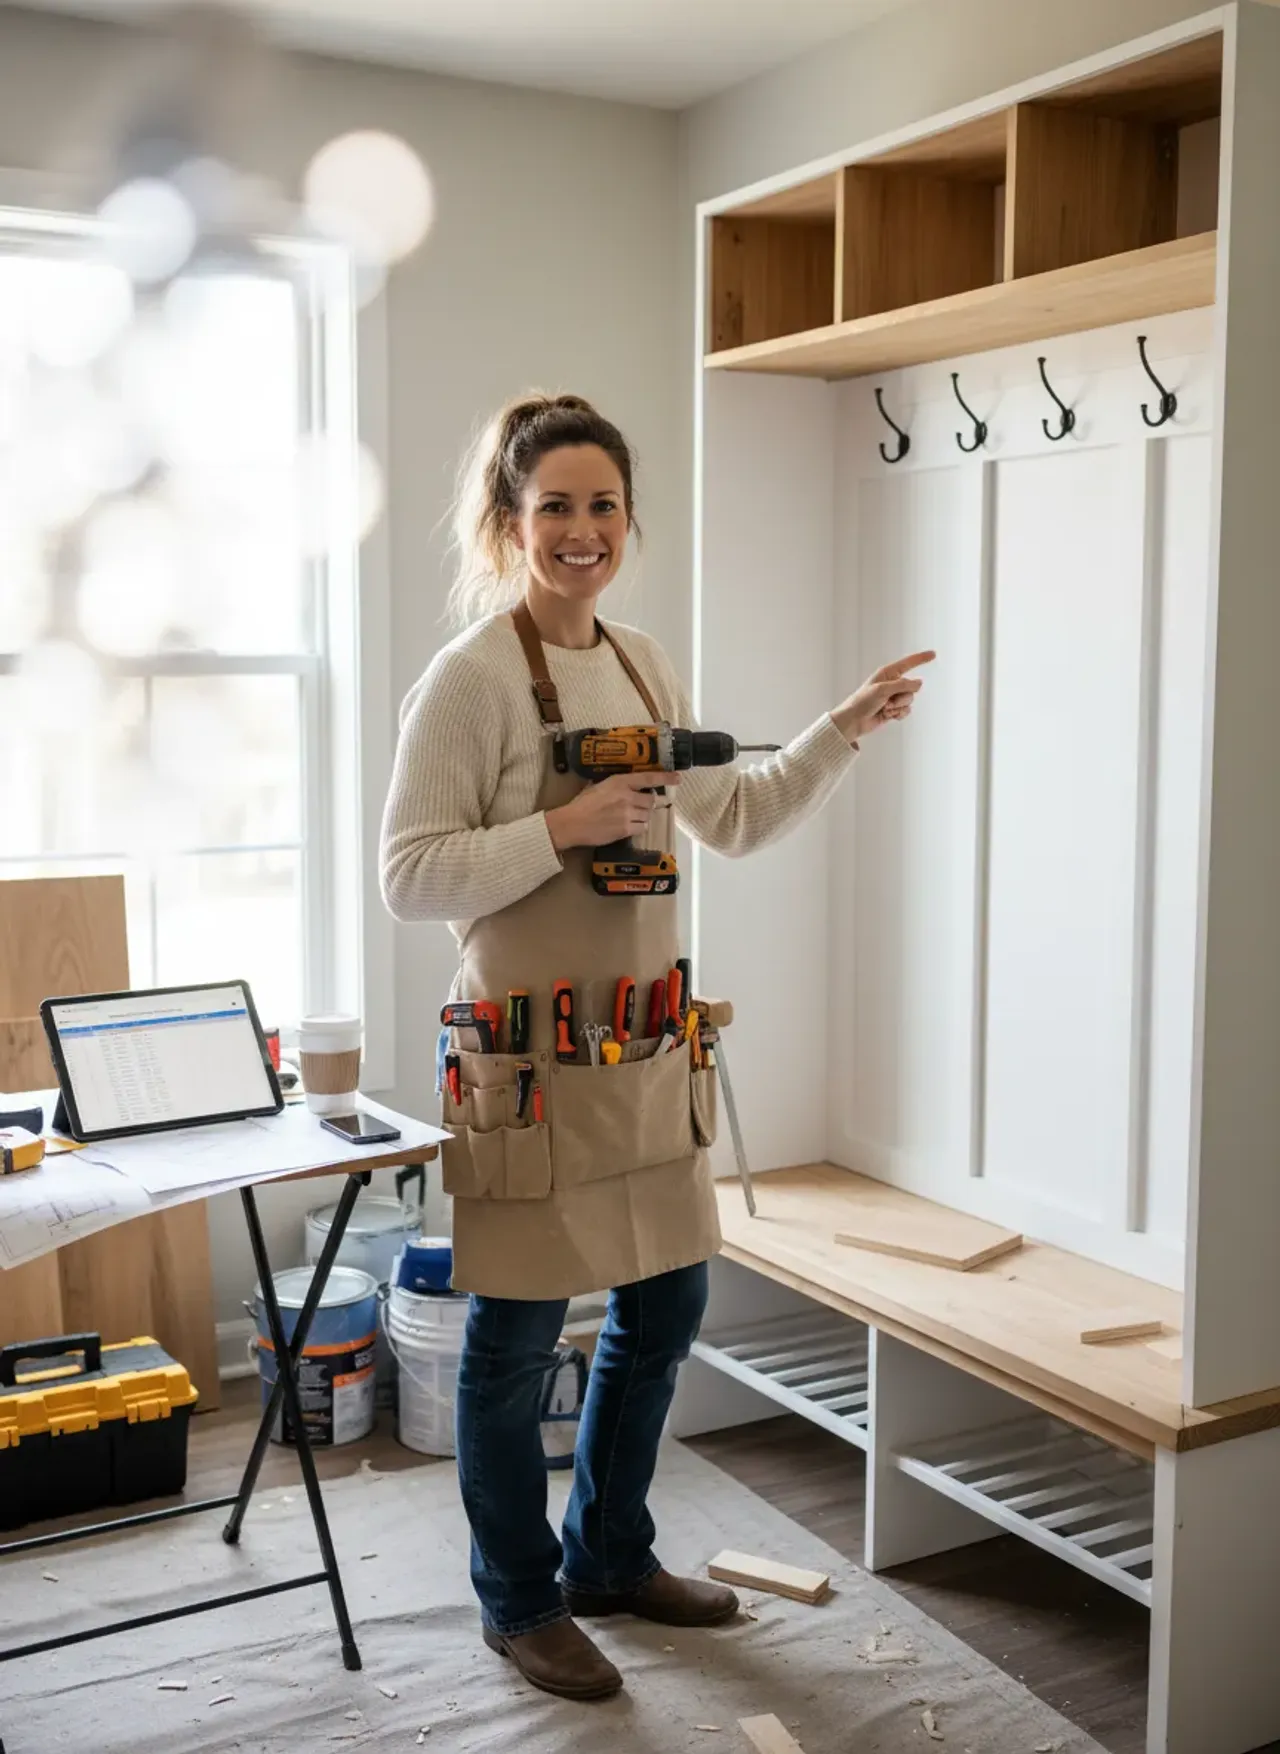
The entryway is the handshake of the home. It’s the first thing you see when you walk in, and often, it’s the primary source of household chaos. I’ve walked into countless homes where the “system” consists of a pile of shoes that threatens to trip anyone who enters and a coat rack that looks like it’s about to faint under the weight of winter parkas.
You want the architectural elegance of a custom mudroom—the kind you see in high-end design magazines—but you’ve probably been quoted anywhere from $3,000 to $8,000 by local carpenters.
Here is the reality: You don’t need a four-figure budget to achieve architectural permanence. With $500, a weekend, and a bit of grit, you can construct a built-in organization system that adds value to your home and sanity to your routine. This isn’t about buying a flimsy particle-board stand from a big-box store; this is about using stock lumber, clever trim work, and structural anchoring to create something that feels like it was part of the original blueprints.
We are going to break down exactly how to pull this off, dollar for dollar.
The Psychology of the “Drop Zone”
Before we buy a single 2x4, we have to talk about function. A built-in is useless if it doesn’t match your family’s traffic patterns. I’ve seen beautiful benches that become clutter magnets because they lack designated containment zones.
You need to audit your space. Are you dealing with a narrow hallway or a dedicated foyer? The dimensions dictate everything. If you skip this step, you’ll end up with a unit that encroaches on your walking path, making the house feel smaller. For a deep dive on dimensions, I recommend reviewing our guide on sizing secrets for perfect entryways, which breaks down the golden ratios of hallway clearance.
The $500 Constraints
To hit this budget, we cannot buy stain-grade oak or walnut. We are going paint-grade. This means we will be utilizing:
- MDF (Medium Density Fiberboard): For smooth, paintable surfaces.
- Pine Common Boards: For structural framing.
- Caulk and Filler: The true heroes of the “built-in” look.
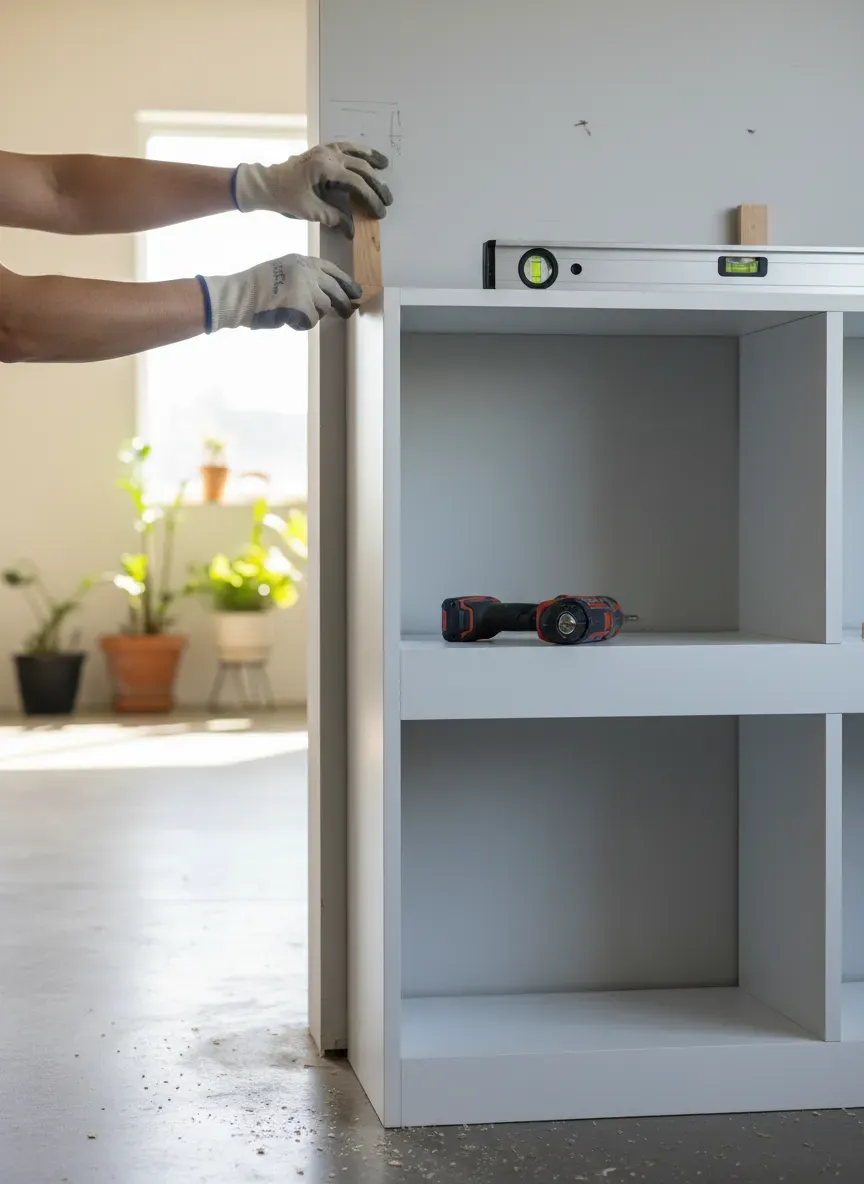
Phase 1: Demolition and Framing
The difference between furniture and a built-in is that furniture sits against the wall, while a built-in becomes part of the wall. This means you must remove the baseboards.
Do not skip this. If you build your unit in front of the baseboards, you will have a gap at the back that screams “amateur.” Score the top of the baseboard with a utility knife to break the paint seal, then gently pry it off. Save these pieces; you might need to trim them down and re-attach them to the sides of your new unit for a seamless integration.
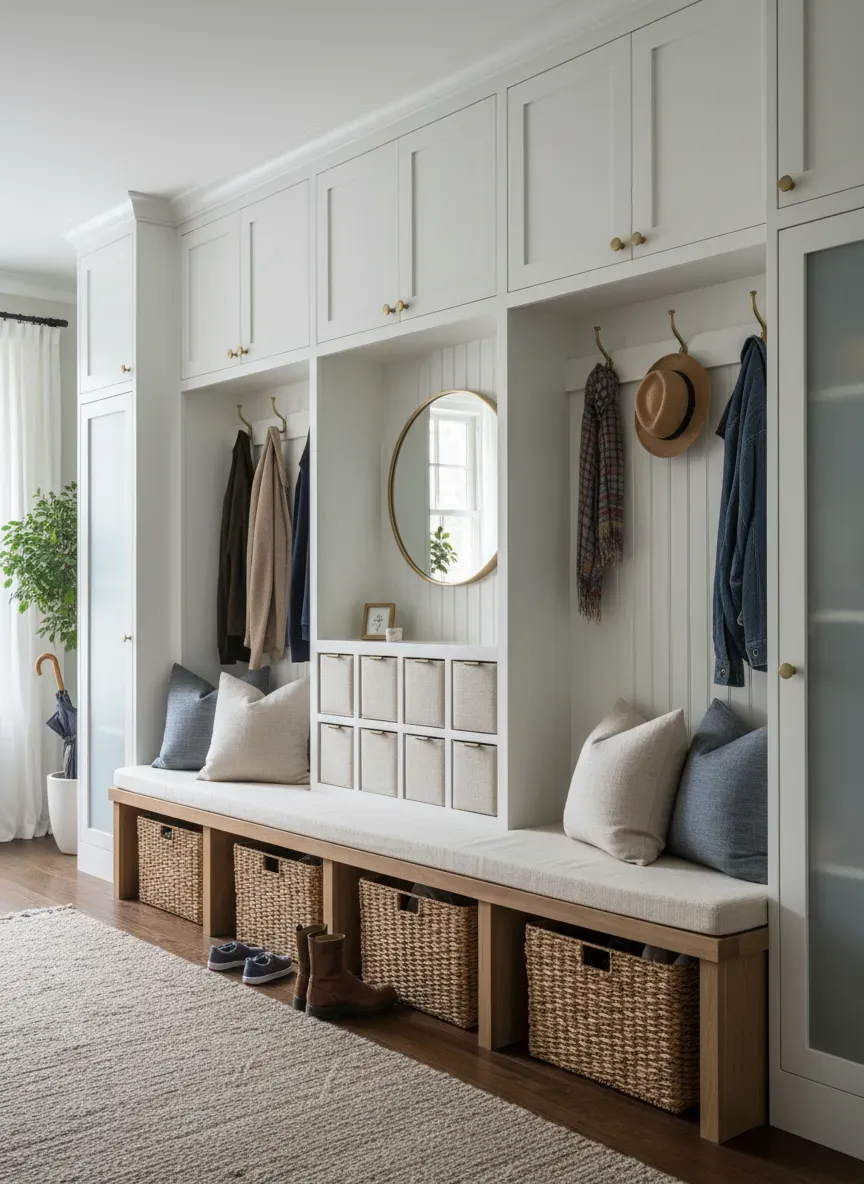
The Bench Framework
The anchor of your system is the bench. It serves as storage and a place to put on shoes. For a $500 budget, we aren’t buying cabinet boxes. We are framing a box.
- The Cleat: Screw a 2x4 horizontal support into the studs along the back wall at your desired bench height (usually 18 inches minus the thickness of your seat).
- The Vertical Supports: Build simple rectangular frames out of 2x4s to act as the legs. Space them every 32 inches maximum to prevent sagging.
- The Skin: This is where the magic happens. You’ll cover this ugly 2x4 skeleton with 1/2-inch sanded plywood or MDF.
Pro Tip: If you are worried about the bench feeling too high or too low, remember that standard chair height is roughly 18 inches. However, you need to account for the cushion if you plan to add one. Before locking in your measurements, read up on the ergonomics of entryway benches to ensure you aren’t building a back-breaker.
Phase 2: The “Upper” Architecture
Once the bench is built, the wall above it needs attention. A blank wall above a bench just looks like a bench. To get the “mudroom” aesthetic, you need vertical visual weight.
The Board and Batten Method
This is the most cost-effective way to add high-end detail. Instead of buying expensive sheet paneling, you can use thin strips of MDF or lattice molding.
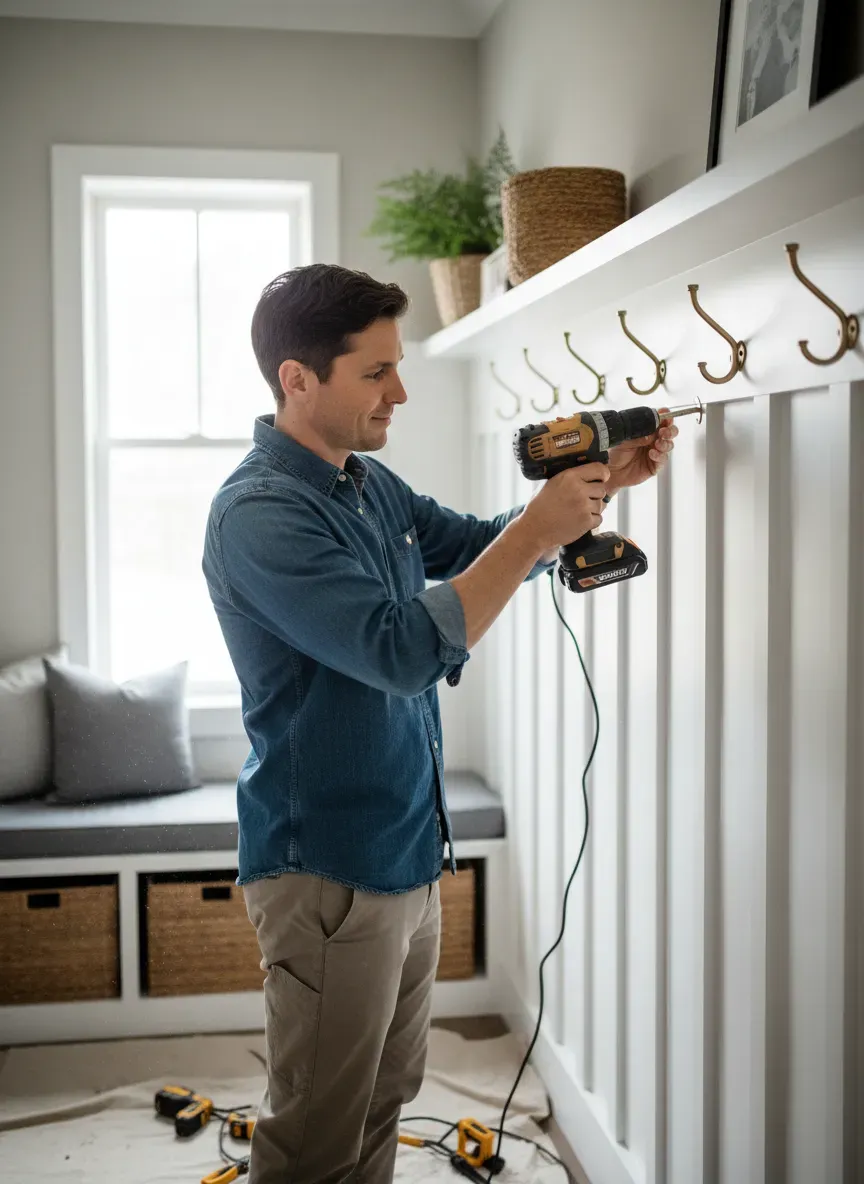
- The Horizontal Rails: Install a horizontal board about 60 to 70 inches off the ground. This will hold your coat hooks.
- The Vertical Stiles: Run vertical strips from the bench top up to the horizontal rail.
- Spacing: I generally find that 12 to 16 inches between vertical battens creates the most pleasing rhythm.
If you are dealing with a particularly tight budget, you might be debating materials for the hooks and hardware. While aesthetic is key, durability is paramount. You can learn more about deciding between wood vs metal materials to see where you can save and where you should splurge.
Shelving Logic
Above the coat hooks, you generally want a top shelf for baskets (seasonal storage like gloves or beach towels). Use a 1x12 pine board or a rip of 3/4-inch plywood with a piece of trim on the front edge to hide the layers.
The Kreg Jig Factor: If there is one tool that makes this project possible for a DIYer, it is a pocket hole jig. It allows you to join wood without visible screw heads. If you want the best experience, I highly recommend checking out the Kreg Pocket-Hole Jig 320. It’s an investment that pays for itself in one project by saving you from buying expensive brackets.
Phase 3: The Secret to the “Built-In” Look
You have your wood on the wall. It probably looks a bit rough. There are gaps where the wall isn’t straight (walls are never straight). There are screw holes.
This is where you earn your “Master Builder” badge.
Scribing and Caulk
If your wall bows out, don’t force the wood back. Scribe it. Use a compass to trace the wall’s irregularity onto your wood, and cut along that line with a jigsaw.
Once installed, caulk every single seam. Where the wood meets the wall? Caulk. Where the vertical batten meets the horizontal rail? Caulk. This eliminates the shadow lines that betray a project as “something I screwed to the wall.”
Wood Filler
Do not use caulk for screw holes; it shrinks. Use a high-quality wood filler. Overfill the hole slightly, let it dry, and sand it flush. When painted, the surface should look like a solid block of molded plastic or milled wood.
Phase 4: Storage Configuration for Real Life
A beautiful built-in is a failure if your kids can’t reach the hooks. I’ve seen stunning designs where the hooks are at 6 feet, meaning the floor is still covered in backpacks.
The “Double Hook” Strategy
Consider two rows of hooks.
- The Adult Row: At 60-65 inches.
- The Kid Row: At 36-40 inches. This keeps the backpacks off the bench. As the kids grow, the lower hooks become storage for bags or dog leashes. For more on this, check out my analysis on designing a kid-friendly entryway.
The Shoe Cubby Debate
You have two choices for under the bench: open cubbies or drawers.
- Drawers: Expensive and hard to build.
- Open Cubbies: Cheap and easy.
- The Hybrid: Build open cubbies but buy baskets that fit perfectly. This hides the shoe clutter but saves you the cost of drawer slides and drawer faces.
If you are working with a tricky space, such as the angled wall beneath a staircase, standard square cubbies won’t work. You have to get creative with geometry. I’ve written extensively on maximizing storage under the stairs, which requires a slightly different framing approach than a standard flat wall.
Phase 5: Paint and Finish
This is the make-or-break moment. Do not use a cheap brush. You want a finish that looks sprayed, even if you roll it.
- Primer: If you are using raw wood or MDF, you must use a dedicated primer. MDF soaks up paint like a sponge.
- Enamel Paint: Use a cabinet-grade enamel (semi-gloss or satin). It cures harder than standard wall paint, resisting scuffs from backpacks and shoes.
- Application: If you have the budget for a tool rental or purchase, spraying gives the best finish. If you want the best experience, I highly recommend checking out the Wagner Spraytech Control Spray Max. It handles thicker enamels well and reduces brush mark anxiety.
The Budget Breakdown (Estimated)
Let’s tally the receipt to prove this is possible under $500. Prices fluctuate based on lumber markets, but here is a realistic snapshot for a standard 6-foot wide unit:
- Framing Lumber (2x4s): 8 boards @ $4 each = $32
- MDF Sheet (4x8 sheet for bench/shelves): 2 sheets @ $55 each = $110
- Trim/Battens (1x3 primed pine or MDF strips): 10 boards @ $8 each = $80
- Shiplap or Beadboard (Optional Backing): 1 pack = $50
- Hardware (Screws, Nails): $20
- Paint & Primer (1 Gallon each): $80
- Hooks: 6 heavy-duty hooks @ $8 each = $48
- Consumables (Sandpaper, Caulk, Filler): $30
Total: Approx $450
This leaves you $50 for a celebratory pizza or a nice throw pillow.
Hardware Selection: The Jewelry
Do not buy the cheapest hooks you find in the bulk bin. They will bend. The hooks are the primary interface point of the project. You want cast iron or heavy zinc alloy.
If you want the best experience, I highly recommend checking out the Franklin Brass Heavy Duty Coat Hooks. They have the visual weight necessary to match the scale of a built-in.
Common Pitfalls to Avoid
Ignoring Outlets
Check your wall. Is there an electrical outlet? If you cover it, you’re violating code and losing utility. You need to cut a hole in your back panel and use an outlet extender to bring the plug flush with your new built-in.
The “Top Heavy” Design
Ensure your upper shelves aren’t deeper than your bench. Visually, the base needs to look like it supports the top. If your bench is 16 inches deep, keep the upper shelves to 10 or 12 inches.
The Material Mix-Up
Don’t use untreated pine for the seat if you plan on staining it, as pine blotches terribly. If you want a stained wood seat, splurge on a piece of Poplar or Oak plywood for just that section, and paint the rest.
The Bottom Line
You are not just building a shelf; you are altering the flow of your home.
A built-in entryway system built on a $500 budget requires more sweat equity than writing a check to a contractor, but the ROI is massive. You gain storage, you eliminate the “drop zone” anxiety, and you add a permanent architectural feature to your house.
Start by measuring. Find your studs. Buy your materials. By Monday morning, you could be drinking coffee and staring at a perfectly organized entryway that you built with your own hands.
Key Takeaways
- Anchor to Studs: This unit will hold people and heavy coats. It must be structurally sound.
- Caulk is King: The difference between DIY and Pro is usually the caulk job.
- Paint Grade Saves Cash: Use MDF and Pine, then paint it for a seamless look.
- Respect Dimensions: Ensure you leave at least 36 inches of walking path in front of the bench.
- Lighting: If possible, incorporate a small puck light under the top shelf for added drama.
Get your tape measure. It’s time to build.