How to Build a Custom Floating Entryway Console with Hidden Organization
Master the art of building a sleek, floating entryway console. A deep dive into joinery, French cleats, and hidden storage for a clutter-free home.
Feb 28, 2026 - Written by: Linda Wise

Let’s be honest: the entryway is the most abused square footage in your house. It’s the “drop zone.” It’s where mail goes to die, keys vanish into the ether, and sunglasses get scratched. The standard solution is usually some bulky table that eats up floor space and becomes a magnet for dust bunnies.
I’ve built my fair share of furniture, but few projects offer the same ROI (Return on Investment) regarding style and function as a floating console. By getting the furniture off the floor, you immediately trick the eye into thinking the room is larger. But here’s the kicker: most “floating shelves” you buy online are hollow, flimsy particle board that can barely support a scented candle, let alone your daily carry.
If you want a piece that looks architectural and hides your clutter, you have to build it yourself. We aren’t just slapping two boards together here; we are engineering a storage vessel that defies gravity. This guide is going to walk you through the specific joinery, the hidden organizational tactics, and the mounting systems required to build a console that will outlast your house.
Phase 1: The Design and Physics of “Floating”
Before we cut a single piece of wood, we need to talk about gravity. A floating console is essentially a lever prying against your wall. The deeper the console, the more leverage it exerts on the anchors.
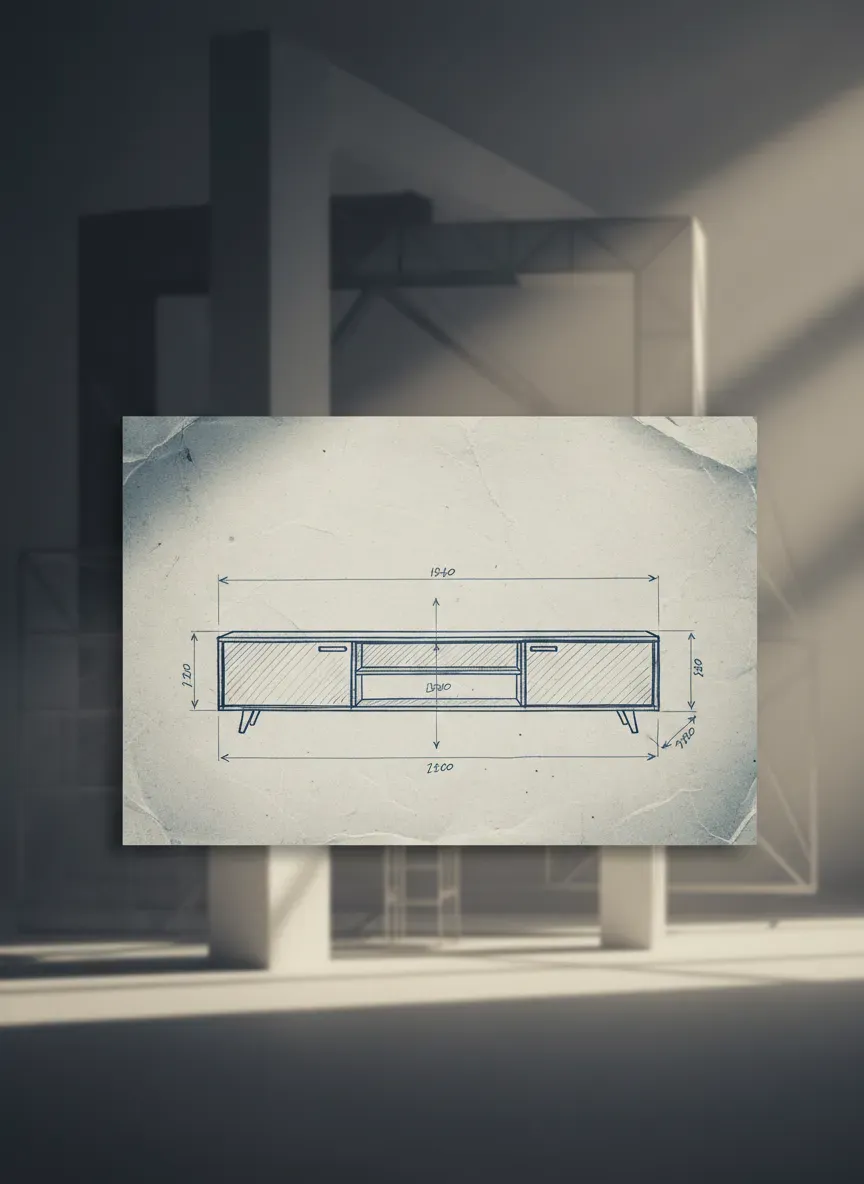
Determining Dimensions
I’ve seen too many DIYers build these too deep. A standard console table might be 16 to 18 inches deep, but for a floating unit, that creates massive torque. I recommend sticking to a depth of 10 to 12 inches. This is deep enough for mail, keys, and even a slim charging station, but shallow enough to keep the shear force manageable.
For length, span at least two wall studs (usually 16 inches apart), but ideally three. A 34- to 48-inch console is generally the sweet spot for visual balance.
Pro Tip: Never guess your measurements. Always reference standard depth and height measurements to ensure your console doesn’t interfere with hip clearance or door swings.
Material Selection: Plywood vs. Solid Wood
You might be tempted to grab heavy slabs of walnut or oak. While beautiful, solid hardwood is heavy and expands/contracts with humidity. For a floating box, high-grade plywood (Baltic Birch or a hardwood veneer core) is superior. It is dimensionally stable and significantly lighter.
We will use ¾-inch hardwood plywood for the carcass and solid hardwood for the face frame and edge banding. This gives you the look of solid timber without the structural headache.
Phase 2: Essential Tooling and Prep
You don’t need a full cabinet shop, but precision is non-negotiable here. If your cuts aren’t square, your box won’t close properly, and your drawers will bind.
The Must-Haves:
- Table saw or Circular saw with a track guide.
- Drill and Impact Driver.
- Pocket hole jig (or a dado stack if you’re feeling fancy).
- Clamps. You can never have enough.
If you are breaking down sheet goods with a circular saw, accuracy is usually the first casualty. I highly recommend picking up the Kreg Rip-Cut Circular Saw Guide. It turns a standard circular saw into a precision edge-guided tool, ensuring your rip cuts are parallel and straight.
Phase 3: Constructing the Carcass
The “carcass” is the main body of the console. Since we are hiding organization inside, this isn’t just a shelf; it’s a box with an open internal structure.
Cutting the Panels
Rip your plywood to your determined depth (e.g., 12 inches). You will need:
- Top Panel: The visible surface.
- Bottom Panel: Holds the drawers/cubbies.
- Side Panels: Capped by the top and bottom.
- Internal Dividers: Crucial for structural rigidity to prevent sagging.
Joinery Methods
You have two main paths here:
- Rabbets and Dados: This is the strongest method. You cut channels (dados) into the top and bottom panels where the dividers sit. This increases the glue surface area and mechanically locks the pieces together.
- Pocket Holes: The faster, more accessible route. If you use pocket holes, place them on the outside of the top panel (which will be too high to see) and the underneath of the bottom panel.
The Bottom Line: Regardless of the joinery, you must install a back panel. A ¼-inch plywood back rabbeted into the frame creates a “shear wall” that prevents the box from racking (wobbling side to side).
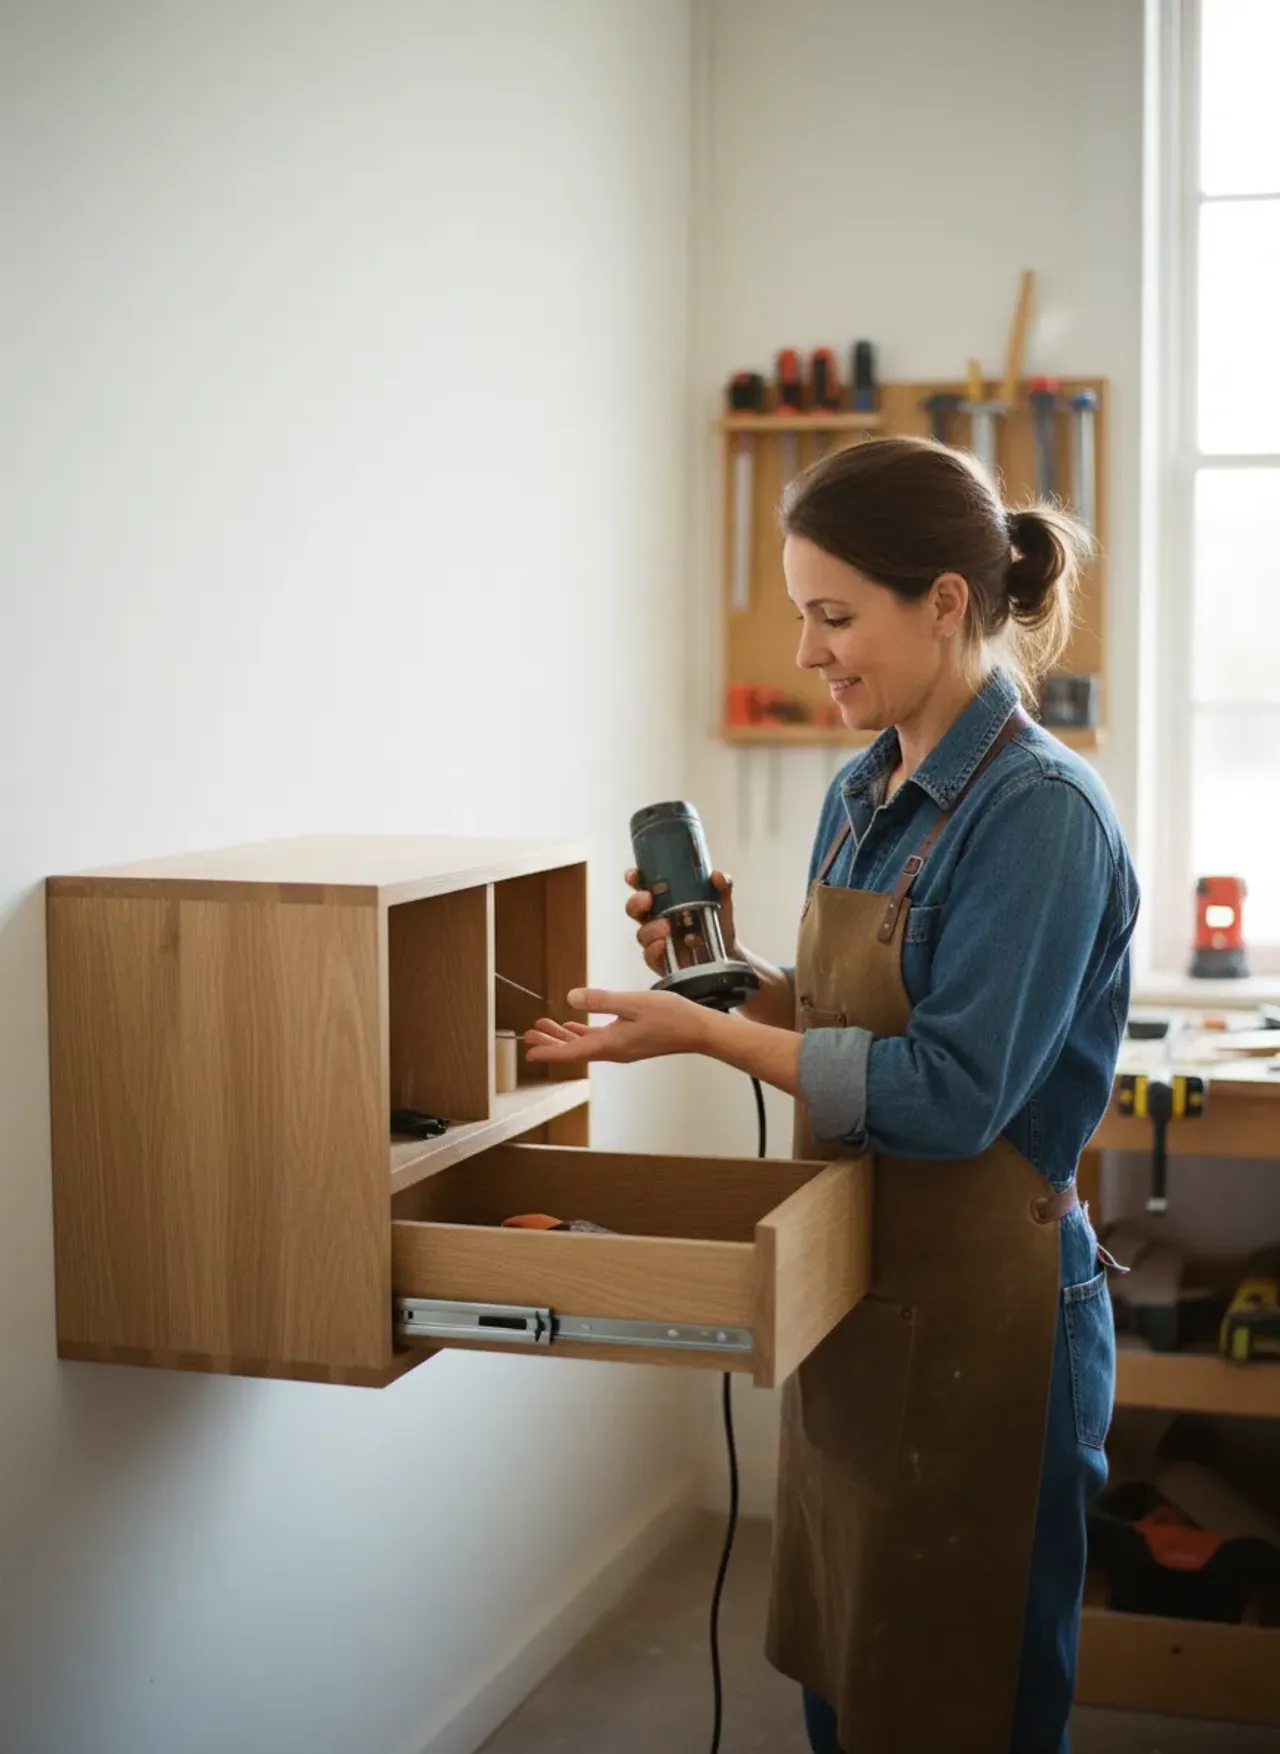
Phase 4: The Hidden Organization Mechanics
Now for the fun part. A flat surface collects clutter. Hidden compartments eliminate it. We are going to integrate “tip-out” trays or shallow drawers.
The Shallow Drawer Strategy
Because our console is shallow (top to bottom), standard drawer slides can be bulky. I prefer using center-mount wooden runners or high-quality soft-close ball-bearing slides if you have the vertical space.
For the internal storage, consider what you are storing. If you are planning to hide bulky winter gear, you need to calculate space carefully. I suggest reading up on best depth for mudroom lockers and storage to understand how much internal volume is actually required for different item categories.
The “False Front” Tip-Out
If building a drawer feels too complex, build a tip-out bin (similar to the tray in front of a kitchen sink).
- Use Euro-style hinges or specialized tip-out hinges at the bottom of the face panel.
- Install a magnetic catch at the top.
- Mount a small bin to the back of the face panel. This is perfect for keys and wallets. It looks like a solid piece of wood until you push on it.
Phase 5: The French Cleat System
This is the secret sauce. You cannot just screw this box into the wall; the weight will eventually tear the screws out or sag the drywall. You need a French Cleat.
How it Works
A French cleat is a board ripped at a 45-degree angle.
- Piece A is screwed into your wall studs, with the sharp point facing up and out.
- Piece B is attached to the back of your console, with the sharp point facing down and in.
When you lower the console onto the wall cleat, gravity locks them together. The heavier the console, the tighter the lock.
Making the Cleat
Use ¾-inch plywood or solid hardwood. Do not use MDF; it is too soft and can crumble under shear load.
- Rip a 4-inch wide strip of plywood.
- Set your table saw blade to 45 degrees.
- Rip the strip right down the center.
- Attach the “console side” cleat to the inside of your carcass, specifically attaching it to the top panel and the sides. This transfers the load from the back to the entire structure.
Pro Tip: Cut the wall-side cleat about ½ inch shorter than the internal width of the console. This gives you a little wiggle room to slide the console left or right to center it perfectly in your hallway.
Phase 6: Edge Banding and Refinement
Raw plywood edges look like… well, plywood. To achieve that high-end furniture look, you need to cover them.
Iron-on vs. Solid Wood
Iron-on veneer tape is easy, but for a high-traffic area like an entryway, it’s fragile. If you walk by with a heavy bag and clip the corner, veneer tape can chip.
I recommend applying solid wood strips (about ¼ to ½ inch thick) to the front edges. Glue and clamp them flush. Once the glue dries, use a flush-trim router bit or a hand plane to make it seamless. This also allows you to round over the sharp edges. Speaking of safety, if you have little ones running around, sharp mitered corners are a hazard. I’ve discussed this extensively in my guide on child-proofing your entryway benches, and the same logic applies here: soften those corners.
Phase 7: The Finish
A floating console is a focal point. The finish needs to pop.
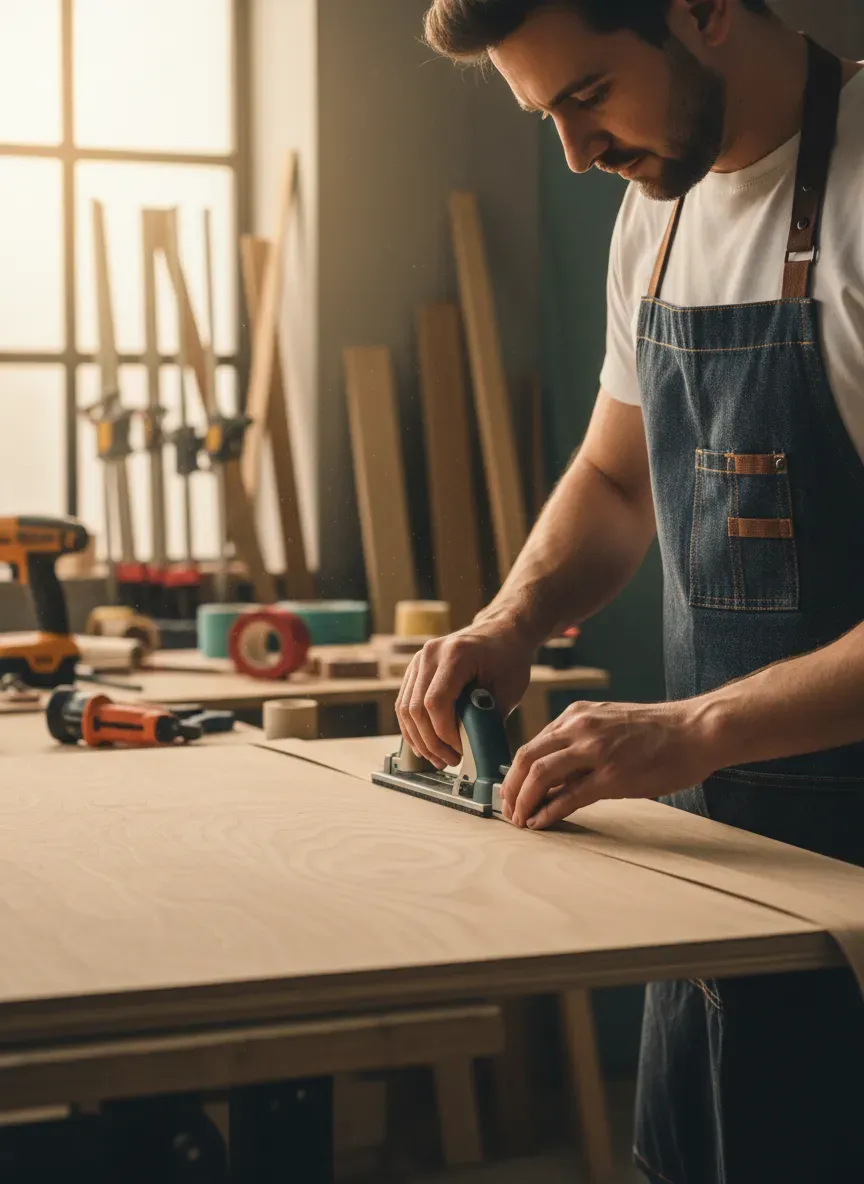
Sanding Protocol
Don’t rush this. Sand to 120, then 150, then 180. If you are staining, stop there. If you are oiling, go to 220. Raise the grain: Wipe the wood with a damp cloth to make the fibers stand up, then sand lightly with 220 again. This ensures the finish stays smooth.
The Expert Finish
For a natural, matte look that repairs easily, skip the polyurethane. It looks like plastic. Instead, use a hard-wax oil. My absolute go-to for projects like this is Rubio Monocoat Oil Plus 2C. It bonds molecularly with the wood fibers, protects against water rings (crucial for entryways), and smells great. Plus, you only need one coat.
Phase 8: Installation and Cable Management
You’ve built the beast. Now, let’s hang it.
Finding the Studs
You cannot hang this on drywall anchors. Period. The leverage is too high. You need to hit at least two studs. Finding the center of the stud is critical for the French cleat to hold max weight. Don’t trust the “knock test.” Use a reliable tool. The Franklin Sensors ProSensor 710 is excellent because it shows you the width of the stud, not just the center, allowing you to drive your lag screws into the meat of the wood.
Spacing and Placement
Where you put the console on the wall dictates the flow of the room. If you place it too close to a coat rack or a shoe bench, the area will feel cramped. You want to maintain “negative space.” Check out my analysis on ideal spacing: how far apart furniture should be to avoid creating a bottleneck in your hall.
The “Hidden” Tech Layer
If you plan to charge phones or hide a Wi-Fi router inside the console:
- Drill a 2-inch hole in the bottom panel near the wall.
- Install a desk grommet.
- Mount a power strip to the underside of the top panel (inside the box).
- Run the main cord down the wall, preferably inside a cable raceway that you can paint to match the wall color.
Common Pitfalls to Avoid
1. The “Sag” Factor If your console is over 36 inches wide, plywood can sag in the middle over time.
- Fix: Glue a 1.5-inch strip of solid wood vertically behind the face frame (an “apron”). This acts as a beam and stiffens the span.
2. Drawer Binding If your box isn’t perfectly square during the glue-up, your drawers won’t fit.
- Fix: Measure diagonals during assembly. If the measurements from corner to corner match, you are square. If not, clamp across the long diagonal to pull it into alignment before the glue sets.
3. Wall Unevenness Walls are rarely flat. When you screw the French cleat to the wall, it might bow, making it hard to hook the console on.
- Fix: Use shims behind the wall cleat to keep it perfectly straight, regardless of the wall’s waves.
Key Takeaways for a Professional Result
- Depth Matters: Keep it under 12 inches to reduce torque on the wall.
- French Cleats are King: Do not rely on L-brackets or keyholes.
- Hide the End Grain: Use solid wood edge banding or face frames.
- Finish for Traffic: Use a hard-wax oil for durability and easy repair.
- Anchor to Studs: Drywall anchors are not an option for cantilevered furniture.
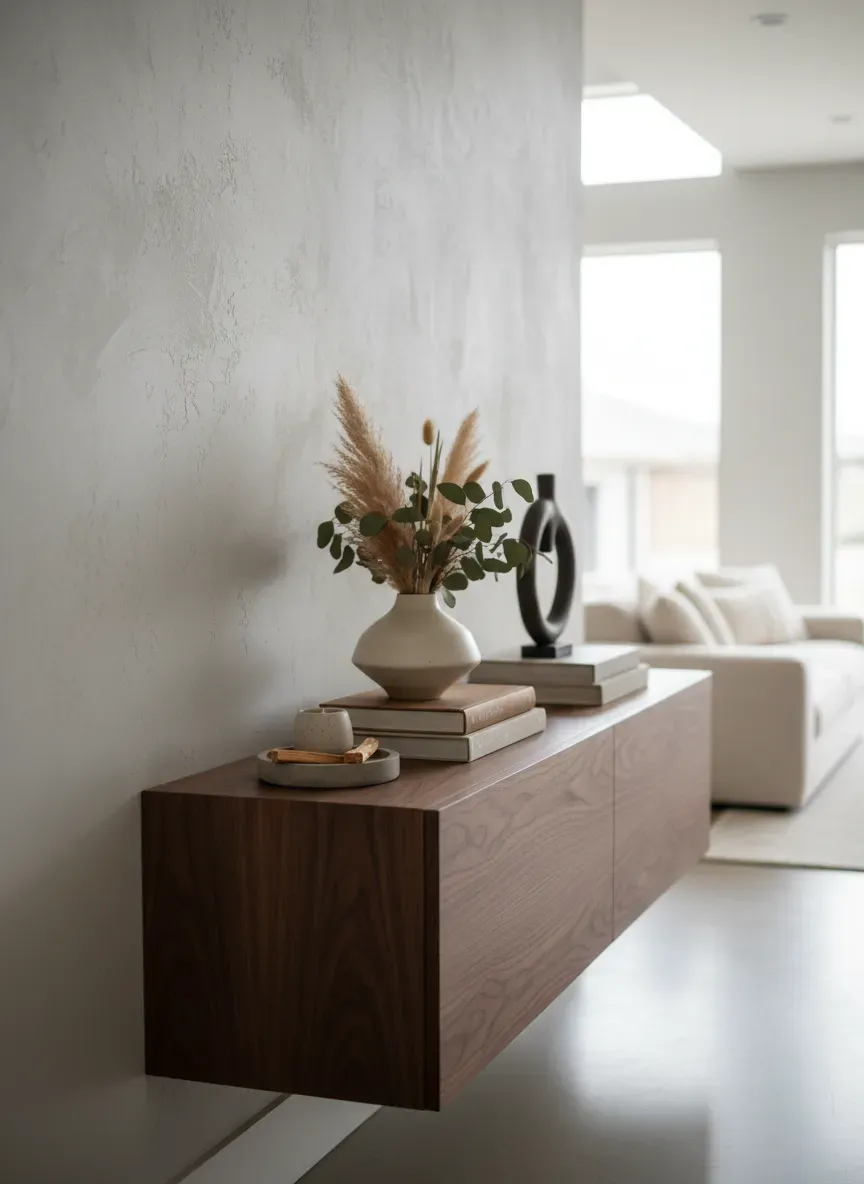
Final Thoughts
Building a custom floating console is more than just a woodworking project; it’s an exercise in structural design. You are creating something that looks delicate but acts like a tank. When you walk in the door and drop your keys into a hidden compartment that glides shut with a satisfying thump, you’ll know the effort was worth it.
It cleans up the visual noise of your home’s entrance and sets the tone for the rest of the house. No clutter, no bulk, just clean lines and hidden utility. That is the definition of modern luxury.
Get your measurements right, respect the drying times, and don’t skimp on the sanding. Now, go make some sawdust.