Designing Kid-Friendly Entryway Organization: Height, Accessibility, and Durability
Stop the clutter chaos. Learn the expert anthropometrics and design strategies for creating an entryway that children can actually use, fostering independence and saving your sanity.
Feb 28, 2026 - Written by: Linda Wise

The 7:45 AM scramble is a universal parenting experience. It’s that precise moment when the bus is three minutes away, a shoe is missing, the backpack is unzipped, and the coat is… well, nobody knows where the coat is.
If you look at most residential entryways, the culprit isn’t the child; it’s the architecture. We habitually design homes for adults—eye-level mirrors, hooks at sixty inches, and heavy drawers that require fine motor skills to operate. Then, we wonder why our six-year-olds drop their gear on the floor the second they walk through the door.
The floor is the only accessible surface we’ve given them.
To fix this, we have to stop organizing for kids and start designing with their physical limitations and psychological habits in mind. I’ve spent years analyzing the friction points in mudrooms, and the solution always triangulates around three core pillars: Height, Accessibility, and Durability.
When you nail these three, you aren’t just cleaning up a hallway. You’re building a machine for autonomy.
The Vertical Zone of Influence: Rethinking Height
The most common failure in entryway design is vertical arrogance. We hang things where we can reach them. For a child, a hook at five feet might as well be on the moon. If they can’t reach it without jumping or asking for help, they won’t use it. Period.
Anthropometrics of the Growing Child
You need to get comfortable with the concept of the “active reach zone.” For an average elementary schooler, the sweet spot for hanging items is significantly lower than standard carpentry defaults.
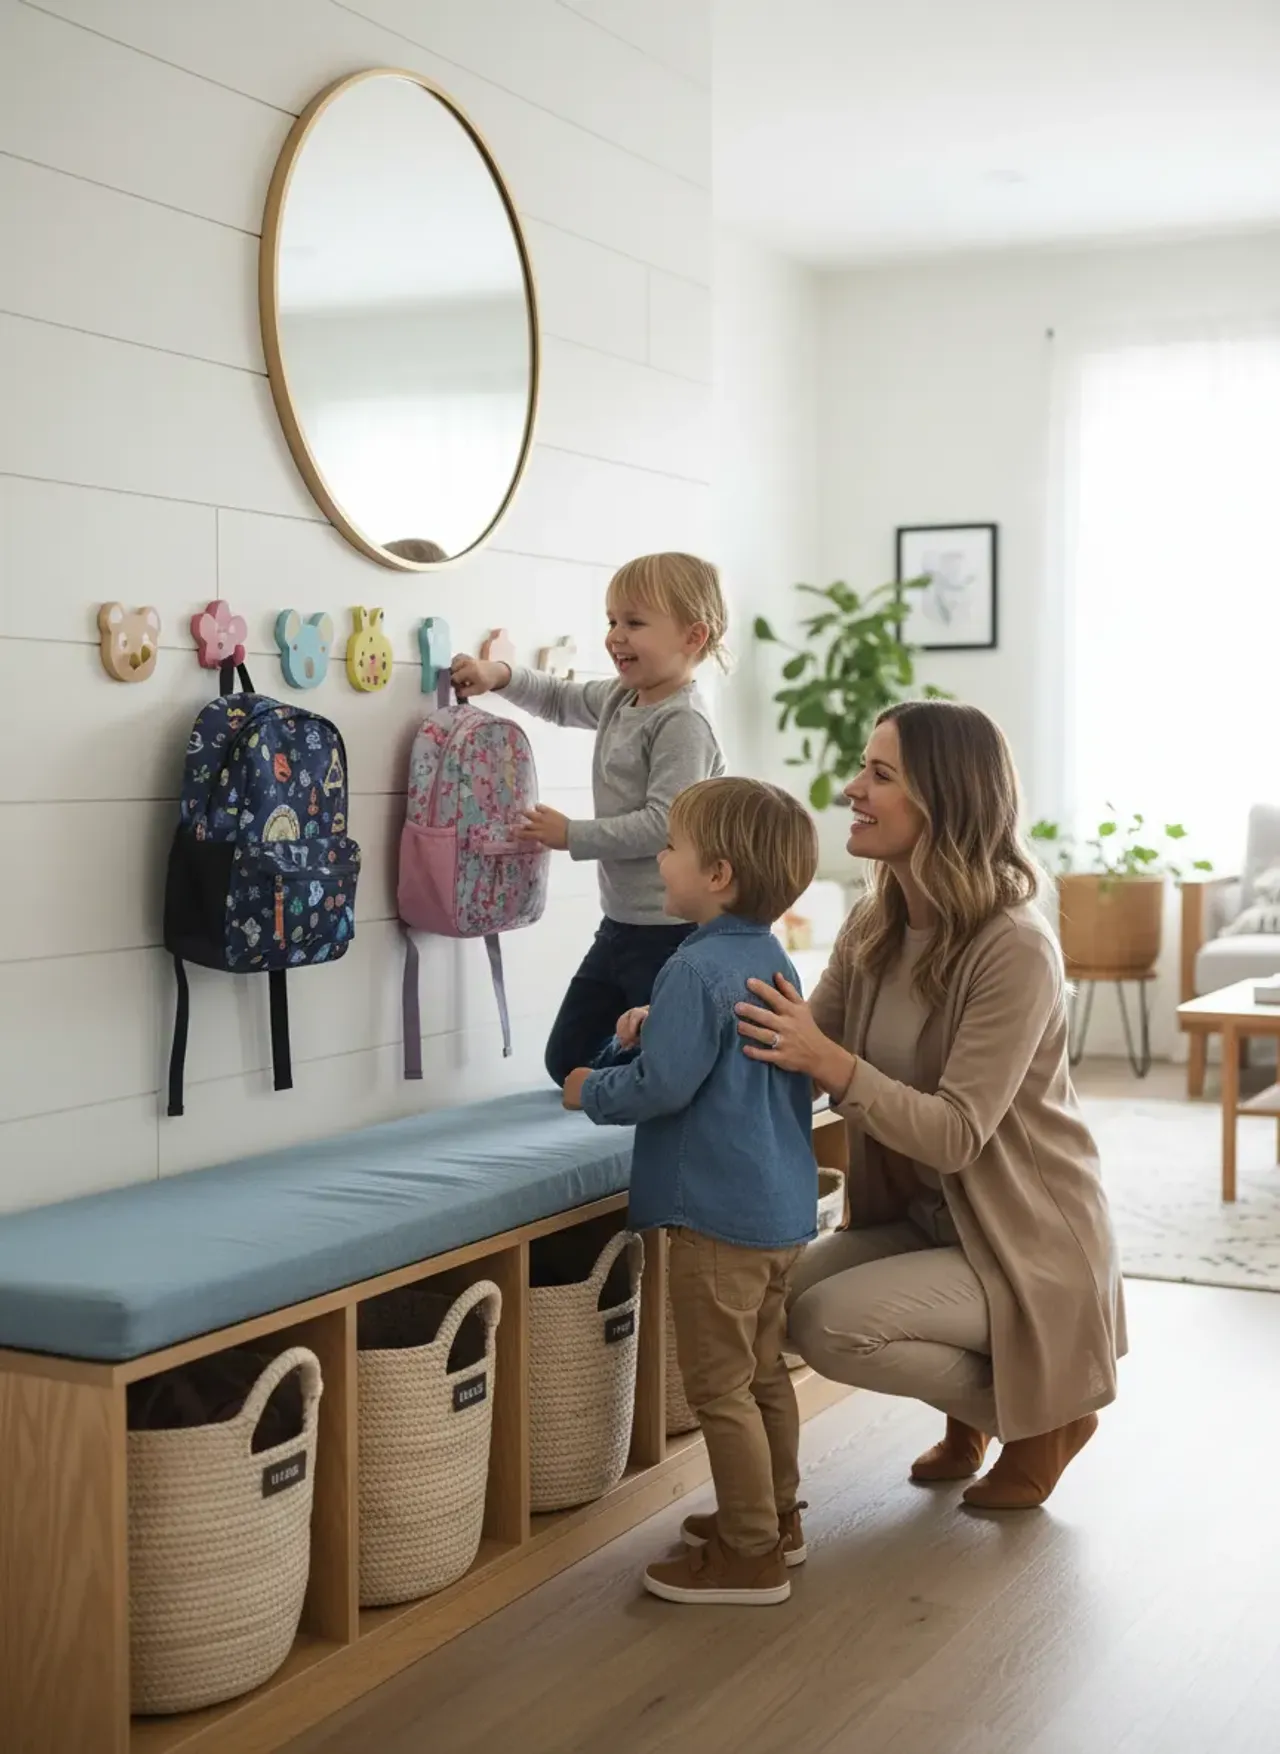
I generally advise creating a dual-zone system. The “Primary Zone” is for the kids, situated between 36 inches and 45 inches off the floor. This puts hooks right at shoulder or eye level for a 5-to-9-year-old, allowing them to hang a heavy backpack without lifting it over their heads—a maneuver that often leads to dropped bags and scuffed walls.
Pro Tip: Don’t guess the height. Have your youngest child stand against the wall and reach up comfortably. Mark that spot. That is your new baseline for their primary hook.
The Adjustable Future
The problem, obviously, is that kids grow. A permanent rail installed at 36 inches will be comically low when they hit high school.
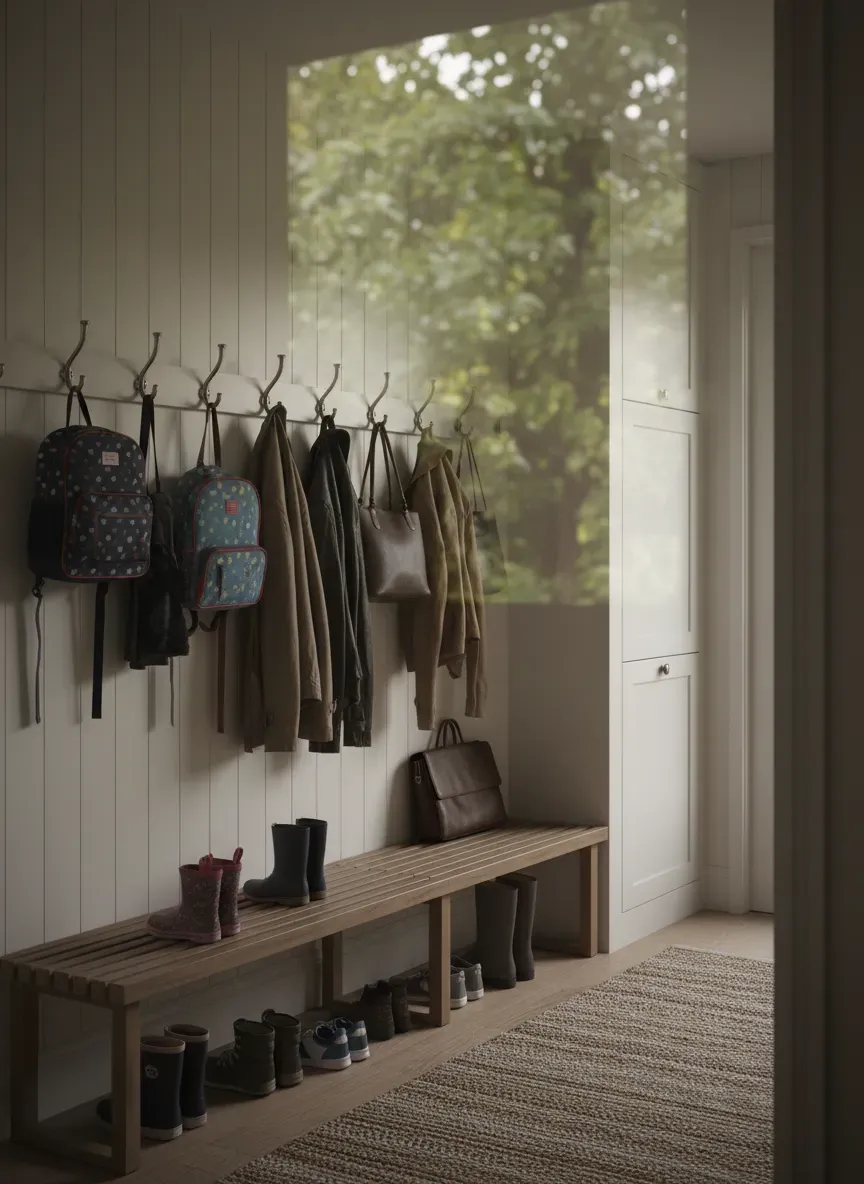
To combat this, I’m a massive proponent of adjustable track systems or French cleat walls. These allow you to slide components up as your family’s average height increases. However, if you prefer a built-in look, consider a “wainscoting” approach with two distinct rows of hooks.
- The Low Rail (36-42”): Currently for backpacks and everyday jackets. In the future, this becomes bag storage for adults or leash storage for the dog.
- The High Rail (60-66”): Currently for off-season items or guest coats. Later, it becomes the primary coat rack.
Getting the verticality right is useless if you don’t understand the horizontal dimensions. You need to consult standard depth and height measurements to ensure that your lower hooks don’t interfere with the bench seating below them. A backpack hanging low creates a nuisance if it’s smacking you in the back of the knees when you sit down to tie your shoes.
Accessibility: Reducing Friction to Zero
Accessibility in design isn’t just about physical reach; it’s about cognitive load. Kids (and honestly, most adults) follow the path of least resistance. If putting a toy away requires opening a heavy lid, navigating a latch, and dropping it in, they won’t do it.
The “Open Storage” Philosophy
Doors are the enemy of kid-friendly organization. Behind a door is a mystery; in front of a door is a barrier.
For children, visual cues are paramount. They need to see exactly where the item goes. This is why open cubbies beat closed lockers every time for the under-12 crowd. When a child walks in, the “Drop Zone” needs to be immediate.
- Baskets over Drawers: Drawers can pinch fingers and get stuck. Open canvas or wicker baskets slide out easily and can be carried to the laundry room.
- Hooks over Hangers: Asking a seven-year-old to put a coat on a hanger is a recipe for a pile of coats on the floor. A hook requires one second of effort.
Hook Ecology
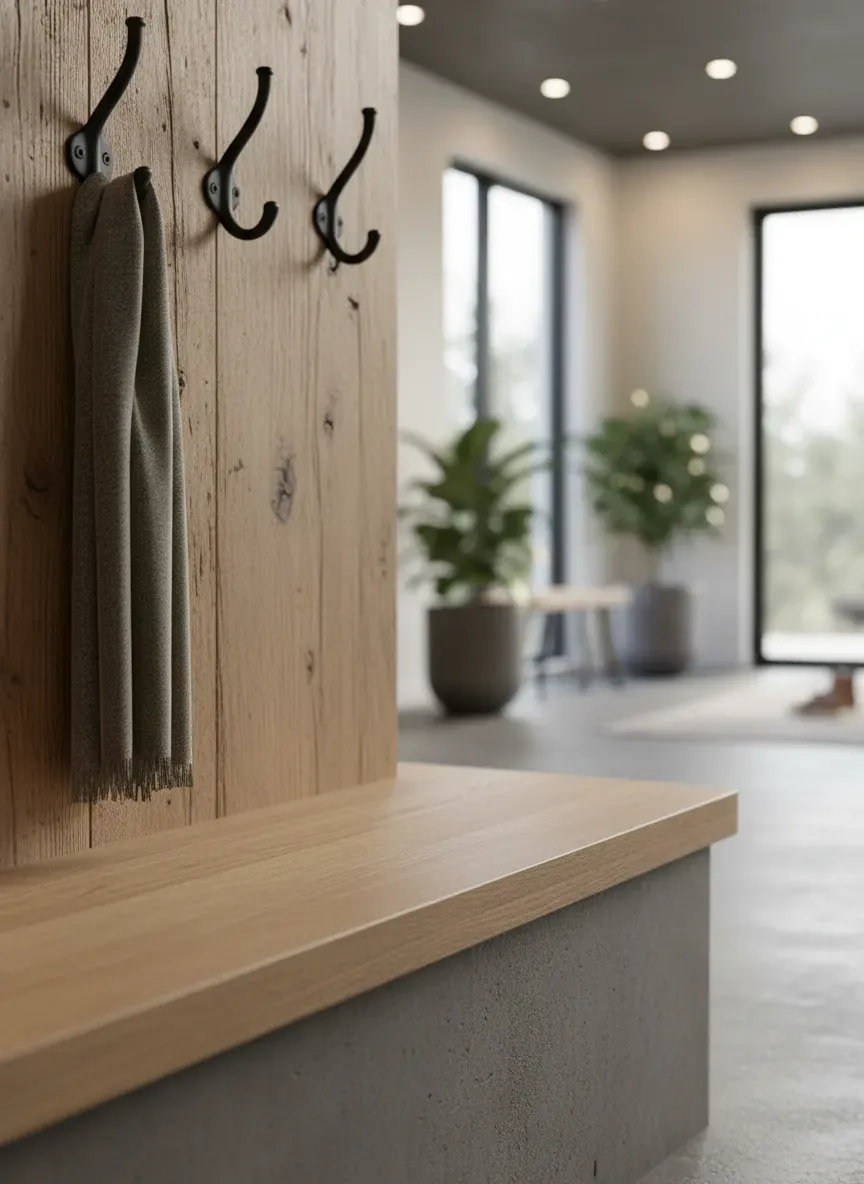
Let’s talk about the hooks themselves. Those tiny, decorative vintage hooks look great on Instagram, but they are useless for a kid’s puffy winter coat or a strap-heavy backpack. You need deep, aggressively curved hardware.
I specifically lean toward “schoolhouse” style double hooks. The top prong takes the coat; the bottom prong takes the backpack loop. But be careful with density. If you pack them too tight, it becomes a tangled mess. You really need to look at the ideal spacing between hooks to prevent “gear collision,” where pulling down one item knocks three others to the ground.
If you want hardware that can actually withstand a loaded backpack without bending, I highly recommend the Brainerd Heavy Duty Coat and Hat Hook. It has the projection depth required to hold thick winter gear securely, which is a non-negotiable in colder climates.
Visual Ownership
One tactic that works surprisingly well is explicit territory marking. In a shared entryway, “communal” space often becomes “dumping” space.
Assigning a specific “vertical slice” to each child changes the dynamic. Use a photo label, their initial, or even a specific color of bin. When a space is clearly theirs, they take a strange sense of pride in it—or at least, you know exactly who to blame when it’s messy.
Durability: Building a Bombproof Entryway
Kids are destructive. Not maliciously, usually, but they interact with their environment with a physicality that most furniture isn’t rated for. They kick baseboards, they throw wet boots, and they drag metal zippers across painted wood.
If you design with delicate materials, your entryway will look ragged within six months.
Material Science for Mudrooms
Forget standard matte wall paint. In the entryway, you want a high-performance finish. I often specify a “Scuff-X” type paint or a semi-gloss finish for wainscoting. It needs to be wipeable.
For the cabinetry itself, melamine interiors are often superior to painted wood because they don’t chip when a backpack buckle slams into them. If you are building custom, ask for a high-pressure laminate (HPL) on the bench seat. It’s nearly indestructible.
The Bench Requirement
You cannot expect a child to put shoes on while balancing on one foot. A bench is mandatory. But not just any bench—it needs to be the right depth. If it’s too deep, they can’t bend their knees comfortably. If it’s too shallow, they fall off.
When planning this seating area, you also need to consider safety. Sharp corners at temple-height for a toddler are a hazard. Child-proofing your entryway benches isn’t just about adding rubber bumpers; it’s about choosing rounded profiles and routed edges during the design phase to eliminate sharp contact points entirely.
Flooring and Moisture Control
The floor takes the brunt of the abuse. Hardwood in a high-traffic mudroom is a risky play unless you enjoy the rustic, scratched look. Porcelain tile or slate are the gold standards here.
However, tile is cold and hard. To bridge the gap, use a runner, but make it strategic. Avoid high-pile rugs that trap mud. You want a low-profile, washable rug or a heavy-duty boot tray system.
Speaking of wet boots, water is the enemy of your cabinetry. If wet snow boots sit directly on a wooden shelf, that wood will swell and warp. Always line shoe cubbies with a rubber mat or use a plastic insert.
For a dedicated wet zone, the Gorilla Grip All-Season Boot Tray is an industry favorite. It has deep channels to keep melting snow away from the soles of the shoes, facilitating faster drying and protecting your joinery.
The Locker Logic: Depth and Dimensions
One of the most frequent questions I get is about the “locker” aesthetic. Parents love the look of individual lockers, but they often botch the dimensions.
If a locker is too narrow, the backpack gets jammed. If it’s too deep, small items get lost in the abyss effectively becoming a black hole for mittens and permission slips.
The Goldilocks Depth
For a kid-centric design, a depth of 12 to 14 inches for upper storage is usually sufficient, but the locker body often needs to be deeper to accommodate the bulk of modern school bags. However, going too deep eats up valuable floor space. You need to investigate the best depth for mudroom lockers to find that balance where the locker feels substantial but doesn’t dominate the hallway.
Key Takeaway: A 15-inch wide cubby is the absolute minimum for a standard backpack. 18 to 20 inches is luxurious and preferred if you have the space.
Managing the Shoe Chaos
Shoes are the nemesis of tidy entryways. Children seemingly possess the ability to shed shoes in a way that scatters them across the maximum surface area possible.
The “Kick-Under” Method
If you require a child to open a cabinet, take out a shoebox, and place their shoes inside, you have already lost. The most effective design feature I’ve employed is the “floating bench” with open space underneath.
This allows for the “kick-under.” They take the shoes off and simply nudge them under the bench. It clears the walkway instantly and requires zero dexterity.
For a slightly more organized approach, use designated shoe cubbies, but keep them at floor level. If you are looking for a standalone piece that nails this combination of seating and segmentation, the Prepac Cubbie Bench is a solid, modular option that integrates well into most foyers without requiring custom construction.
The Psychology of the “Launch Pad”
Beyond the physical dimensions, think of the entryway as a “Launch Pad.” This is a concept borrowed from executive functioning coaching. The goal is to externalize the executive functions that kids haven’t developed yet.
Visual Checklists
Incorporate a small corkboard or whiteboard on the inside of a locker door or right next to their hook. A simple checklist (Lunch? Homework? Gym shoes?) acts as a cognitive offload. It stops you from nagging and teaches them to self-verify.
Lighting the Way
Dark corners breed clutter. If a child can’t see into the bottom of their cubby, they won’t clean it. Integrated LED strip lighting (motion-activated is best) inside the lockers or under the bench adds a “cool factor” that kids love, but practically, it highlights the mess, making it harder to ignore.

Troubleshooting Common Pitfalls
Even with the best intentions, designs fail. Here are the traps to avoid:
- The “Pinterest Open Shelf” Trap: Open shelving looks great when styled with three beige vases. It looks terrible when filled with neon soccer cleats and crumpled papers. Use baskets to hide the visual noise while maintaining accessibility.
- Over-segmentation: Don’t make a tiny slot for keys, a tiny slot for sunglasses, and a tiny slot for coins. Kids won’t micro-sort. Give them one “catch-all” bin for small loose items.
- Ignoring the Seasons: A design that works in July might fail in January. Ensure your spacing accounts for the “puffy coat expansion.” Winter gear takes up 3x the volume of summer gear.
The Bottom Line
Designing for kids isn’t about dumbing down your aesthetic; it’s about smart ergonomics. When you lower the hooks, open up the storage, and reinforce the materials, you aren’t just building a mudroom. You are building habits.
You are creating a space where a child can succeed at the basic task of coming home. When the environment supports the behavior you want, the behavior becomes automatic. And frankly, that silence at 7:45 AM when everyone finds their shoes without asking you? That is the ultimate return on investment.