The IKEA Pax Hack for High-End Built-In Entryway Organization
Transform generic flat-pack boxes into luxury bespoke cabinetry. A master guide to hacking the IKEA Pax for a stunning, organized entryway.
Feb 20, 2026 - Written by: Linda Wise

We have all been there. You scroll through Pinterest or flip through an architectural digest, stopping dead on a photo of a mudroom that looks more like a boutique hotel lobby than a place to dump muddy boots. You call a local carpenter, excited to replicate the look, only to be hit with a quote that rivals the GDP of a small island nation.
Custom millwork is expensive. But here is the secret that interior designers and savvy renovators have kept in their back pockets for years: you don’t need a custom cabinet maker to get that bespoke look. You need IKEA, a chop saw, and a little bit of audacity.
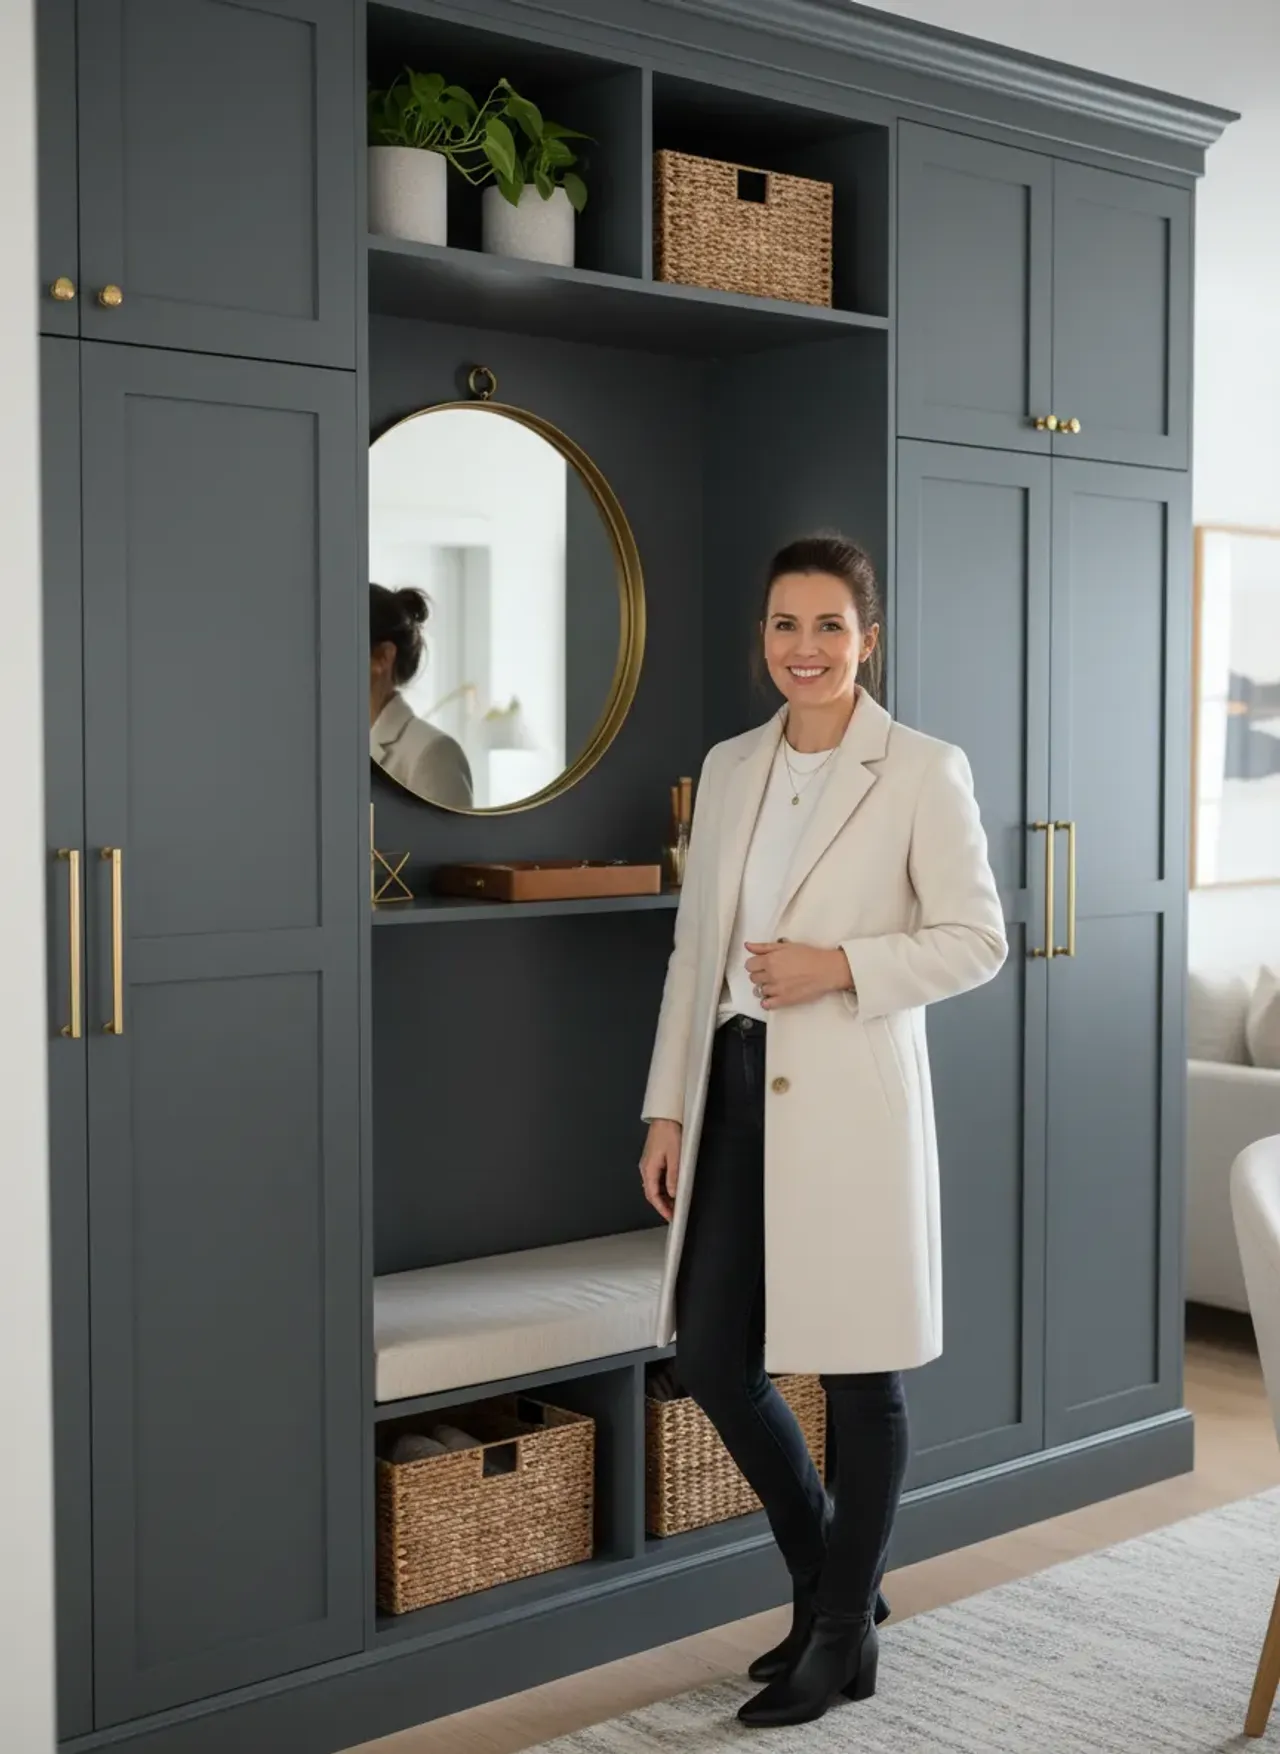
The IKEA Pax system is ostensibly designed for bedroom wardrobes, but its modular nature makes it the perfect chassis for a high-end entryway build. I’ve installed these in spaces ranging from sprawling suburban mudrooms to tight city foyers, and the result is always the same—people cannot believe it’s flat-pack furniture.
This isn’t just about screwing boxes together. To achieve that seamless, “built-in” aesthetic, you have to break the rules of the instruction manual. We are going to dive deep into exactly how to manipulate these particleboard frames into luxury storage.
Why the Pax Works for Entryways
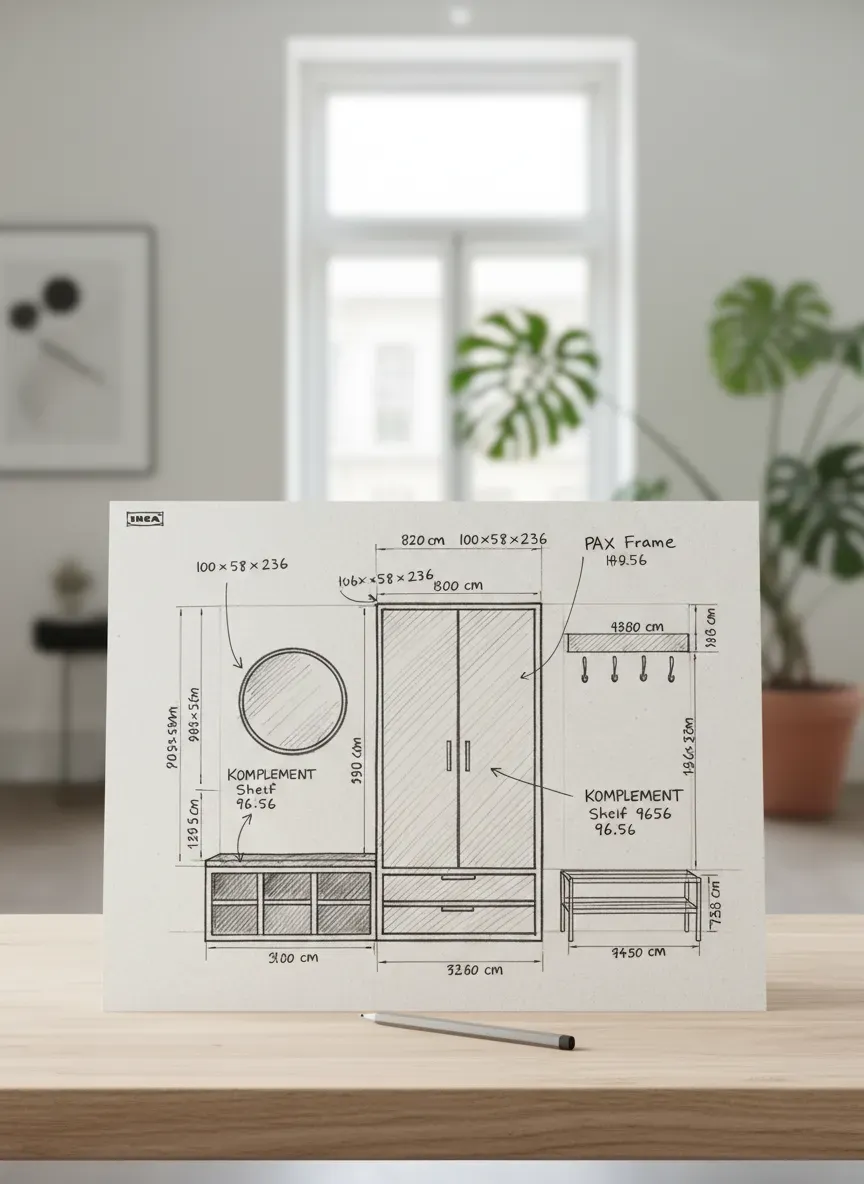
Before we start ripping out baseboards, we need to understand the anatomy of the Pax. Unlike other IKEA systems, the Pax comes in two depths: roughly 13 inches and 23 inches. This duality is critical.
The deeper 23-inch frames are standard for hanging coats, but they can dominate a narrow hallway. The 13-inch depth is the unsung hero for entryways; it’s shallow enough to keep traffic flow open but deep enough for shoe storage, folded scarves, and bins.
Pro Tip: If you are dealing with a tight space, mix and match. I often flank a central bench area with deep towers for coats, tapering off to shallow units near the door to preserve sightlines.
Furthermore, the customization of the “Komplement” interior organizers allows you to adapt the storage as your family grows. However, simply buying the boxes and setting them against the wall screams “dorm room.” The magic lies in the trim work.
Phase 1: The Prep and The Platform
Here is where most DIYers fail. They assemble the Pax frame and stand it directly on the floor using the adjustable plastic feet provided by IKEA.
Do not do this.
If you want a high-end look, the cabinetry needs to look like it is part of the architecture, not furniture sitting on the architecture. To achieve this, you must elevate the cabinets.
Building a Custom Plinth
I recommend building a ladder-frame base out of 2x4 lumber. This serves three vital purposes:
- Elevation: It lifts the cabinets up, allowing you to run your room’s baseboard trim continuously across the bottom of the unit. This is the single biggest visual cue for “custom built-in.”
- Leveling: Floors are never level. Ever. Trying to level five separate Pax frames with tiny plastic feet is a nightmare. Leveling a single 2x4 wooden base is simple and provides a rock-solid foundation.
- Height Adjustment: If you have 9-foot ceilings and are using the tall Pax (236cm), you’ll have a gap at the top. A custom base allows you to adjust the total height so the crown molding hits the ceiling perfectly.
To get this base perfectly straight, I rely heavily on the DeWalt Line Laser Level. It saves hours of frustration with a spirit level and ensures your entire bank of cabinets is dead flat. If your base is twisted, your doors will never hang right.
Phase 2: Assembly and The “Squeeze”
Once your base is secured to the floor studs, assemble your Pax frames. Do not attach the doors yet. Lift the frames onto your custom base.
Here is the kicker: you need to anchor these to the wall, but you also need to anchor them to each other. IKEA provides screws for this, but I prefer using “binding post screws” or connecting bolts for a tighter, more permanent bond. Clamp the frames together first to ensure the front faces are perfectly flush.
Dealing with the Gap
You will likely have gaps on the sides between the cabinet and the wall. This is actually desirable. You never want to plan a built-in to fit “exact” wall-to-wall because walls are rarely plumb.
Leave yourself 2-4 inches of space on either side. We will cover this later with filler pieces (scribing), which is a hallmark of professional carpentry.
If you are incorporating a seating area, you have options. Some people bridge two tall Pax towers with a floating shelf. However, if you are looking for a more furniture-style aesthetic, consider integrating standalone pieces. I’ve seen stunning setups that place mid-century modern benches between two white Pax towers, creating a beautiful contrast of wood tones against the painted cabinetry.
Phase 3: The Art of the Trim
This is the transformation phase. We are taking a $100 box and giving it a $1,000 facelift.
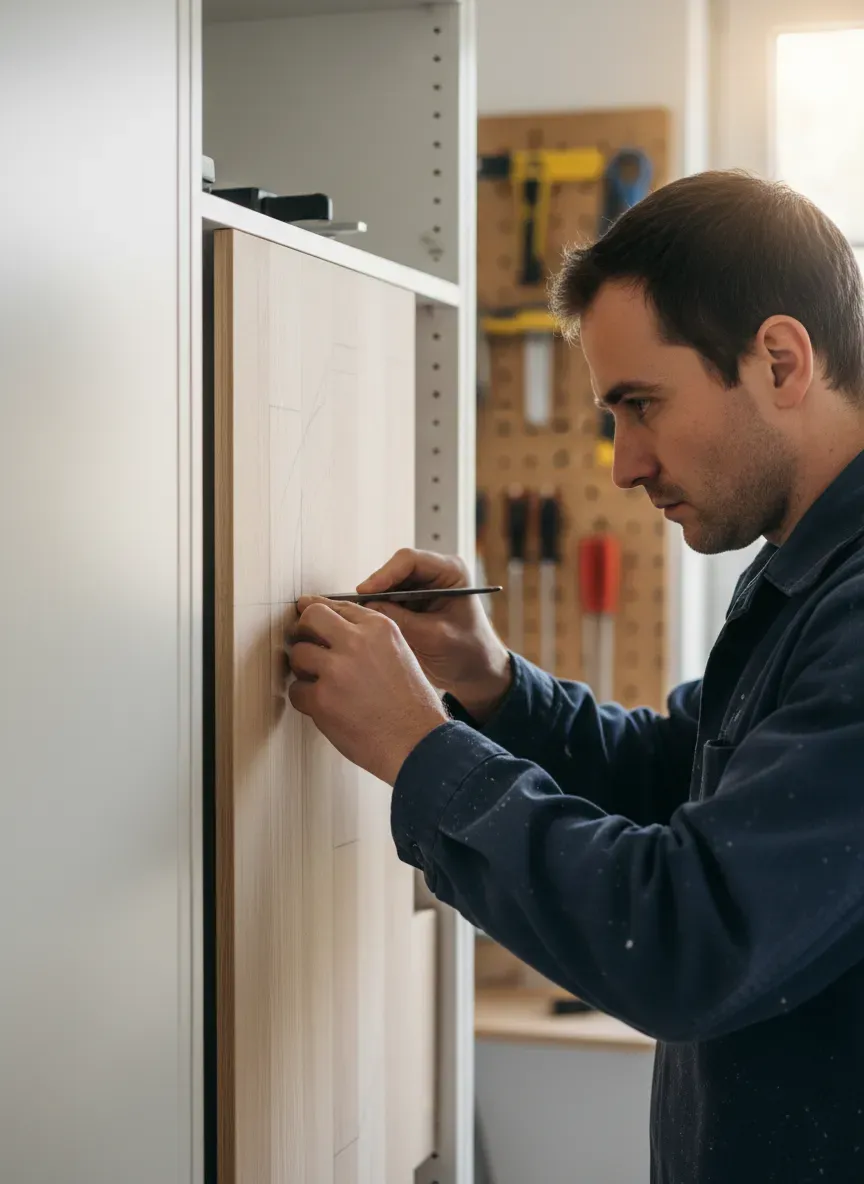
The Face Frame Technique
The edges of IKEA cabinets are unfinished raw particleboard or thin banding. They look cheap. To hide this, and to cover the seams where two cabinets meet, you should apply trim.
I use 1x2 or 1x3 primed pine boards. By attaching these vertically over the front edges of the cabinet frames, you create a “face frame” look. This adds bulk and solidity to the piece. It also hides the gap between the doors, making the entire unit look like one cohesive piece of furniture rather than individual boxes.
Scribing to the Wall
Remember those gaps we left on the sides? Now we fill them. Cut a piece of trim slightly wider than the gap. Hold it against the cabinet, overlapping the wall. Use a compass to trace the contour of the wall onto your wood, then cut along that line with a jigsaw.
When you slide that piece in, it will fit the irregularities of your wall perfectly. This specific detail—no gaps, no caulk mountains—is what separates a hack from a high-end installation.
Crown Molding
If your cabinets don’t go all the way to the ceiling, build a box extension on top of the Pax frames to bridge the gap, then attach your crown molding to that. Carrying the crown molding from the rest of the room around the top of the cabinets anchors them into the space visually.
Phase 4: Doors and Drawer Fronts
You have two paths here. You can use the standard IKEA doors (the Bergsbo and Forsand are popular for painting), or you can buy third-party doors designed specifically for the Pax system. Companies like Semihandmade or Fronteriors offer stunning fronts that IKEA simply doesn’t stock.
If you choose to use IKEA doors and paint them, you must prep correctly. The laminate finish is notoriously slippery.
- Scuff Sand: Use 120-grit sandpaper to take the sheen off.
- Prime: You need a shellac-based primer. It smells terrible, but it sticks to anything.
- Paint: Use a high-quality cabinet enamel.
Hardware is Jewelry
Do not use the standard IKEA knobs. They are the giveaway. Invest in substantial, weighty hardware. Long brass pulls or matte black knobs can change the entire vibe of the unit.
For installing handles, accuracy is non-negotiable. One crooked handle ruins the whole wall. I strictly use the Kreg Cabinet Hardware Jig for this. It guarantees repeatable, perfect hole spacing every time, saving you from the heartbreak of drilling a hole in the wrong spot on your freshly painted door.
Phase 5: Interior Organization Strategy
A beautiful exterior means nothing if the inside is a chaotic mess. The entryway is a high-traffic zone; it needs to function as a machine.
The Mudroom Hybrid
If you are building a mudroom setup, consider removing the doors on one section to create open “lockers.” You can line the back of the open cabinet with beadboard or shiplap for added texture. Install heavy-duty double hooks for backpacks and coats.
For a deeper dive into how to structure these open zones, take a look at my guide on creating functional mudroom lockers, which compares open vs. closed storage layouts.
Shoe Management
IKEA’s Komplement shoe shelves are decent, but for a high-end feel, I prefer solid drawers. They hide the visual clutter of mismatched sneakers. Use the pull-out trays with felt inserts for sunglasses, keys, and wallets. It feels like walking into a luxury closet every time you leave the house.
Key Takeaway: Assign a specific drawer or shelf to every family member. Label them if you have to. Structure creates habits.
Phase 6: Lighting—The Final 10%
Lighting is the difference between a dark closet and a boutique display. Since the Pax frames are already assembled, running hardwired electricity can be tricky if you didn’t plan for it behind the wall.
However, LED technology has advanced rapidly. You can route channels for LED tape lights along the inner face frames. Connect them to a door sensor so the lights fade on when opened. It is a subtle touch that screams luxury.
For open niches or bench areas, a hardwired sconce installed through the back panel (if you have access to power) adds immense warmth. If you are going for a lighter, breezier aesthetic, perhaps in a beach house or summer home, lighting helps highlight textural elements. I’ve seen this done beautifully where the lighting washes over woven baskets and coastal decor, creating wonderful shadows and depth.
Common Pitfalls (And How to Avoid Them)
I have made plenty of mistakes so you don’t have to. Here are the “gotchas” of the Pax hack.
The Sagging Shelf
The Pax shelves are wide. If you load the 39-inch wide shelf with heavy toolboxes or stacks of books, it will sag over time.
- The Fix: Reinforce the shelves with a rigid aluminum angle on the back edge, or stick to the narrower 19-inch frames for heavy items.
The Hinge Bind
When you add trim between cabinets, you might block the door swing.
- The Fix: Ensure your filler strips between cabinets are flush with the frame, not the doors. You may need to use 165-degree hinges or adjust the mounting plates to ensure the door clears the trim when it opens.
The Cheap Backing
The back panel of a Pax is essentially folded cardboard. It is flimsy.
- The Fix: If the back is visible (in an open locker setup), rip it out. Replace it with ½ inch plywood or beadboard paneling. It adds structural rigidity and looks infinitely better.
Making It Last
Once built, this unit becomes a permanent part of your home. Durability matters. Using a high-quality paint is essential, but so is protecting high-wear areas.
If you have a bench seat, don’t just paint the plywood. Upholster a cushion or use a solid hardwood top. If you are creating a “drop zone” for keys, use a stone or quartz scrap for the counter surface. It prevents scratches and elevates the material palette.
I highly recommend keeping a Dremel Rotary Tool handy during the install. From cutting notches in the back for outlets to trimming weird angles in the baseboard, it’s the problem-solver you didn’t know you needed.
The Bottom Line
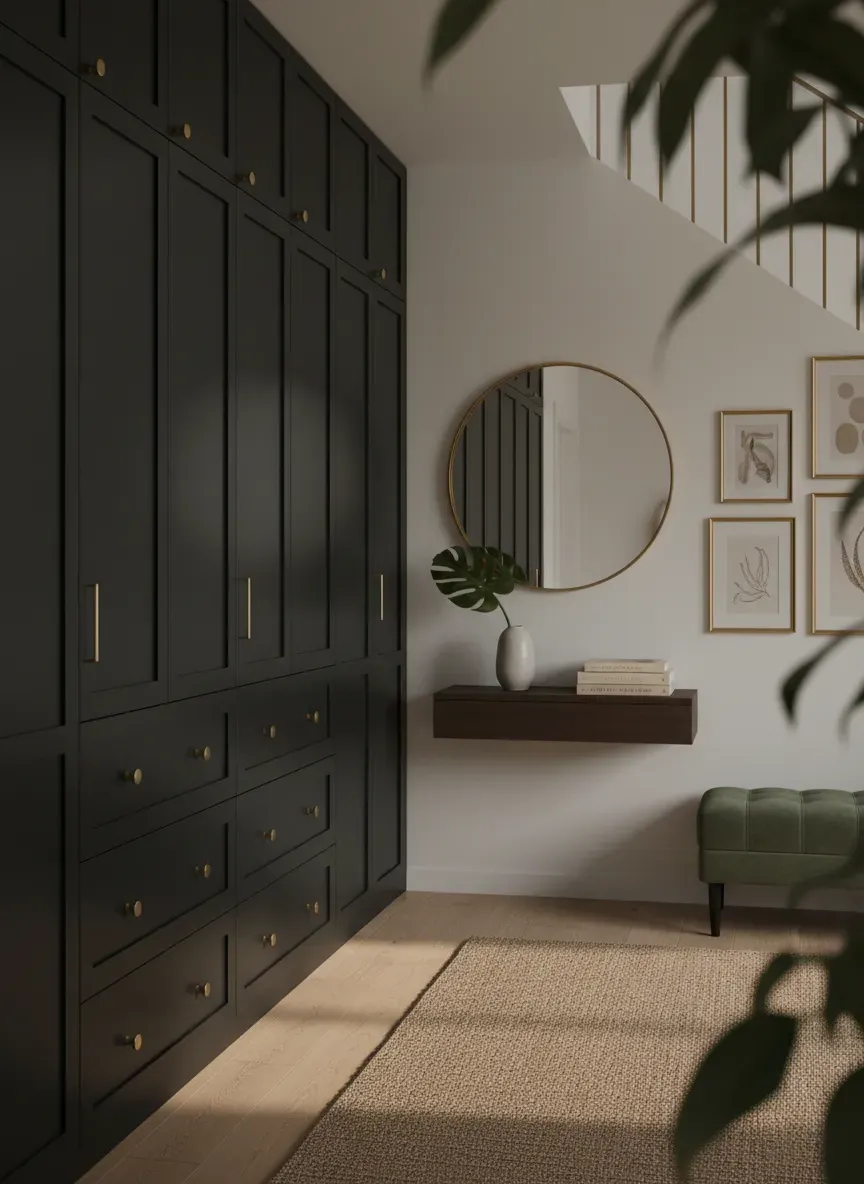
The IKEA Pax hack isn’t just about saving money—though saving $8,000 is nice. It is about control. It allows you to maximize every square inch of your entryway in a way that stock furniture cannot.
By focusing on the “bones”—the base, the trim, and the leveling—you elevate a budget product into a permanent architectural feature. It requires patience, dust, and a bit of math, but when you close that soft-close door and see the seamless crown molding, you’ll know it was worth every second.
For those of you ready to tackle a full build-out, remember that planning is 80% of the work. If you need more foundational advice on structuring the space before you buy the boxes, check out my deep dive on planning built-in organization.
Grab your laser level, buy the extra trim, and don’t fear the saw. Your dream entryway is waiting in a flat-pack box.