Utilizing Awkward Corners: DIY Diagonal Built-In Entryway Organization
Transform dead space into functional storage. A master class on designing and building diagonal entryway units that maximize square footage.
Feb 28, 2026 - Written by: Linda Wise

You know that spot just inside the front door? The one where the wall meets the coat closet at a ninety-degree angle, creating a vortex of dead space where dust bunnies and lost mittens go to die? It’s the bane of efficient home design. Standard rectangular furniture just doesn’t fit there. If you shove a square cabinet into the corner, you lose accessibility to one side. If you leave it empty, it feels unfinished.
I’ve spent years wrestling with these architectural afterthoughts. The solution isn’t to fight the corner; it’s to cut across it.
Utilizing awkward corners: DIY diagonal built-in entryway organization is about more than just storage; it’s about smoothing out the flow of your home. By introducing a 45-degree angle, you bridge two perpendicular walls, softening the visual transition and creating a cavernous amount of storage that—if done right—looks entirely intentional.
This isn’t a project for the faint of heart, but if you own a miter saw and have a healthy respect for geometry, it’s entirely achievable. We are going to break down exactly how to reclaim that square footage.
The Geometry of the Diagonal: Why It Works
Before we cut a single sheet of plywood, we need to understand the spatial dynamics at play. Most DIYers default to “L-shaped” corner units. While functional, L-shapes are ergonomically hostile. You end up with that deep, dark cavern in the corner where you practically need a spelunking helmet to retrieve a pair of boots.
A diagonal built-in, essentially a chamfered corner, solves this by facing the room. It presents its contents to you.
However, it occupies more floor space than you might realize. The hypotenuse (the face of your cabinet) will always be longer than the sides touching the wall. This gives you a wider face frame for doors or open shelving, but it encroaches into the walkway.
Pro Tip: Tape it out on the floor first. Use blue painter’s tape to mark the footprint. Walk past it carrying groceries. If you find yourself hip-checking the imaginary cabinet, your angle is too aggressive, or your depth is too ambitious.
The “Dead Space” Myth
There is a common misconception that diagonal cabinets waste space because of the triangular voids left behind the unit. This is only true if you box it off completely. Smart builders utilize that depth. A diagonal unit is often deeper than a standard 12-inch wall cabinet, allowing for bulkier storage—think vacuum cleaners, golf bags, or winter coats hung on a front-to-back rail system.
Phase 1: Planning and Dimensions
Precision is the currency of this build. Unlike a standalone bookshelf, a built-in must marry your walls, which I guarantee you are not perfectly square.
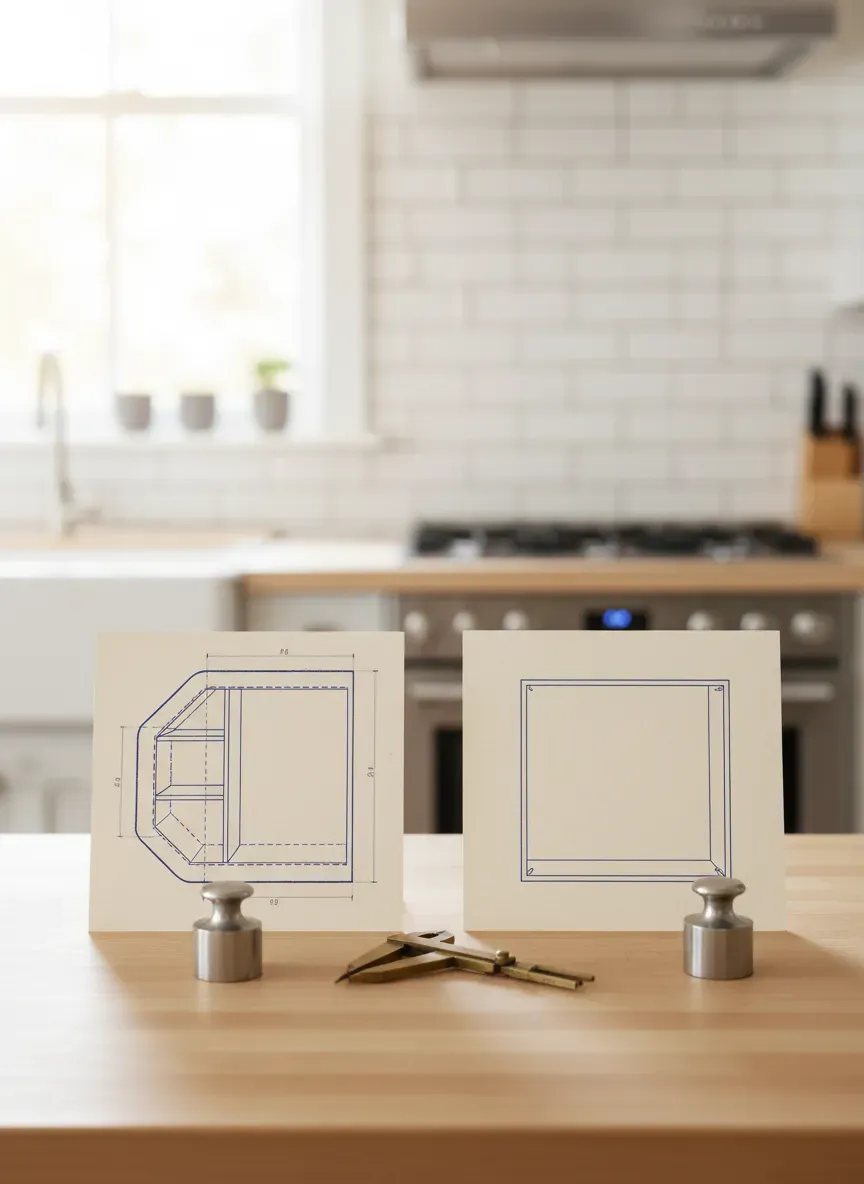
Establishing the Footprint
Start by measuring out from the corner along both walls. A symmetrical diagonal looks best, meaning if you come out 24 inches on the left wall, come out 24 inches on the right wall. Connect those two points, and you have your face line.
This is where referencing standard depth and height measurements becomes vital. If you are integrating this diagonal piece with adjacent benches or lockers, you need the depths to align seamlessly. A jarring step-out or step-in can ruin the “built-in” illusion.
The Vertical Plan
Are you going floor-to-ceiling? I usually recommend it for diagonals. A floating diagonal cabinet can look like a spaceship docked in your hallway. Anchoring it from baseboard to crown molding integrates it into the architecture.
- The Toe Kick: Match existing baseboards or standard cabinet toe kicks (usually 3.5 to 4 inches high).
- The Counter Height: If this unit includes a drop zone, aim for 36 inches.
- The Upper Storage: Reserve the top 15-20 inches for seasonal items you rarely touch.
Phase 2: Material Selection and Tooling Up
You cannot build a durable entryway unit out of particleboard. The entryway is a high-traffic combat zone. Boots are kicked, bags are thrown, and moisture is inevitable.
My Material List:
- ¾ inch Birch Plywood: For the carcass (the box structure). It’s stable and takes paint beautifully.
- Poplar or Maple: For the face frames. These hardwoods are durable and resist denting better than pine.
- MDF (Medium Density Fiberboard): Use this only for painted door panels or non-structural trim. Never use it for shelves that will hold heavy weight; it will sag over time.
Essential Hardware
Working with angles requires tools that go beyond the basic hammer and nails. You need to join wood at non-90-degree angles, which can be slippery.
If you want the best experience, I highly recommend checking out the Kreg Pocket-Hole Jig 720PRO. It creates incredibly strong joints and hides the screws, which is crucial when you’re building a cabinet face that will be scrutinized by guests.
Phase 3: The Build – Framing the Angle
Here is where the rubber meets the road. Building a square box is easy; building a pentagon (which is essentially what a corner cabinet is) requires patience.
Step 1: The Cleat System
Don’t try to build the entire box in the garage and slide it into place. It won’t fit. Walls bow and floors dip. Build it in place.
Start by screwing vertical cleats (strips of plywood) directly into the studs on both corner walls. These define the back boundaries of your unit. Ensure these are dead plumb (vertically straight), even if your walls aren’t. Shim behind them if necessary. This creates a square reference universe for the rest of your build.
Step 2: The Floor and Ceiling Plates
Cut your bottom and top plates from plywood. These should match the footprint you taped out earlier. Securing the bottom plate requires navigating the toe kick. I prefer to build a separate platform box for the base, level it perfectly, and then install the cabinet floor on top of that.
Step 3: The Side Walls
The side walls of your diagonal unit will likely butt up against adjacent lockers or standard walls. When determining the best depth for mudroom lockers helps ensure you don’t create a tunnel effect, apply that same logic here. The side panels connecting the diagonal face to the wall should usually be between 12 and 15 inches deep. Any deeper, and the unit feels imposing; any shallower, and you lose utility.
Step 4: The Face Frame
This is the most critical aesthetic element. The face frame connects the two side panels across the front. Because you are cutting across the corner, your face frame needs to be beveled at 22.5 degrees on the vertical edges to meet the side panels flush (since 22.5 + 22.5 = 45 degrees), or you can butt-joint them and use trim to hide the seam.
I strongly suggest beveling for a cleaner look. It requires a table saw with a tilting blade, but the result is a seamless transition that screams “custom cabinetry.”

Phase 4: Interior Organization Strategy
Now you have a hollow geometric prism in your hallway. How you fill it dictates its usefulness.
The “Deep Corner” Challenge
The center of a diagonal shelf is significantly deeper than the edges. If you just throw up standard shelves, small items will migrate to the back corner and disappear forever.
My Favorite Configurations:
- The Carousel: Lazy Susans aren’t just for kitchens. A heavy-duty, kidney-shaped rotating shelf in the lower section is perfect for shoes. It brings the items in the back out to the front.
- The Double-Rod: Since the unit is deep, install one coat rod near the back for off-season coats and one near the front for daily wear.
- The Cubby Grid: Build a diamond-shaped grid for shoe storage. It looks spectacular and utilizes the depth well for longer boots.
When installing hooks, you need to be strategic. Calculating the ideal spacing for how far apart your hardware sits prevents overcrowding. On a diagonal back wall, you have more width than you think. Stagger the hooks—one high, one low—to maximize capacity without the coats overlapping too much.
Phase 5: The Door Dilemma
Hinging a door on a diagonal cabinet is the part that makes grown men cry. Standard cabinet hinges are designed for 90-degree corners. If you use them here, the door won’t open, or it will bind against the adjacent cabinet.
You need specialized hardware. You are looking for +45 degree hinges (sometimes called angled cabinet hinges).
If you want the best experience, I highly recommend checking out the Blum 45 Degree Corner Cabinet Hinges. These allow the door to open fully without swinging back and hitting the neighboring wall handles. They also offer soft-close functionality, which saves your fingers and your sanity.
Door Style
Keep the door style consistent with the rest of your house. Shaker style is timeless and easy to build yourself using 1/4 inch plywood panels and 1x3 poplar boards. If you want to make the space feel larger, consider inserting a mirror into the door panel. It reflects light and gives you a last-looks check before you leave the house.
Phase 6: Finishing and Safety
Once the structure is sound, it’s time to make it pretty and safe.
Trim and Caulk
The secret to built-ins looking “built-in” is caulk. Run a bead of paintable caulk along every seam where the wood meets the wall. It hides the gaps caused by uneven drywall. Add crown molding to the top to bridge the gap to the ceiling.
Paint Strategy
Use a high-quality enamel paint. Latex wall paint remains slightly tacky (a property called “blocking”) and will peel off when a heavy coat or bag drags across it. An alkyd or urethane-enamel paint cures to a hard, shell-like finish that withstands abuse.
Child Safety Considerations
Corners can be sharp. While the diagonal shape removes the protruding 90-degree corner of a standard cabinet, the transition points where the diagonal meets the flat wall can still be abrupt.
When integrating benches, strategies for child-proofing your entryway benches should be top of mind. Round over all exposed edges with a router or sandpaper. Ensure that any heavy drawers have safety stops so they can’t be pulled all the way out onto little toes.
Phase 7: Styling and Accessories
The diagonal unit is built. It’s painted. Now, you have to live with it.
Because these units are often deep, lighting is non-negotiable. I love installing a simple motion-sensor LED strip inside the door frame. It illuminates the dark recesses of the corner automatically when you open the door.
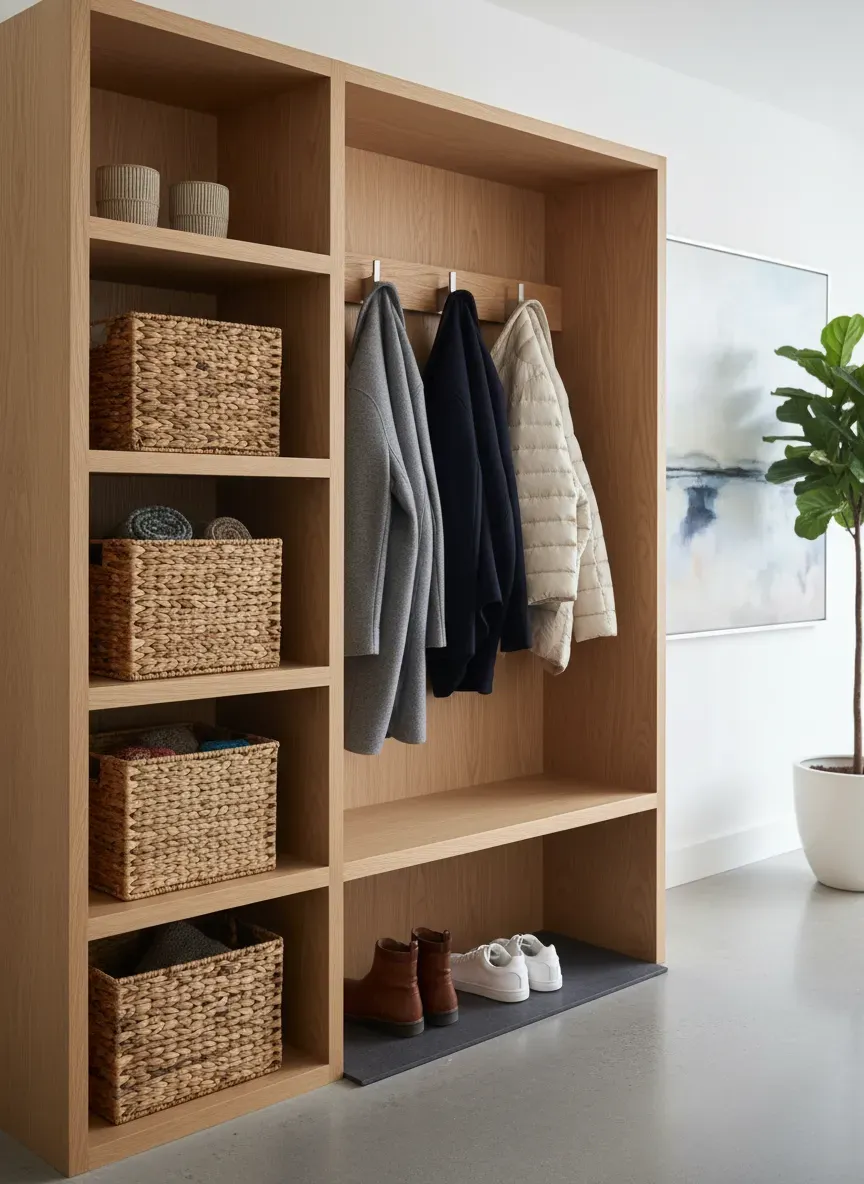
For open shelving sections, avoid the clutter trap. Because the shelves are deep, small items look messy. Use baskets to act as drawers.
If you want the best experience, I highly recommend checking out the Woven Seagrass Storage Baskets. Their natural texture warms up the painted wood, and they are generally rigid enough to slide in and out without collapsing.
Troubleshooting Common Pitfalls
Even with the best plans, things go sideways. Here are the issues I see most often in diagonal builds:
The “Binding Door”
- Symptom: The door rubs against the adjacent wall or cabinet when you try to open it.
- Fix: You likely didn’t leave enough filler space. You need a “scribe strip” or filler piece between the angled cabinet and the straight run. Usually, 1-2 inches is sufficient to allow for door swing clearance.
The “Dark Abyss”
- Symptom: You can’t see anything on the bottom shelf.
- Fix: If you didn’t install a Lazy Susan, use pull-out bins. Never store loose items on the floor of a deep corner cabinet.
The “Top-Heavy” Look
- Symptom: The unit feels like it’s looming over you.
- Fix: Paint the unit the same color as the walls. This monochromatic approach makes the mass of the cabinet recede visually, making the hallway feel larger despite the lost floor space.
The Bottom Line
Utilizing awkward corners: DIY diagonal built-in entryway organization is a masterstroke in spatial economy. It transforms a frustrating architectural quirk into a feature that feels bespoke and luxurious.
Yes, the math is harder than a standard rectangular box. Yes, finding the right hinges can be a minor headache. But the payoff is a mudroom or entryway that flows organically. You stop bumping into sharp corners, you gain cubic feet of storage that was previously dead air, and you add significant value to your home.
Don’t let the angles scare you. Measure twice, cut once, and reclaim your corner.
Key Takeaways
- Respect the Angle: A 45-degree diagonal softens the room but increases the footprint. Tape it out on the floor before building.
- Hardware Matters: Standard hinges will fail. Invest in +45 degree specialty hinges.
- Utilize the Depth: The corner is deep. Use Lazy Susans, pull-out bins, or double clothing rods to maximize utility.
- Anchor It: Build from floor to ceiling to make it look like part of the house, not a piece of furniture stuck in a corner.
- Safety First: Round over edges and secure the unit to the wall studs to prevent tipping, especially in high-traffic zones.