
The Best Wall-mounted Shoe Racks: Vertical Storage That Works
The best wall-mounted shoe rack picks with real capacity and depth specs — plus vertical height math, over-door alternatives, and stud-and-anchor mounting.
Feb 5, 2026 · Linda Wise
15 min readA wall-mounted shoe rack stores shoes one shelf high, off the floor, and out of the tripping zone — the entryway’s vertical secret.
Floors are for feet. Walls are for shoes. Establish that boundary immediately.
The entryway floor is where shoes multiply: by the door, under the bench, shoved against the baseboard where everyone trips at 7 a.m. Every rack you add down there just makes the pile taller. A wall-mounted shoe rack changes the game entirely — it uses the one dimension most entryways have left: vertical. You reclaim the floor for walking, cleaning, and the robot vacuum, and the shoes gain airflow, visibility, and a home that doesn’t shift every time someone kicks a pair in.
What follows is the honest breakdown: picks with real capacity and depth numbers, the height math to fit your wall, the mounting rules that keep heavy boots from landing on toes, and the over-door alternative compared fairly.
Best Wall-Mounted Shoe Racks (picks with capacity and depth)
The right pick starts with two numbers: depth (how far it sticks off the wall) and capacity (how many pairs it actually holds). Here’s the field, measured honestly:
| Type | Depth off wall | Capacity | Best for |
|---|---|---|---|
| Slim tipping cabinet | 7–10 in | 6–9 pairs | Hidden storage, narrow anything |
| Metal pipe rails | 8–12 in | 10–12 pairs | Sneakers, boots, daily rotation |
| Floating shelves (16–24 in) | 10–12 in | 4 pairs per shelf | Sneaker displays, kids’ rooms |
| Bucket-style front loader | 6–8 in | 6 pairs | Tight hallways, rentals |
| Over-door organizer | hangs on door | 12–24 pairs | Closets, utility rooms |
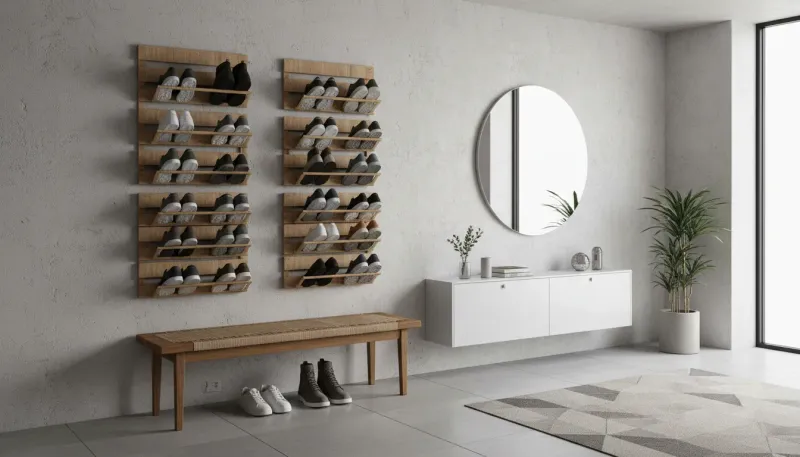
Slim tipping cabinet (best concealed). About 7 to 10 inches deep with doors that pull down and pivot, revealing angled slots — 8 to 9 pairs vanish behind what looks like a floating console. It’s the best wall-mounted shoe rack for polished entryways where storage should be invisible, and the top doubles as a drop zone for keys. The catch: shoes store at an angle, so very tall boots need the bottom slot or a separate home.
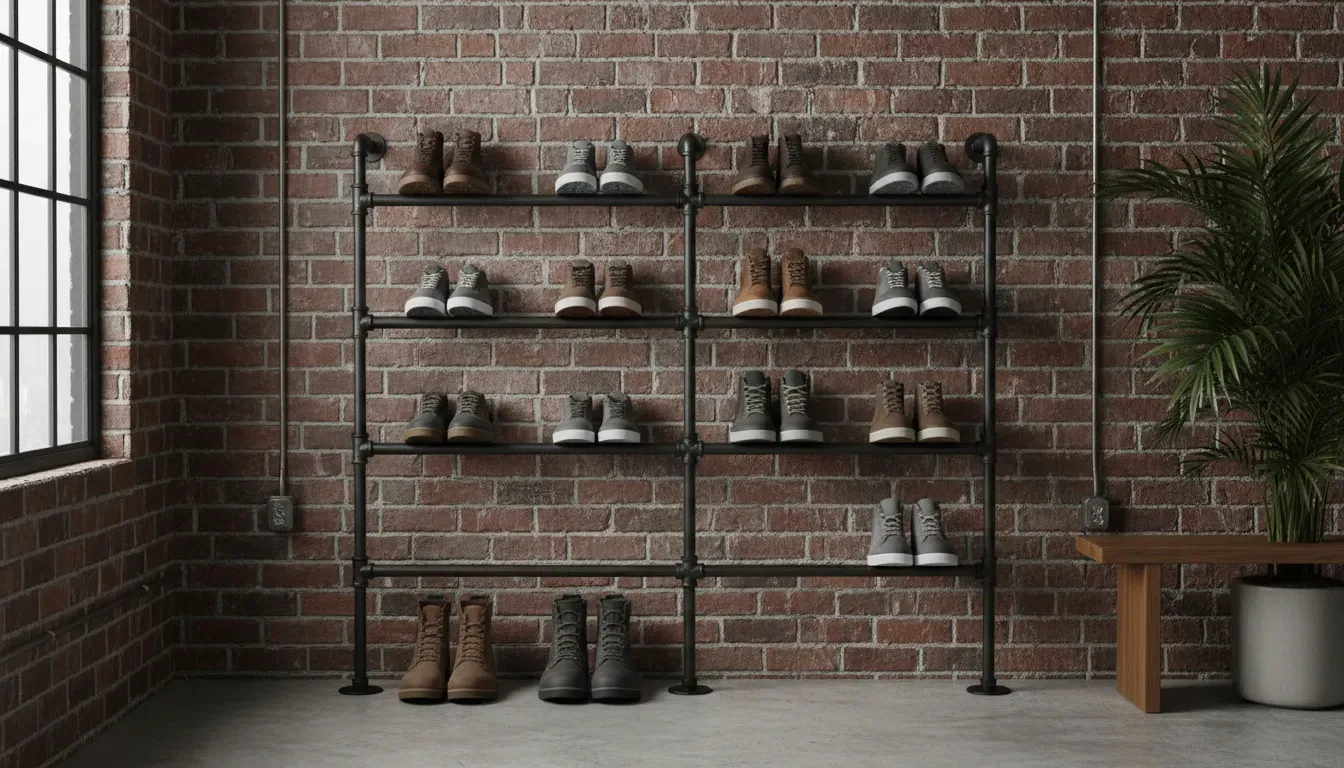
Metal pipe rails (best capacity). Two parallel rails mounted 8 to 12 inches off the wall; shoes rest toe-on-back-rail, heel-on-front-rail. A 36-inch rail holds 5 pairs, so two rails six feet tall hold 10 to 12 pairs — the highest capacity per square foot here. Open construction means maximum ventilation, and wet boots drip onto a mat instead of soaking a shelf.
Floating shelves (best looking). Wall-mounted ledges 10 to 12 inches deep, 4 pairs per shelf, and every pair becomes part of the decor. This is the sneakerhead’s choice and the kid-room workhorse. For the full breakdown on spacing, materials, and styling, we’ve covered the floating route in depth in our floating shoe shelves guide — it pairs especially well with acrylic ledges in dark hallways.
Bucket-style front loaders (best for ultra-narrow). Slanted-front buckets that hold shoes upright at only 6 to 8 inches deep. Six pairs per unit, stackable, and inexpensive. Depth is their superpower; capacity is their limit.
Over-door organizers. Lots of pockets, zero drilling. See the honest comparison below.
Vertical Shoe Rack Wall Mount: Height Math (how many shelves fit your wall)
This is where most wall-mounted shoe racks fail: people buy the rack, then discover the wall can’t hold the shoes. Do the math before you buy.
- Measure your usable wall height. From 6 inches off the floor (boots and cleaning clearance) up to about 70 inches — reachable for everyone. On an 8-foot wall, that gives you roughly 60 usable inches.
- Measure your tallest regular pair. Loafers and flats sit 4 to 5 inches high; sneakers run 6 to 7; a boot lying at an angle needs 12. Plan spacing for the worst case in each row.
- Divide for shelf count. A 60-inch wall divided by 8 inches (7-inch sneaker plus 1 inch of air) = 7 shelves. That’s 14 pairs on a modest stretch of wall — twice what the average floor rack holds in half the footprint.
- Guard the bottom row. Keep the lowest shelf high enough for a boot tray or a pair of tall boots underneath, and it doubles as the wet-shoe staging zone.
- Check the width, not just the height. A 24-inch shelf holds 3 pairs; a 36-inch holds 5. If your wall is 4 feet wide, three 16-inch shelves give you more pairs than one 4-foot rail at the same depth.
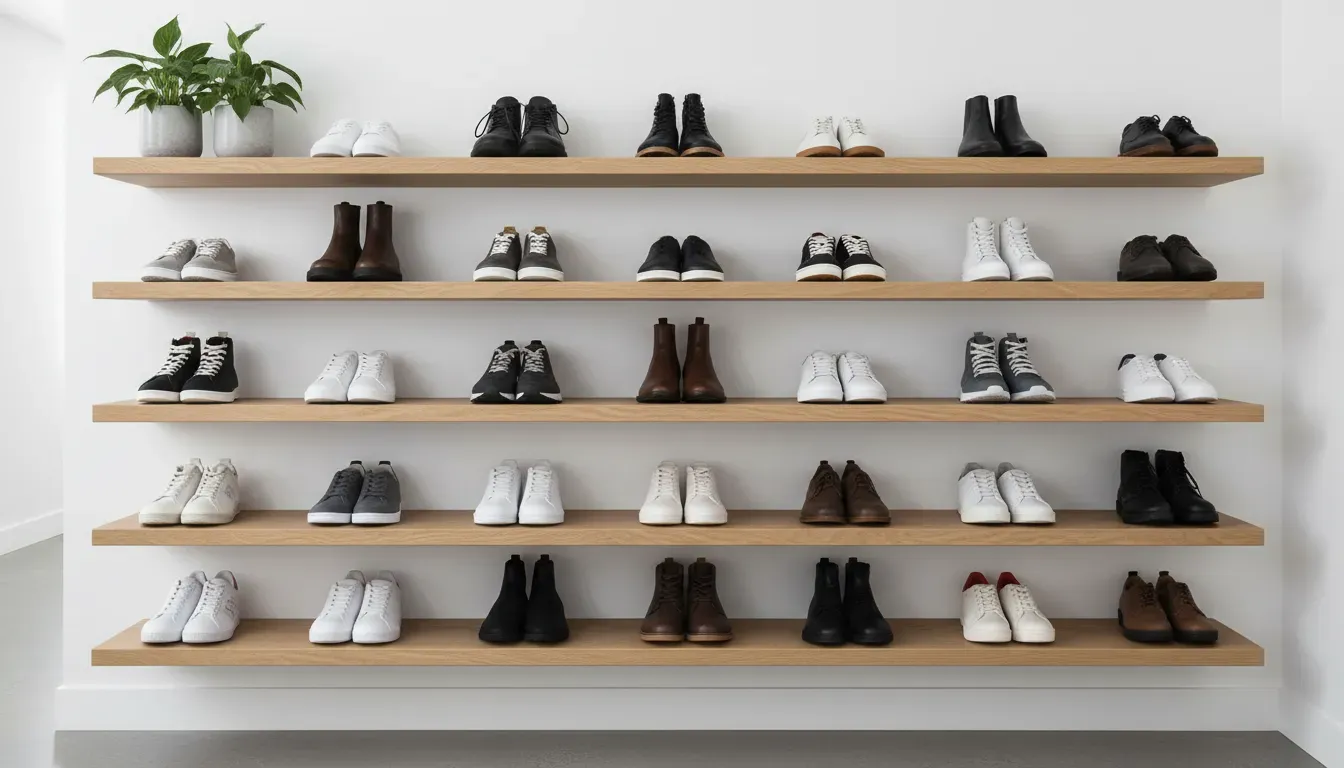
The rule of thumb that has never failed me: count the pairs you actually live with — not the pairs you own — then add one shelf of slack for guests. That number, times two, is your shelf count.
Floating vs. Rail-Mounted vs. Over-Door
Three mounting philosophies, three different trade-offs:
Floating shelves hide nothing and display everything. Each pair sits on its own ledge at its own height. Best for curated displays — sneakers, seasonal pairs, kids’ shoes they can actually reach. Downside: one shelf per display row means less density, and open display demands tidiness.
Rail-mounted systems win on density and speed. Shoes slide on and off in one motion — no shelf to clean around, and the open front dries wet pairs fastest. Downside: every pair is visible, and boots hang awkwardly if the rail spacing doesn’t flex.
Over-door units are the no-drill emergency plan, covered in detail next. They belong somewhere a rack would feel wrong — inside coat closets, or on interior doors.
Back-of-Door Shoe Organizers (the alternative, honestly compared)
Back-of-door organizers are the easiest possible fix: hang a fabric shoe organizer over the door, fill the pockets, done. For a closet or a laundry room, honestly? Great choice. Twelve to 24 pairs, zero drilling, and the whole thing removes in seconds for rental inspection.
But put one on your front door and the trade-offs surface immediately. First, the swing: every time you open the door, the organizer slams against the wall. Second, the hinge strain: a fully loaded organizer stresses the top hinge of hollow-core doors until it pulls loose. Third, the sag: fabric pockets stretch, and the unit leans away from the door like a bookcase at sea. Fourth, the look: in the room guests actually see, it reads as dorm storage no matter how you style it.
The honest verdict: back-of-door organizers are the best wall-mounted shoe rack alternative for closets, utility rooms, and kids’ doors — and the wrong tool for the front entry. For the door guests see, wall-mount a slim rack and keep the fabric organizer on an interior door. If you really want door storage in a visible entryway, a solid slim over-door rack with rigid pockets survives better than the fabric kind.
Mounting: Studs, Anchors & Heavy Boots
A wall-mounted shoe rack is a dynamic load: shoes come and go, heels get pulled, the rack flexes. Mount it for the worst day, not the first day.
Studs first. Anchor at least one side of the rack into a wooden stud — a magnetic stud finder settles the argument in seconds. Studs hold 100-plus pounds; drywall alone holds maybe 15 pounds, and not for long. If your rack is 36 inches wide and the studs are 16 inches apart, you’ll usually catch two.
Anchors when you miss. No studs where the rack must live? Use toggle bolts or self-drilling metal anchors (snaptoggles) — the plastic cones that ship with most racks are decorative, not structural. A pair of toggles rated at 50-plus pounds each will hold a boot rack that no plastic anchor should.
Budget the heavy row. Winter boots are the weight test: a pair of tall leather boots runs 4 to 6 pounds dry and double that soaked. Put the boot row at the bottom, closest to the floor, where the leverage against the wall is lowest. Kids’ shoes go on the top rows they can reach.
Level twice, anchor once. Even a two-degree tilt walks shoes off straight shelves over time. Use a spirit level, mark all holes, then drill. And if the rack will hold more than 20 pounds, run a French cleat instead of keyhole brackets — it distributes the load across the full width and makes the rack trivial to remove when paint season arrives.
The final rule: if the rack wobbles after you hang it, it’s not installed — it’s leaning on your good intentions. Re-anchor until it feels like part of the wall. That’s the difference between the shoe rack that works for a decade and the one that joins the pile on the floor.
— Linda Wise, professional home organizer and residential storage designer
Stop Guessing Measurements. Build Your Dream Entryway with Confidence.
Transform awkward hallways, cramped foyers, and cluttered mudrooms into organized sanctuaries. Includes 20 measured floor plans, facing photo spreads, the 36-inch planning rule, the shoe pairs formula, and 7 printable worksheets.
Core Edition ($17.99) · Flagship Photo Edition v5 ($39.99)
