DIY Entryway Bench Storage: Complete Step-by-Step Plans for Beginners
Stop tripping over shoes. This comprehensive guide walks beginners through building a custom entryway bench with hidden storage. No advanced joinery required.
Feb 18, 2026 - Written by: Linda Wise

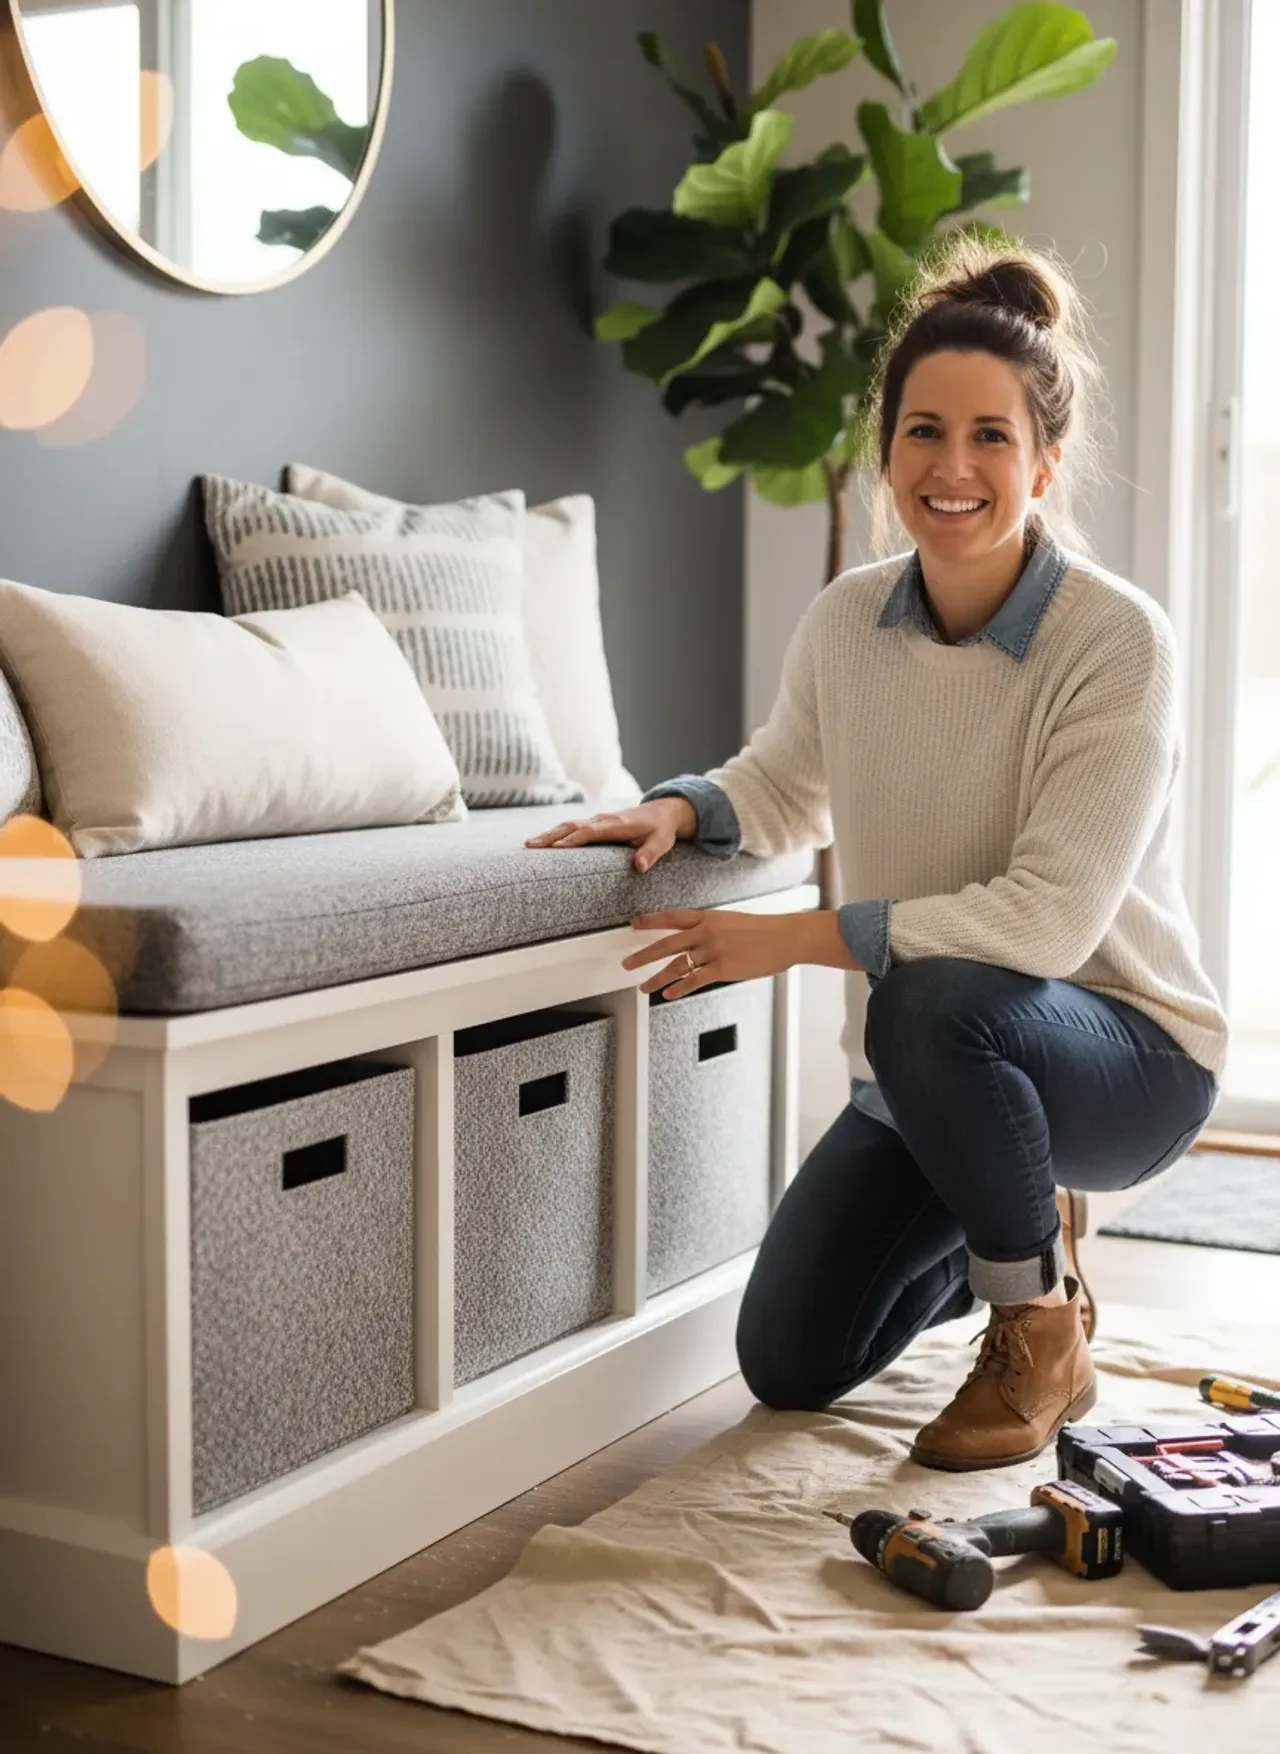
Let’s be honest: the entryway is the most abused square footage in your entire home. It’s the drop zone. The chaos magnet. You walk in, tired from the grind, and the first thing that greets you is a tripping hazard composed of sneakers, backpacks, and that umbrella you swore you lost three months ago.
I’ve been there. I used to kick a pile of boots aside just to shut the front door. The solution isn’t just “cleaning up”—it’s infrastructure. You need a vessel that hides the mess while offering a place to sit and tie your laces.
Building your own furniture can feel intimidating, especially if your current tool arsenal consists of a rusty hammer and a dream. But here is the reality: building a sturdy, beautiful storage bench is actually one of the most forgiving projects you can tackle. It’s essentially a box. A nice box, but a box nonetheless.
In this guide, I’m going to walk you through the process I use in my own shop. We aren’t doing complex dovetails or mortise-and-tenon joinery today. We are using accessible materials, logical steps, and a few “cheats” that pro carpenters use to make simple work look high-end.
Phase 1: The Mental Blueprint and Sizing
Before you buy a single sheet of plywood, you have to understand the space you are working with. A bench that is too deep will choke your hallway; one that is too shallow is useless for storage.
I usually aim for the “Golden Mean” of bench sizing: 48 inches wide, 18 inches tall, and 16 inches deep.
Why these numbers? An 18-inch height is standard chair height. It’s comfortable for putting on socks. As for width and depth, you need to measure your specific corridor. I have written extensively on finding the right dimensions for your specific hall, and I highly suggest you review that if you have a particularly narrow or awkward vestibule.
Pro Tip: “Tape it out. Seriously. Get blue painter’s tape and outline the dimensions on your floor. Walk around it. Carry groceries past it. If you bump the invisible tape wall, your design is too big.”
Material Selection: The Wood Debate
You might be tempted to grab the cheapest pine boards at the big box store. Don’t. Construction lumber (2x4s) is often wet, twisted, and difficult to finish smoothly. For a painted or stained bench that looks professional, I almost always recommend 3/4-inch Birch Plywood for the carcass (the body) and solid Poplar or Maple for the trim.
You might be debating the merits of timber against industrial steel, but for a beginner-friendly DIY, birch plywood is the forgiving champion we need. It’s stable, it takes paint beautifully, and it won’t warp when the seasons change.

Phase 2: The Tool Kit (What You Actually Need)
You don’t need a $5,000 table saw. You can build this entire project with handheld power tools if you are careful.
The Essentials:
- Circular Saw: To break down the plywood.
- Drill/Driver: For assembly.
- Pocket Hole Jig: This is the secret weapon. It allows you to join wood without visible screws on the outside faces. If you want the best experience, I highly recommend checking out the Kreg Pocket Hole Jig 720PRO. It clamps automatically and speeds up the workflow tenfold.
- Random Orbital Sander: Because nobody likes splinters.
- Clamps: You can never have enough.
The Cut List (For a 48” x 18” x 16” Bench):
- Top/Bottom: (2) 48” x 15.25” (The face frame adds 0.75” depth later)
- Sides: (2) 16.5” x 15.25”
- Divider: (1) 16.5” x 15.25” (Optional, but adds structural rigidity)
- Back: (1) 48” x 18” (Use 1/4” plywood for this to save weight)
Phase 3: Constructing the Carcass
This is where the magic happens. We are building the skeleton.
Step 1: Drilling the Pocket Holes
Set your jig for 3/4” material. You want to drill pocket holes into the Side Panels and the Divider. Drill three holes along the top edge and three along the bottom edge of each piece. These screws will bite into the Top and Bottom panels.
Why not screw into the sides? Because gravity is a thing. By screwing the sides up into the top and down into the bottom, the mechanical fastener is doing the work, not just the glue.
Step 2: The Assembly
Lay your Bottom panel on a flat surface. Apply a bead of wood glue to the bottom edge of your Side panels. Clamp them in place, flush with the outside edges. Drive your 1-1/4” pocket hole screws.
Repeat this for the Divider in the center.
The “Square” Check: “Before the glue dries, measure diagonally from corner to corner. If the measurements match, your box is square. If they don’t, rack the box gently until they do. If you skip this, your lid will never close properly.”
Attach the Top panel last. Now you have a box. It’s ugly, the plywood edges are showing, but it’s strong.
Phase 4: The Face Frame (The Lipstick)
This is the step that separates “Dorm Room Chic” from “Custom Carpenter.” We need to hide those raw plywood edges. This is where your solid wood (Poplar/Maple) comes in.
Rip your solid wood into 1.5-inch strips (often called 1x2s in stores, though actual dimension is 0.75” x 1.5”).
- Measure and Cut: Measure the actual height of your box. Cut two vertical styles to fit. Glue and nail them to the front edges of the plywood sides.
- Rails: Measure the distance between the vertical stiles. Cut your horizontal rails to fit snugly between them.
This creates a “frame” that sits on the face of the box. It adds immense rigidity and hides all the ugly plywood layers.

Phase 5: The Lid and Hinge Mechanics
Here is where most beginners fail. They buy cheap utility hinges, the heavy plywood lid slams down, and little fingers get crunched. If you are building this with little ones in mind, you absolutely must prioritize safety mechanisms.
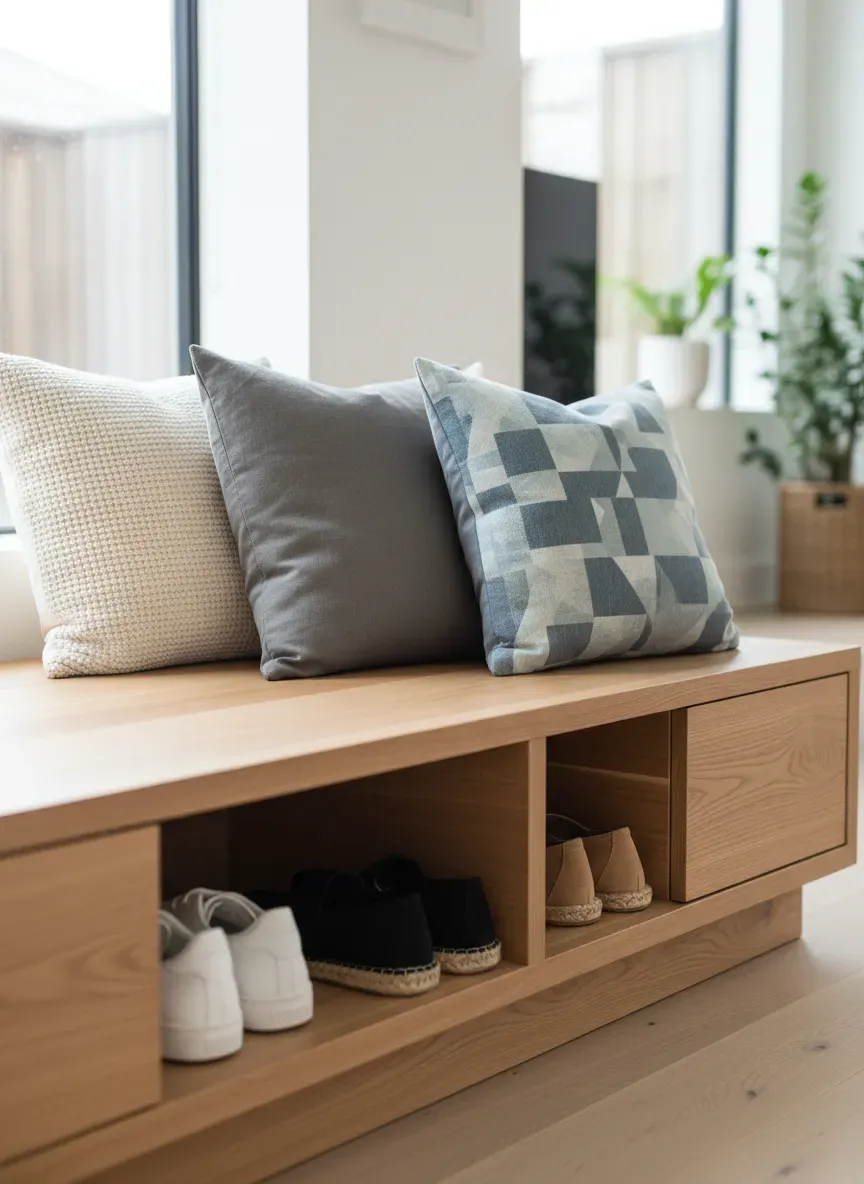
For the lid, I prefer using a solid wood panel or edge-banded plywood that overhangs the front by 1 inch to create a “finger pull” lip.
The Hinge Strategy
Standard butt hinges are a nightmare to align. Piano hinges are ugly. The gold standard for toy boxes and storage benches is the Torsion Hinge. It acts as both a hinge and a lid support. It holds the lid open in any position and prevents slamming.
For a lid of this weight, I rely on the Rockler Lid-Stay Torsion Hinges. They come in different weight ratings, so weigh your lid before ordering.
Install the hinges on the back of the lid first, then align the lid on the box and screw them into the back panel.
Phase 6: Dealing with Complexity
Sometimes, a standard rectangular box just doesn’t work. Homes have quirks.
The Under-Stair dilemma
Maybe you’re dealing with a slanted ceiling or a cramped alcove. Fitting storage into awkward under-stair voids requires a different geometry. In these cases, you might need to angle the back of your bench or create a trapezoidal profile. The joinery remains the same (pocket holes are incredibly versatile for angles), but your cut list will require trigonometry. Don’t fear the math; just measure twice.
Comfort Considerations
You built a box, but is it sit-able? It’s not just a storage unit; it’s a seat. Understanding the mechanics of seating comfort will dictate whether you add a cushion or route a curve into the seat.
If you are going for a hard-top bench, I recommend using a router with a 1/4” round-over bit on the front edge of the seat. A sharp 90-degree corner digs into the back of your thighs and cuts off circulation. A simple rounded edge changes everything.
Phase 7: Finishing Like a Pro
You’ve built it. Now you have to make it indestructible. Entryways see mud, snow, grit, and water. A simple wax finish won’t survive the winter.
Sanding
You need to sand this thing until it feels like glass. I usually start with 80-grit to knock down the burrs and work my way up to 120, then 180. It’s tedious, I know. I hate it too. But that finish is what separates a weekend warrior project from a piece of heirloom furniture.
Painting vs. Staining
If you used high-quality Birch plywood, a stain can look sophisticated. However, paint is more durable against scuffs.
My Finishing Schedule:
- Primer: Use a high-build primer to fill the wood grain. Sand it back with 220 grit.
- Paint: Apply two coats of high-quality enamel.
- Top Coat: This is the shield. Even over paint, I apply a clear coat for extra armor against wet boots.
For a finish that is easy to apply but tough as nails, I swear by Minwax Polycrylic Protective Finish. It’s water-based, so it won’t yellow your paint over time like oil-based polyurethanes do, and it cleans up with soap and water.
Troubleshooting Common Issues
Even the best plans go sideways. Here are the glitches I see most often in my workshops:
- The “Rocking” Bench: You set it on the floor, and it wobbles. Floors aren’t flat. Don’t sand the legs down yet. Install adjustable furniture feet (levelers) on the bottom corners. It allows you to dial in the stability without cutting wood.
- The Gap at the Wall: Your baseboards are pushing the bench away from the wall. You have two choices: scribe the bench to the wall (cut a notch in the back legs to fit over the baseboard) or simply accept the gap. I prefer scribing for a built-in look.
- Tear-out on Cuts: Plywood loves to chip when you cut it across the grain. To stop this, wrap a piece of masking tape over your cut line before you saw through it. The tape holds the wood fibers down, leaving a crisp edge.
The Bottom Line
DIY Entryway bench storage isn’t about saving money—though you will. It’s about customization. You are building a piece of furniture that fits your life, your boots, and your hallway perfectly.
When you screw that final hinge in and drop the lid for the first time, you get a satisfaction that IKEA simply cannot sell you. The mess disappears. The hallway opens up. And you get to look at that bench every day and say, “Yeah, I built that.”
So, clear off the workbench. It’s time to make some sawdust.
Key Takeaways
- Plan First: Tape out dimensions on the floor to ensure flow isn’t obstructed.
- Material Matters: Use 3/4” Birch plywood for the carcass; avoid construction lumber.
- Safety First: Use torsion hinges to prevent the lid from slamming on fingers.
- Finish Strong: Water-based polycrylic provides a durable, non-yellowing shield against mud and moisture.
- Ergonomics: Round over the front edge of the seat for thigh comfort.